Recipe Summary
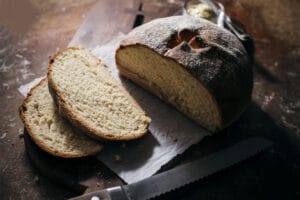
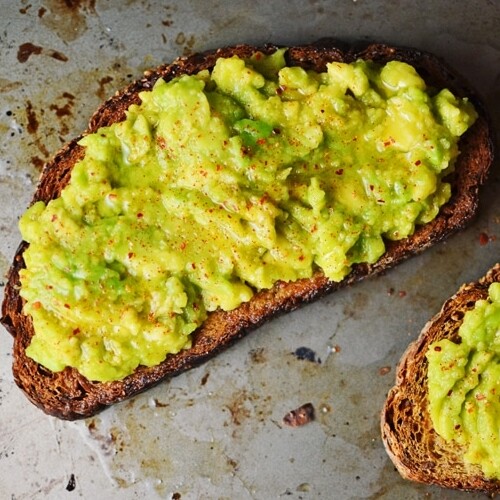
An easy to make rustic White Bread recipe, that is perfect on its own or topped with savory or sweet spreads!
My favorite white bread recipe for so many reasons. Primarily, it tastes wonderful straight out of the oven, but I also love that it’s ready from start to finish in under 2 hours, not bad for a loaf of yeast bread.
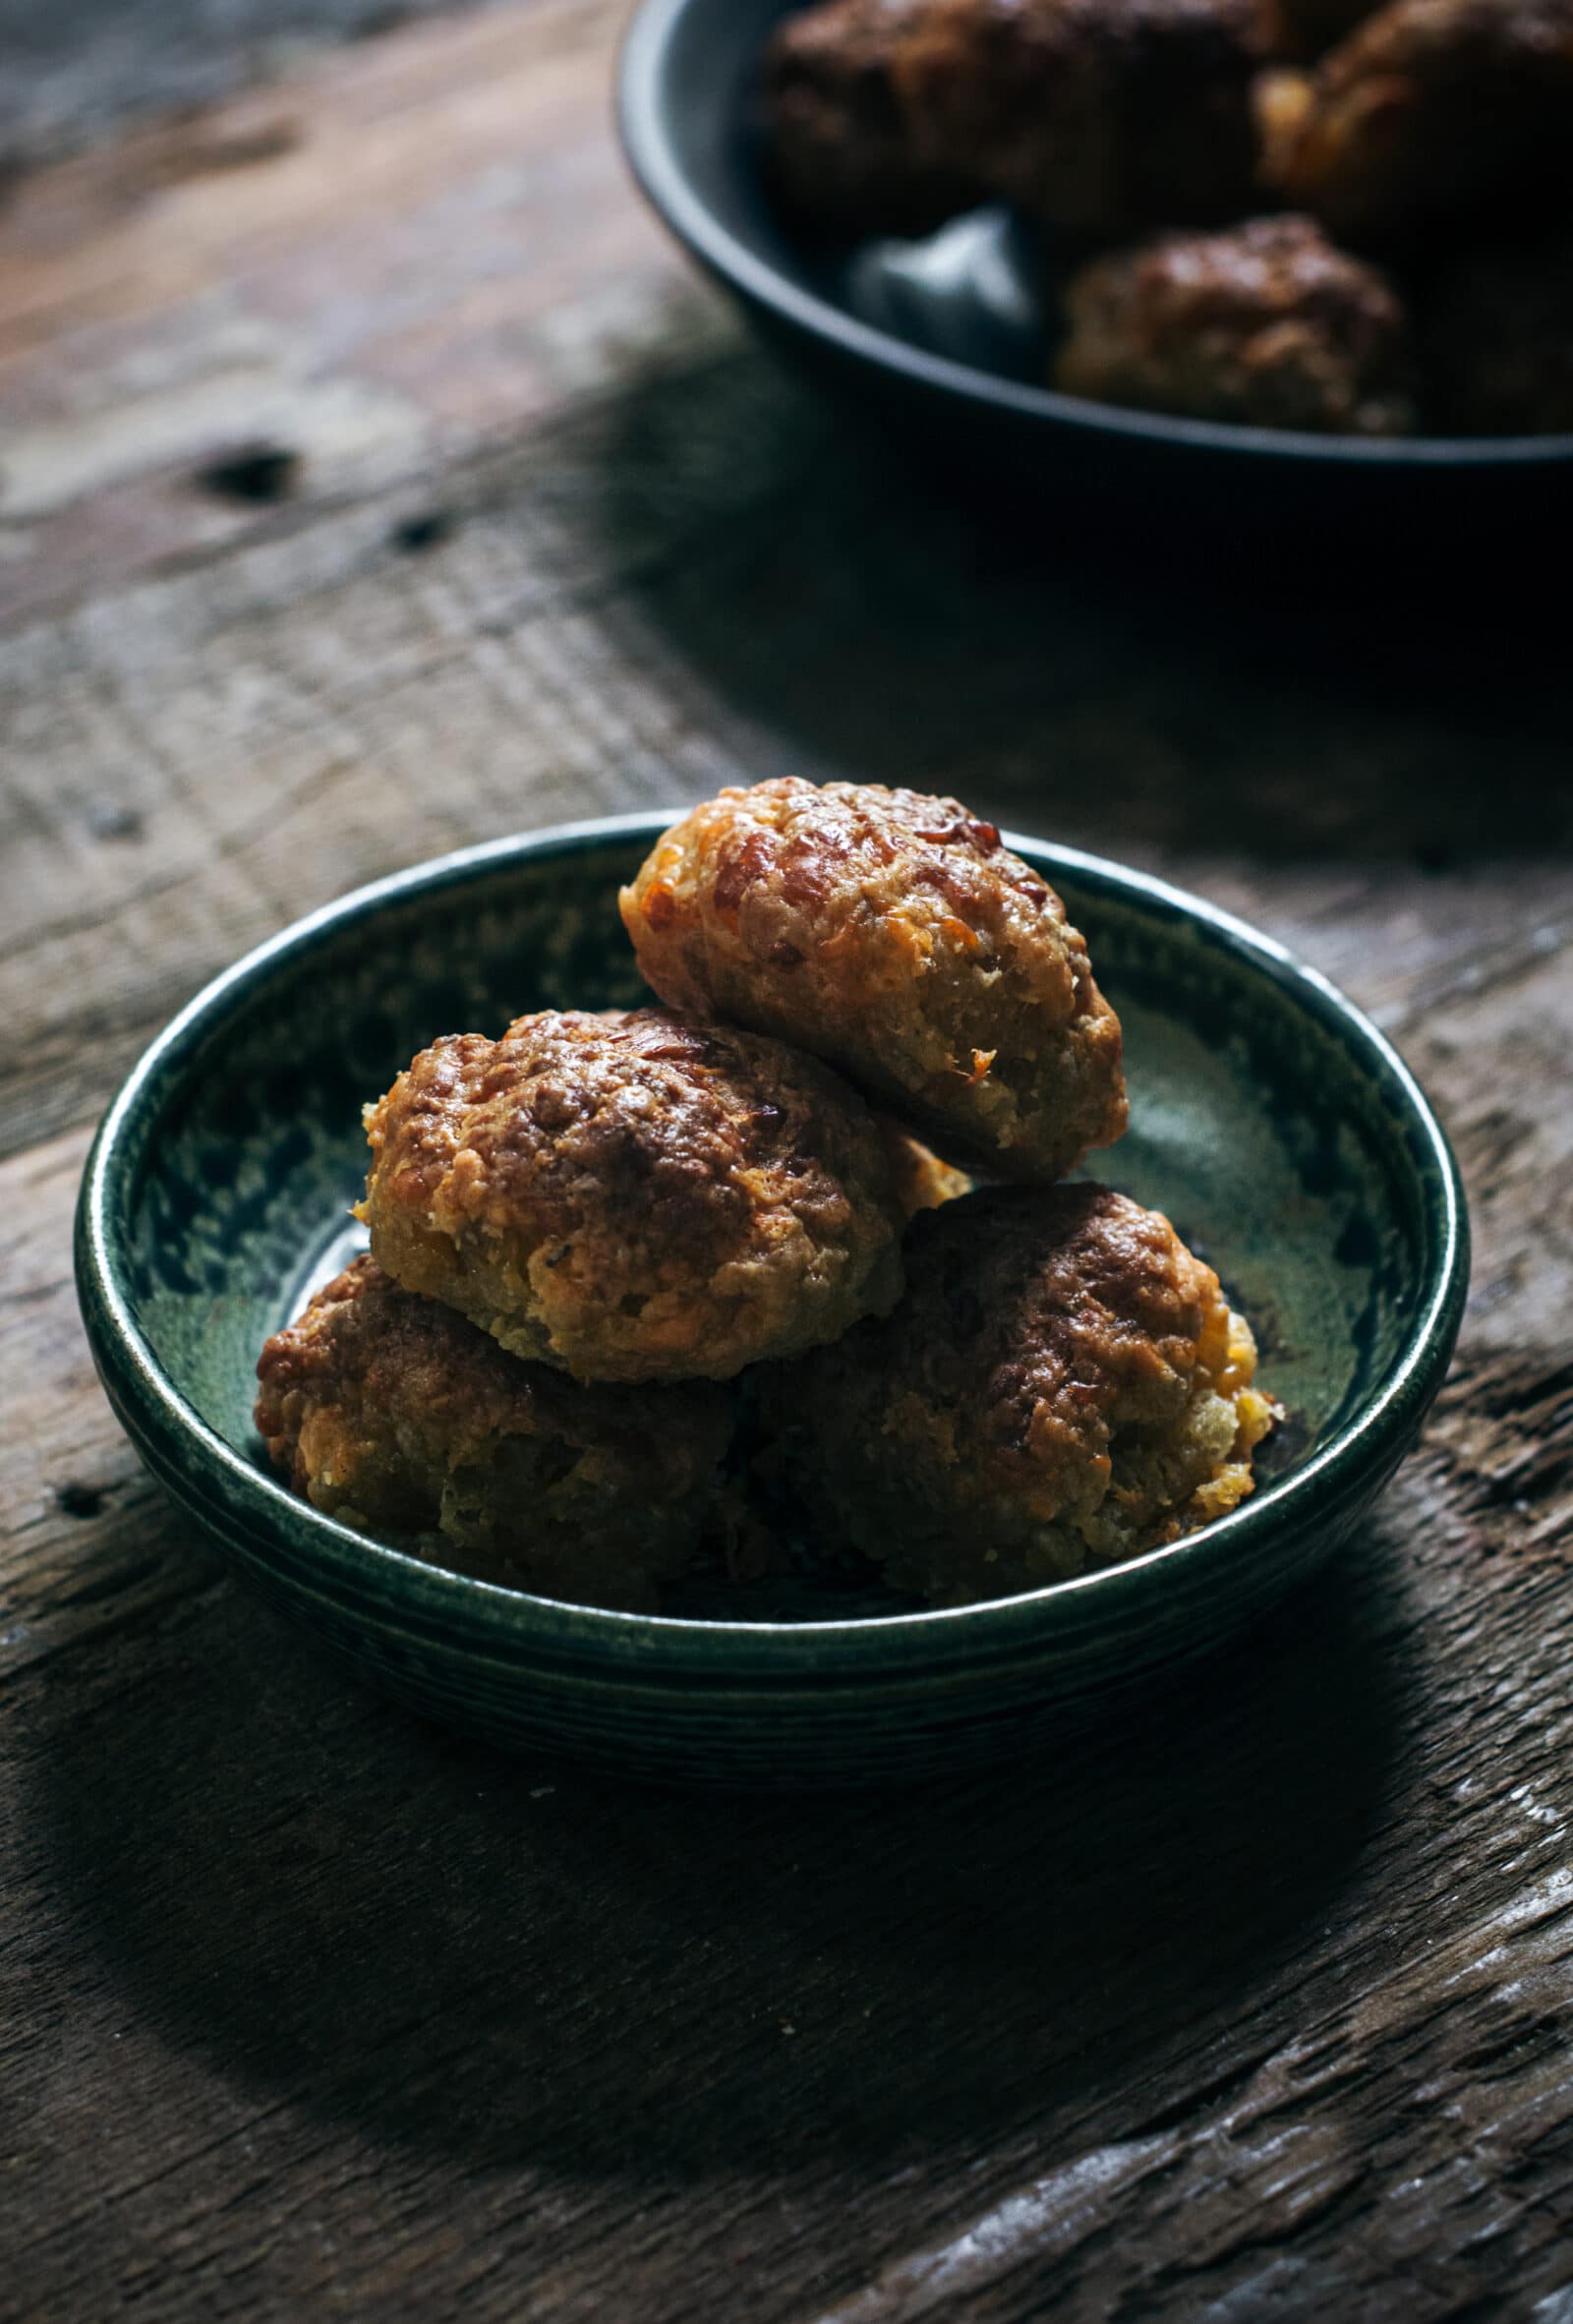
Making your own homemade bread can be a pretty rewarding experience. On top of tasting amazing, homemade bread is so much healthier than the chemical-filled bread you find at the store. If you’re on a homemade bread kick, my flaky Southern biscuits are worth adding to the rotation next, same satisfying from-scratch feeling, no yeast required. And if you want to go a little more rustic, my Dutch oven bread belongs in that same bread-loving family, a beautiful crusty loaf with minimal effort.
But if you’re intimidated about making your own, then you’re probably in search of an easy recipe to get you started. This simple rustic bread recipe is quick and easy to make, which means it’s a great recipe for beginner bread makers.
When looking for a white bread recipe, it can be easy to get frustrated. So many recipes feature complicated ingredients or need a fancy appliance to make them. But this easy bread recipe is anything but difficult.
Using just a handful of common ingredients and a few minutes of your time, you and your family will be able to enjoy a slice of homemade bread in no time.
What You Need to Make This White Bread Recipe:
- Active dry yeast
- Warm water
- Sugar
- All-purpose flour
- Baking powder
- Salt
- Butter
- Buttermilk
How to Make Rustic White Bread Recipe:
Step 1:
- Prepare the yeast by mixing it with warm water and sugar. Stir the ingredients slightly, then set it aside until it begins to bubble.
Step 2:
- While the yeast is activating, start putting the rest of your ingredients together. Whisk the flour, baking powder, and salt until combined.
- Add the butter and use a pastry blender or fork to cut the butter into the dry ingredients. To make mixing the ingredients easier start with cold butter slices.
Step 3:
- After the yeast has bubbled, add it to the flour mixture, along with the buttermilk. Use a wooden spoon to stir the ingredients until a soft dough begins to form.
Step 4:
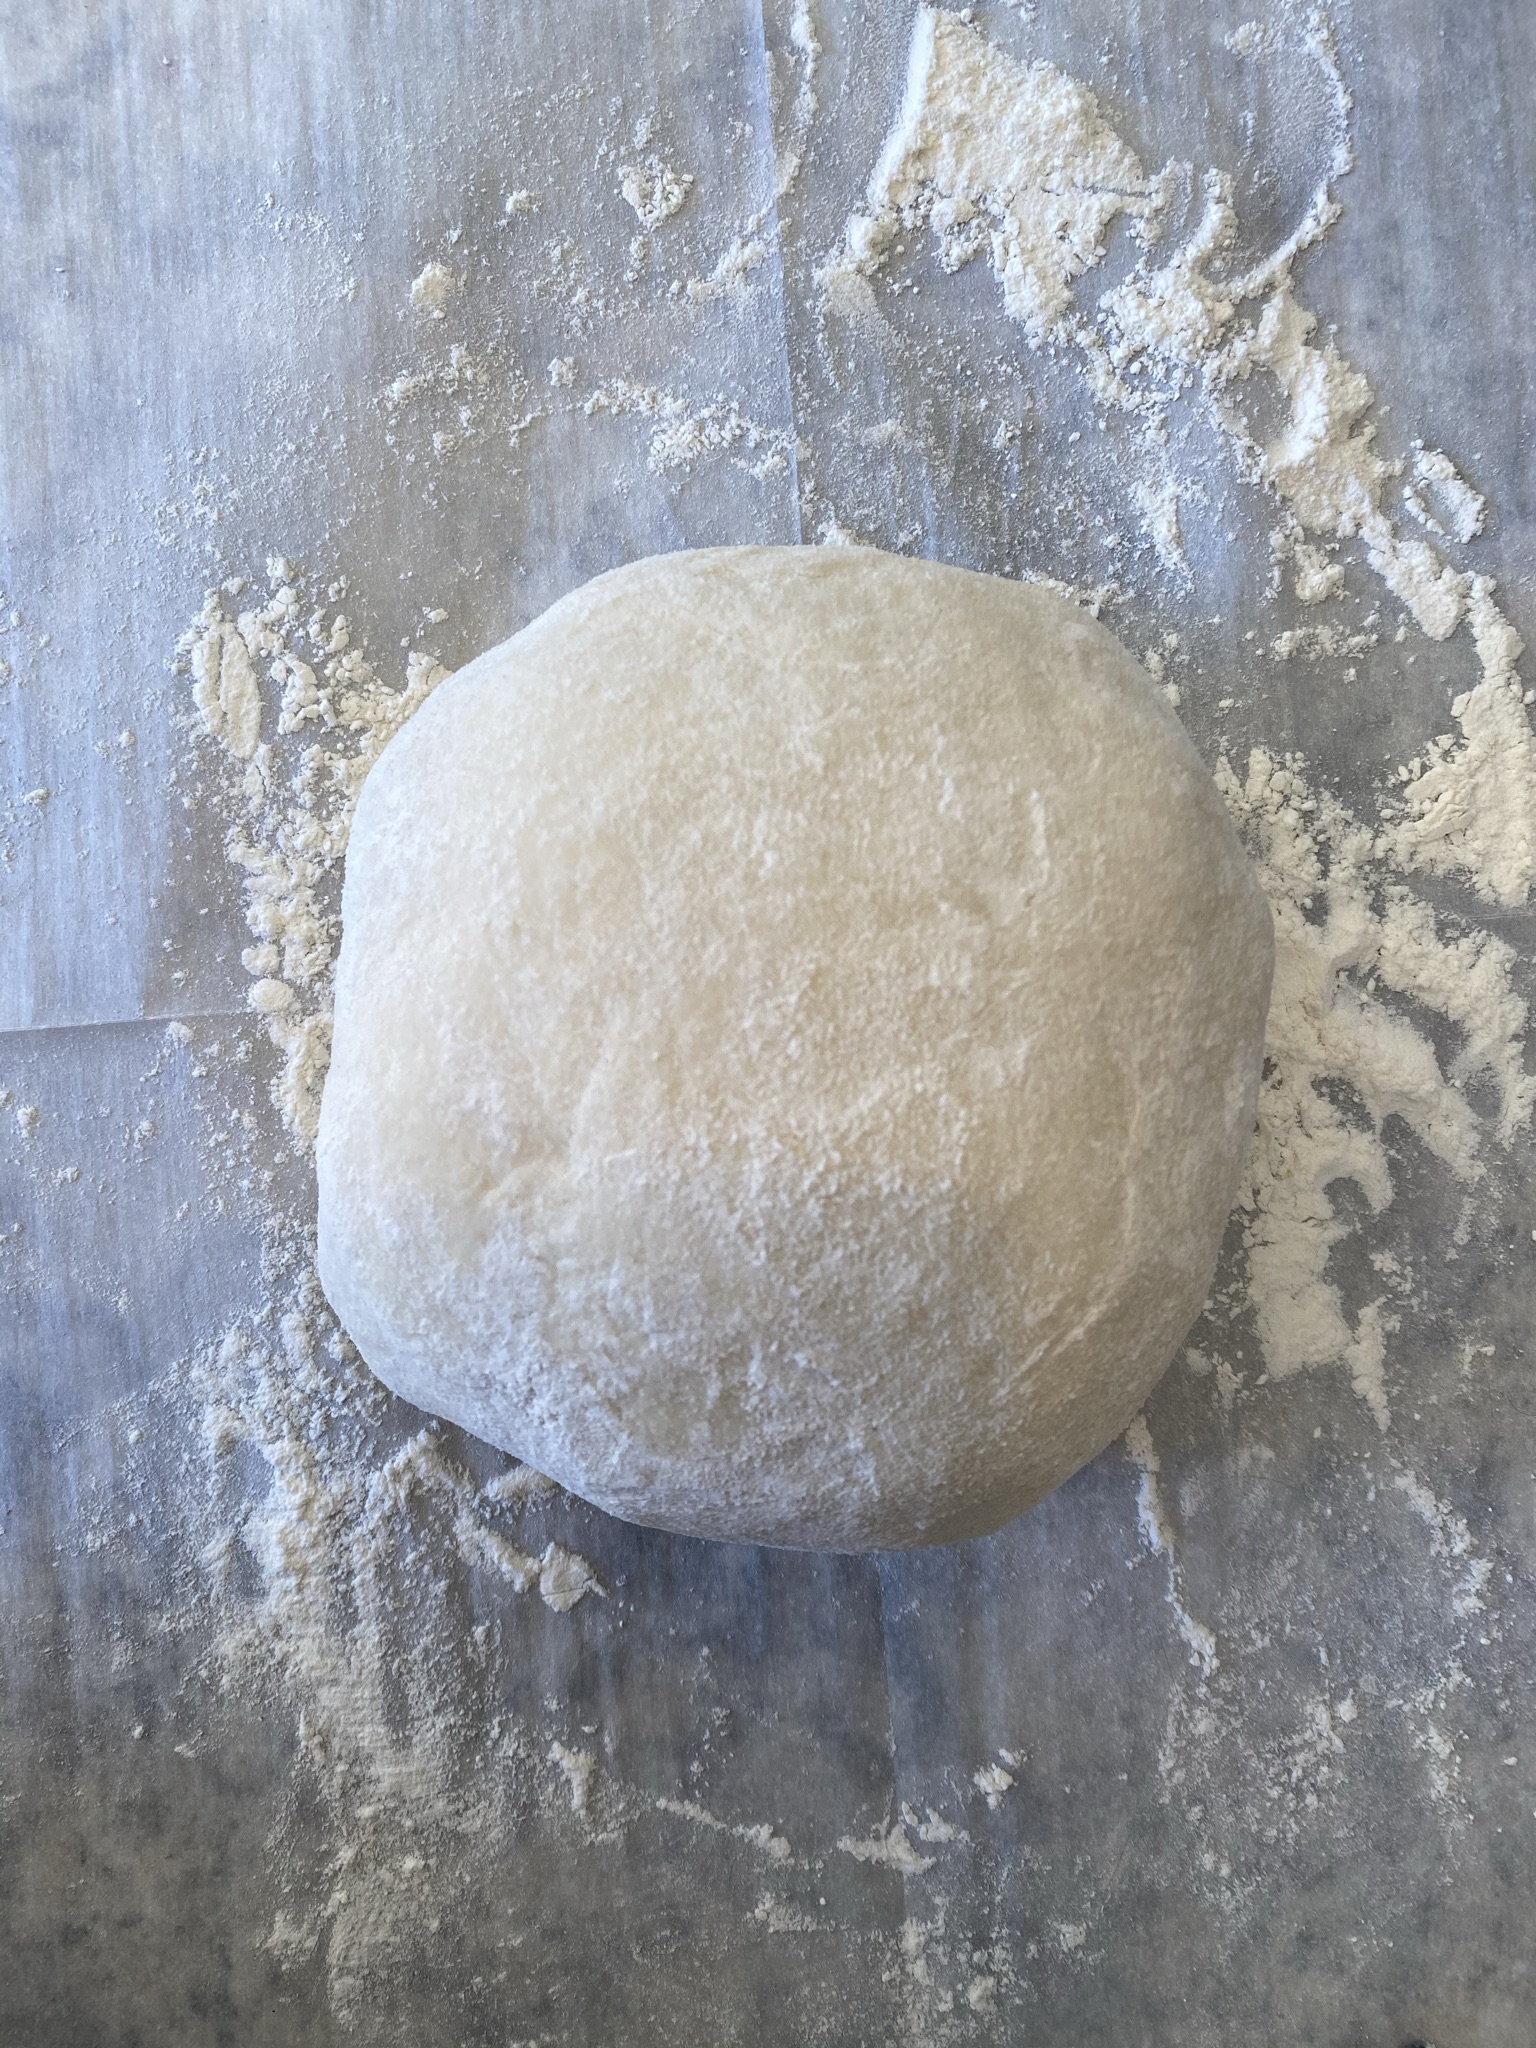
- Turn the dough out onto a lightly floured work surface. Sprinkle a dusting of flour over the top of the dough and knead until the dough becomes smooth. This should take around three to five minutes.
- Allow the dough to rest for 10 minutes after kneading, then punch down the dough and form it into a loaf with your hands.
- Transfer the dough to a greased baking sheet and cover the dough with a clean cloth prevent the top of the dough from drying out. Place it in a warm spot to rise, allowing the dough 30 minutes to rise.
Step 5:
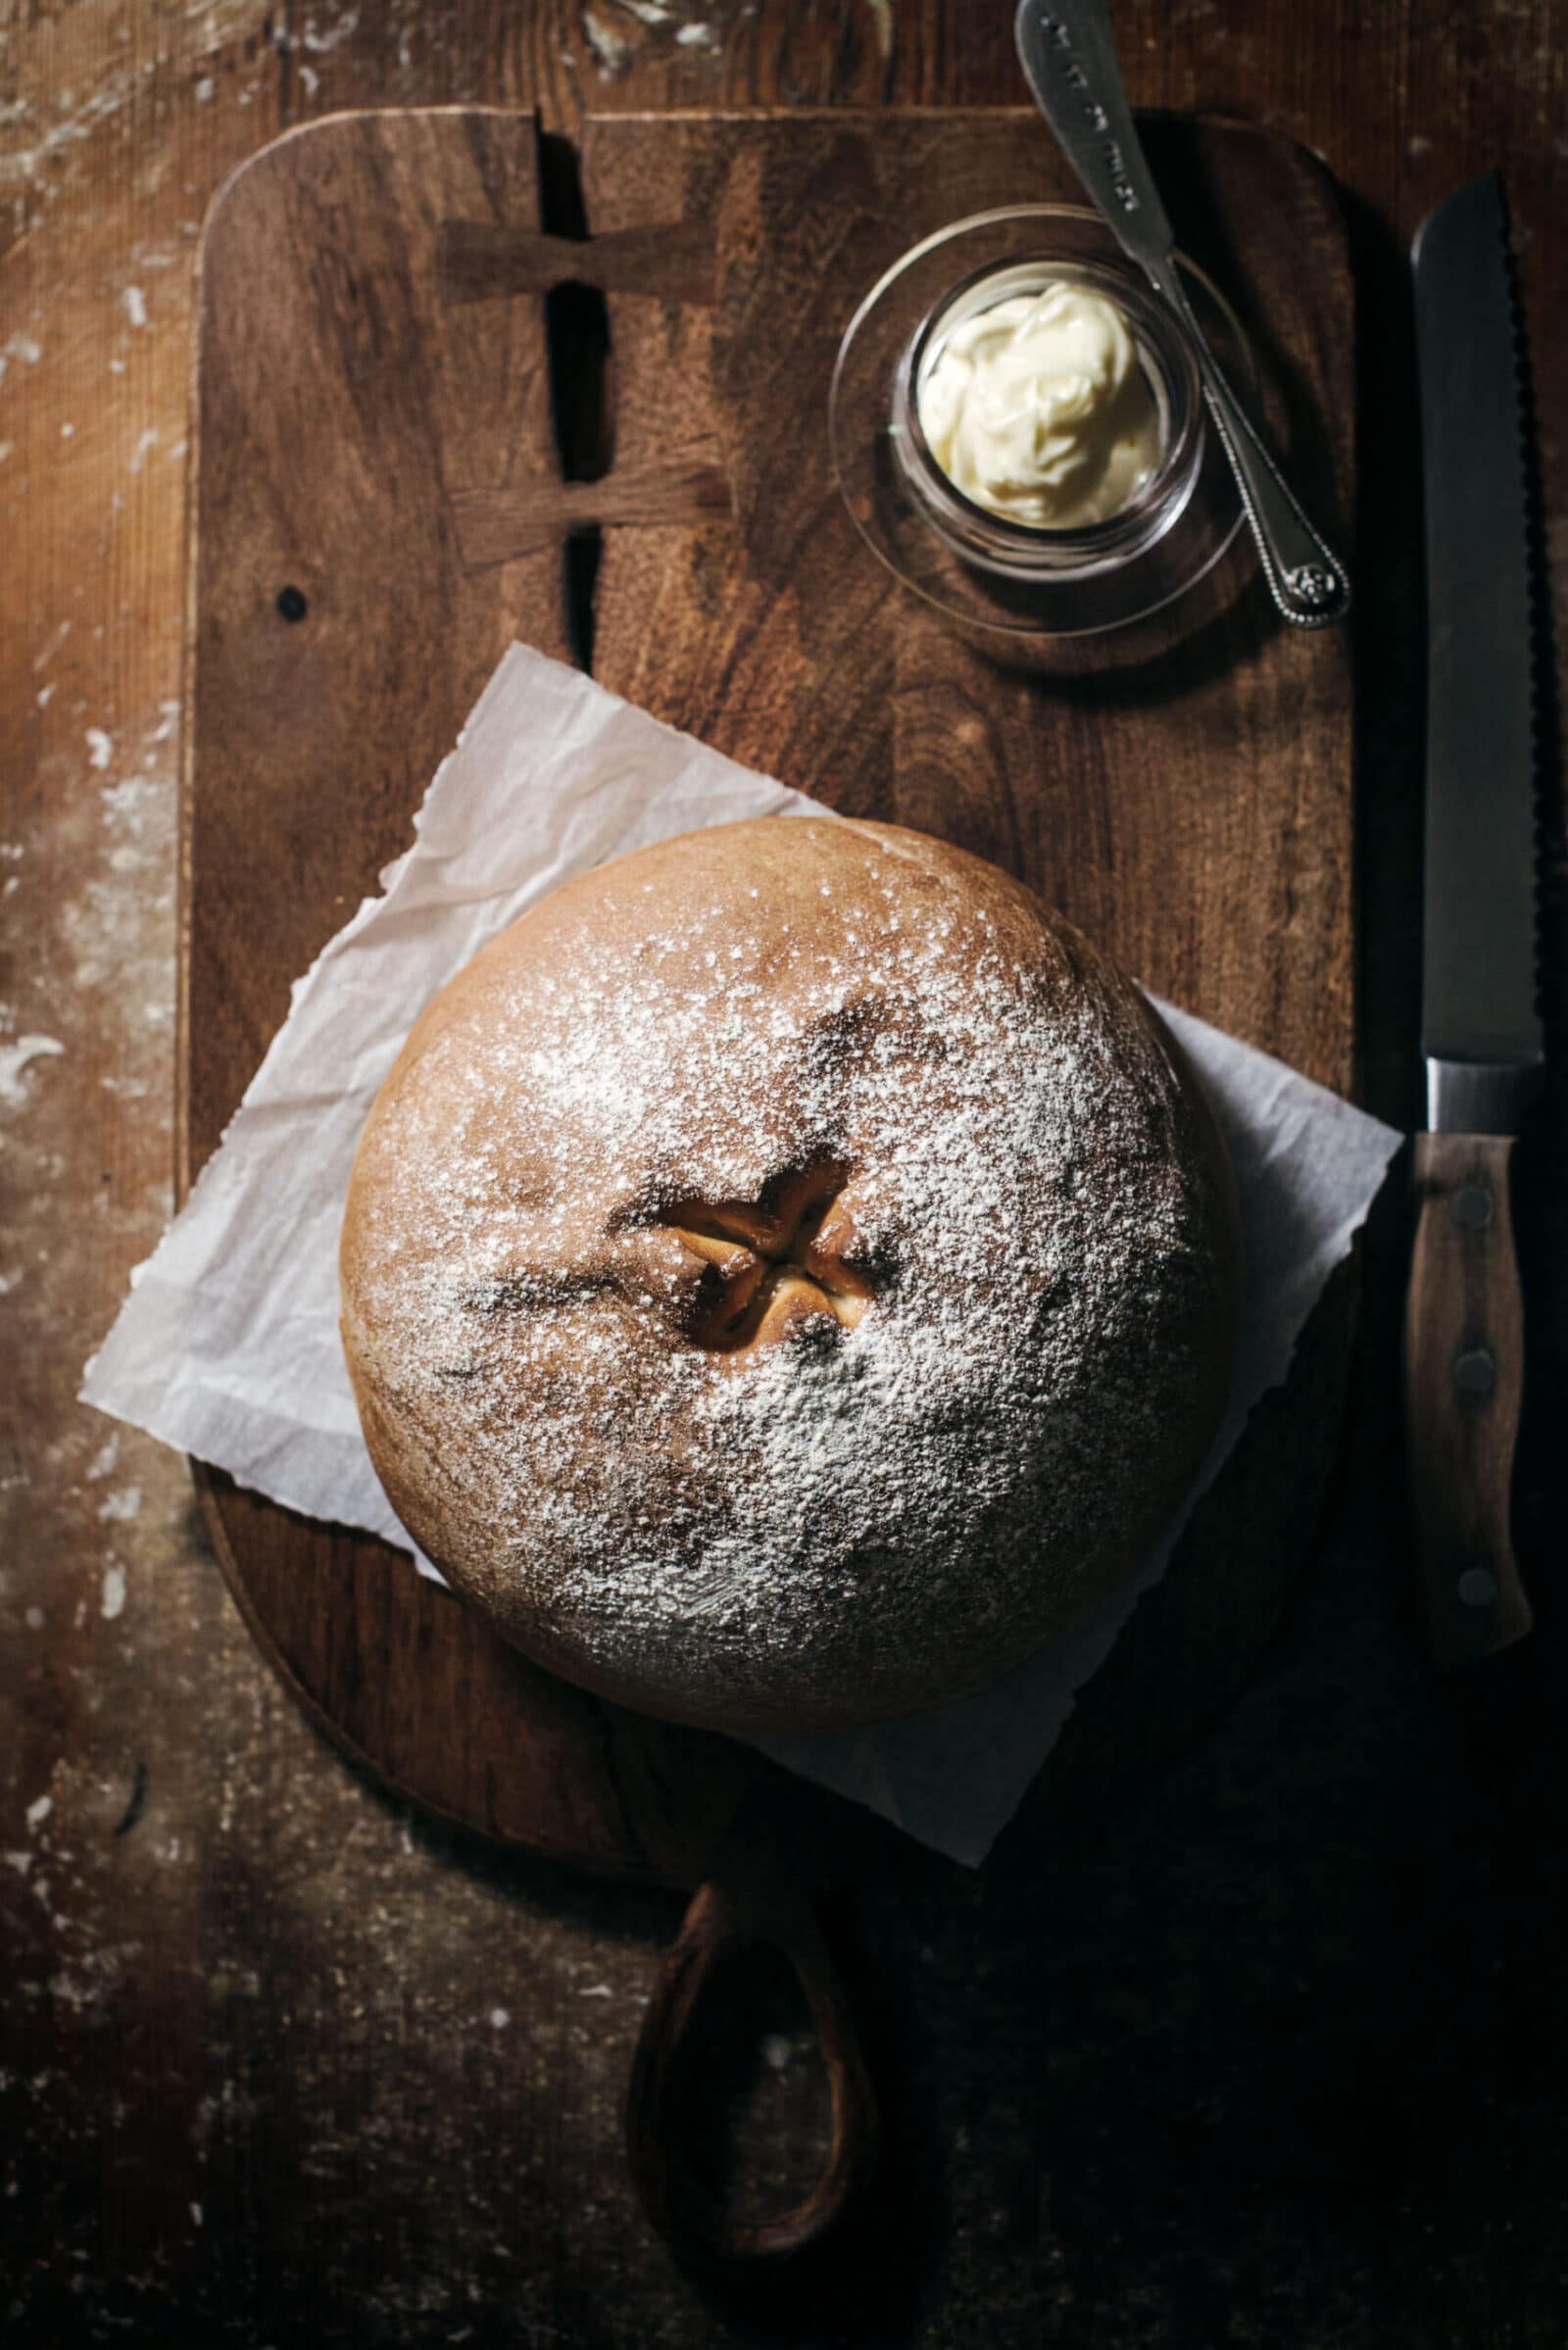
- When ready to bake, preheat the oven to 375 degrees. Use a sharp knife to cut an X in the top of the loaf, around ½ inch deep.
- Place the dough in the oven and bake for 35 to 45 minutes. The bread is ready to come out of the oven when the top is golden brown. A skewer or knife inserted in the center of the bread will also come out clean.

How Do You Shape Rustic Bread?
Rustic bread has grown in popularity recently, but if you’re not familiar with the process of making it, you may be wondering how it gets its shape. There are a few different ways to make artisan-style bread at home without much effort.
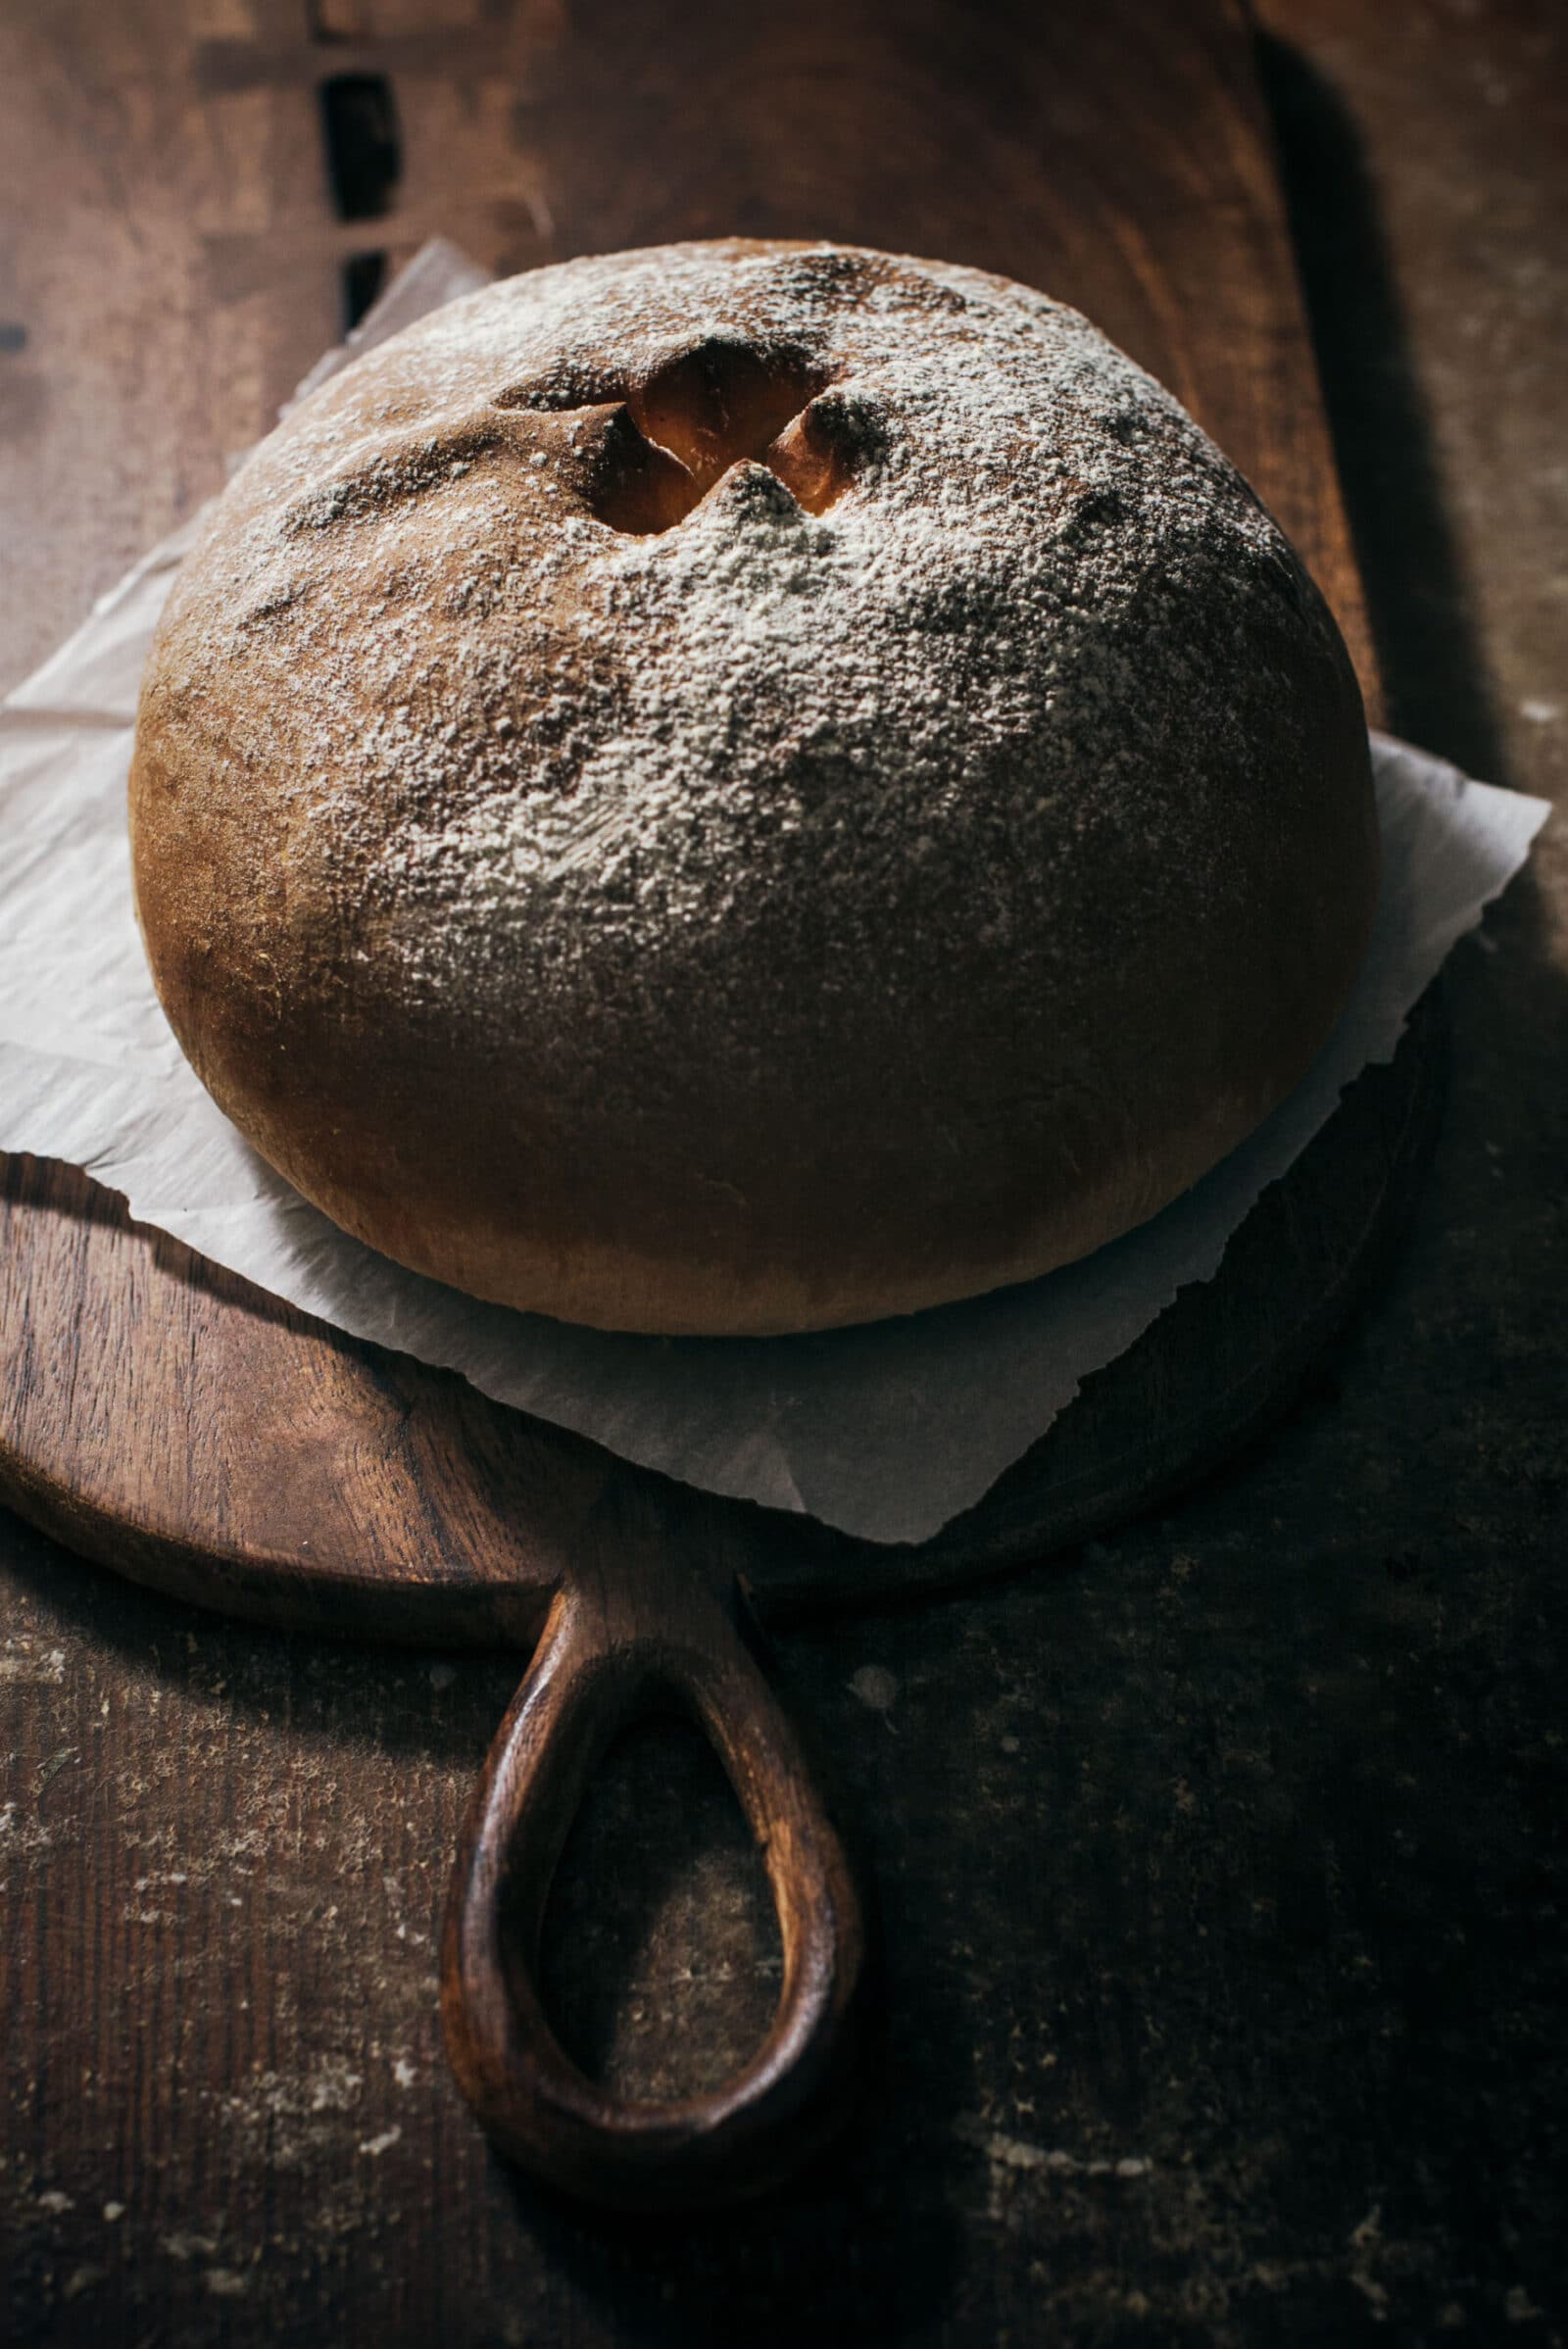
- Round bread. Creating a round shape is the most popular option when it comes to rustic bread. To create a round bread, simply work the dough into a circle with your hands, then carefully place it on a baking sheet.
- Oval loaf. You can also create an oval shape with your white bread by forming the dough into a loaf first. The best way to create an even loaf of bread is to roll out the dough into an even rectangle, then lift one side of the bread and roll it toward the other side, creating a cylinder shape. After that, pinch the ends together and place the loaf on the pan. As the bread bakes, it will begin to spread, forming an oval shape.

How Do You Knead Bread Dough by Hand?
My favorite part about this easy white bread recipe is that you don’t need any special equipment to make it. But that also means that you’ll need to do a little work to get light and airy bread that tastes amazing.
One reason many bakers experience heavy, dense bread is because the dough wasn’t kneaded properly before it was baked.
That means you’ll need to take the time to properly knead the bread for this rustic bread recipe to ensure the bread turns out as light and flavorful as it should be.
- Start with a floured surface. Make sure you have plenty of flour on your work surface to keep your dough from sticking to you and your countertop.
- Give yourself plenty of room. You’ll need to be able to apply proper pressure on the dough, so make sure you have plenty of room to move your arms around as you’re kneading.
- Use the heel of your hand. To knead the dough, press the heel of your hand down into the top of the dough and push outward. Then, fold the top half of the dough down toward you and press down again with the heel of your hand. Continue this method over and over until the dough has been worked thoroughly.
- Test your dough. To see if you’ve kneaded enough, place a small amount of dough between your thumb and pointer finger and slowly pull your fingers apart. If the dough breaks, it needs to be kneaded more. If not, it’s ready to be baked.
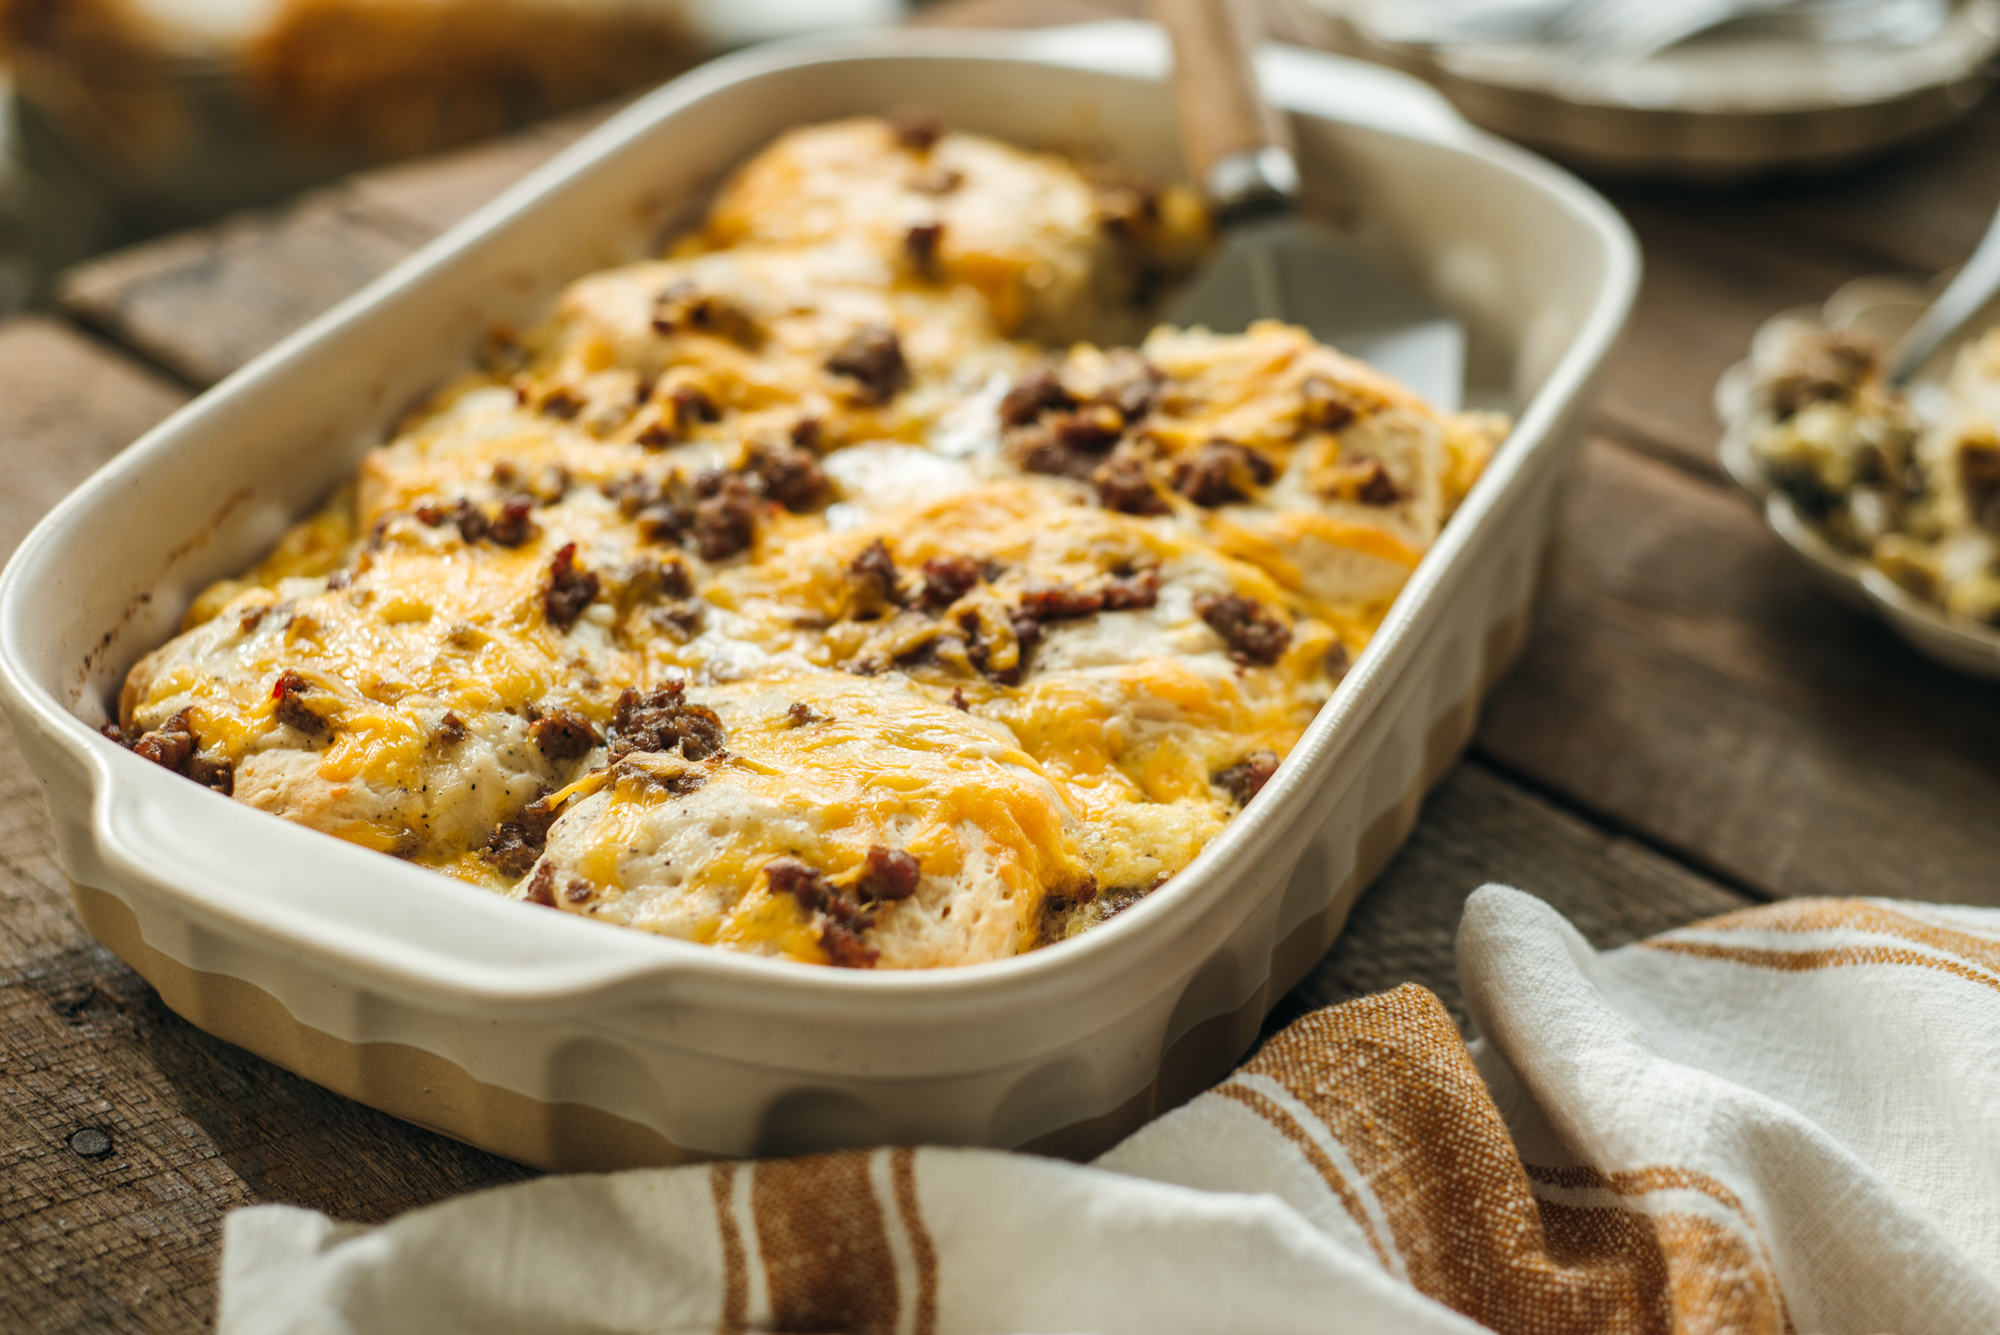
Try These Easy to Make No Yeast Breads:
How to Make This Tasty White Bread Recipe:

Easy to Make Rustic White Bread Recipe
Ingredients
Method
- In a small bowl add the warm water and sugar, then sprinkle the yeast in and stir, set aside for about 10 minutes.
- If using a stand mixer, attach the dough hook and add the flour baking powder, salt, and diced cold butter, mix on low speed until the texture resembles bread crumbs. (If using a large bowl, mix the flour, baking powder, and salt, then cut in the butter and mix, rubbing the butter throughout until it resembles crumbs).
- Add the yeast mixture and buttermilk and bring together until a soft dough starts to form.
- If using a stand mixer, continue to mix with the dough hook for about 3 – 5 minutes. then remove dough to a lightly flour-dusted surface, shape into a round loaf, cover with a clean towel and let rest for about 10 minutes. Proceed to #6 below.
- If you’re not using a stand mixture, on a lightly flour-dusted surface, turn out dough, dust lightly with more flour and knead gently until smooth. About 3 – 5 minutes. Let rest for about 10 minutes.
- Punch down dough and shape into a round loaf, place on a parchment-lined or greased baking sheet or baking stone.
- Cover with a clean towel and let rise in a warm place for about 30 minutes.
- Preheat oven to 375F. Cut an "X" on top of the loaf, about 1/2 inch deep.
- Place in oven and bake for 35 -45 minutes, until it’s golden on top, and skewer or knife inserted comes out clean.
Nutrition
Notes
Tried this recipe?
Let us know how it was!Original Post 9/25/2013 Updated 2/12/2021
7-Day Email Series
Seven dinners worth getting undressed for.
One lands in your inbox every morning for a week — plus the side and the drink I’d pour with it. Free.
No chef’s journey. No weird ingredients. Unsubscribe whenever.

I have to say this is the best-tasting bread ever! And, Little Figgy has put together a recipe that’ll go looking for excuses to feature it as the “must have” bread for most any meal.
Ok, time to get your ingredients and baking tools going–it’s Rustic Country Bread time!
Thanks, Little Figgy
I feel the same way, baking for me is like therapy and same problem in my household, baked bread or baked anything does not last a long time. I was looking at your collection of recipes on foodieportal, you have some great recipes!
😀 Ahh thank you so much, I greatly appreciate that! Just popped over to your site… Love it…Bookmarked it.
This looks perfect. What do you bake it in? Just curious. Looks delicious I will definitely give this recipe a try soon especially now that the chilly air is coming in 🙂 Thank you
Sorry just reread and saw where you said it 🙂 Thank you again
😀 …. Hope you enjoy it..it’s gorgeous and most welcome! 😀
Stacey,
My name is Allie, I have been working for some time on free form loaves, round like your loaf. My problem has been keeping it from slumping. The last few months I have been adding more flour and increasing the amount of kneading to hopefully build the gluten. The last baking things turned out a little better. Do you have any other tips for me. Your loaf looks so nice. Thanks, Allie
Hi Allie. Practice. That’s my number one tip. Baking in different weather conditions can vary (temps, and especially higher elevations), so make sure that you ask your baking friends or locals if they might have any suggestions to accommodate baking in your area. Also always use the best quality flours and baking ingredients for the best results, my favorites are either King Arthur’s Flour or Bob’s Red Mill. And my other tip would be to make sure that your yeast is fresh and in date, and I prefer to dissolve my yeast in liquids that are about 105 – 108, which I have found to give great results. As for the kneading, it does depend on the bread that you making, when kneading by hand I aim for about 8 – 10 minutes, but if using my stand mixer with a hook attachment, it only takes about 5 – 8 minutes and it’s good to go. I hope this helps and that you continue to find it as therapeutic making your own breads as I do.
I have to say this is the best-tasting bread ever! And, Little Figgy has put together a recipe that’ll go looking for excuses to feature it as the “must have” bread for most any meal.
Ok, time to get your ingredients and baking tools going–it’s Rustic Country Bread time!
Thanks, Little Figgy