
Recipe Summary
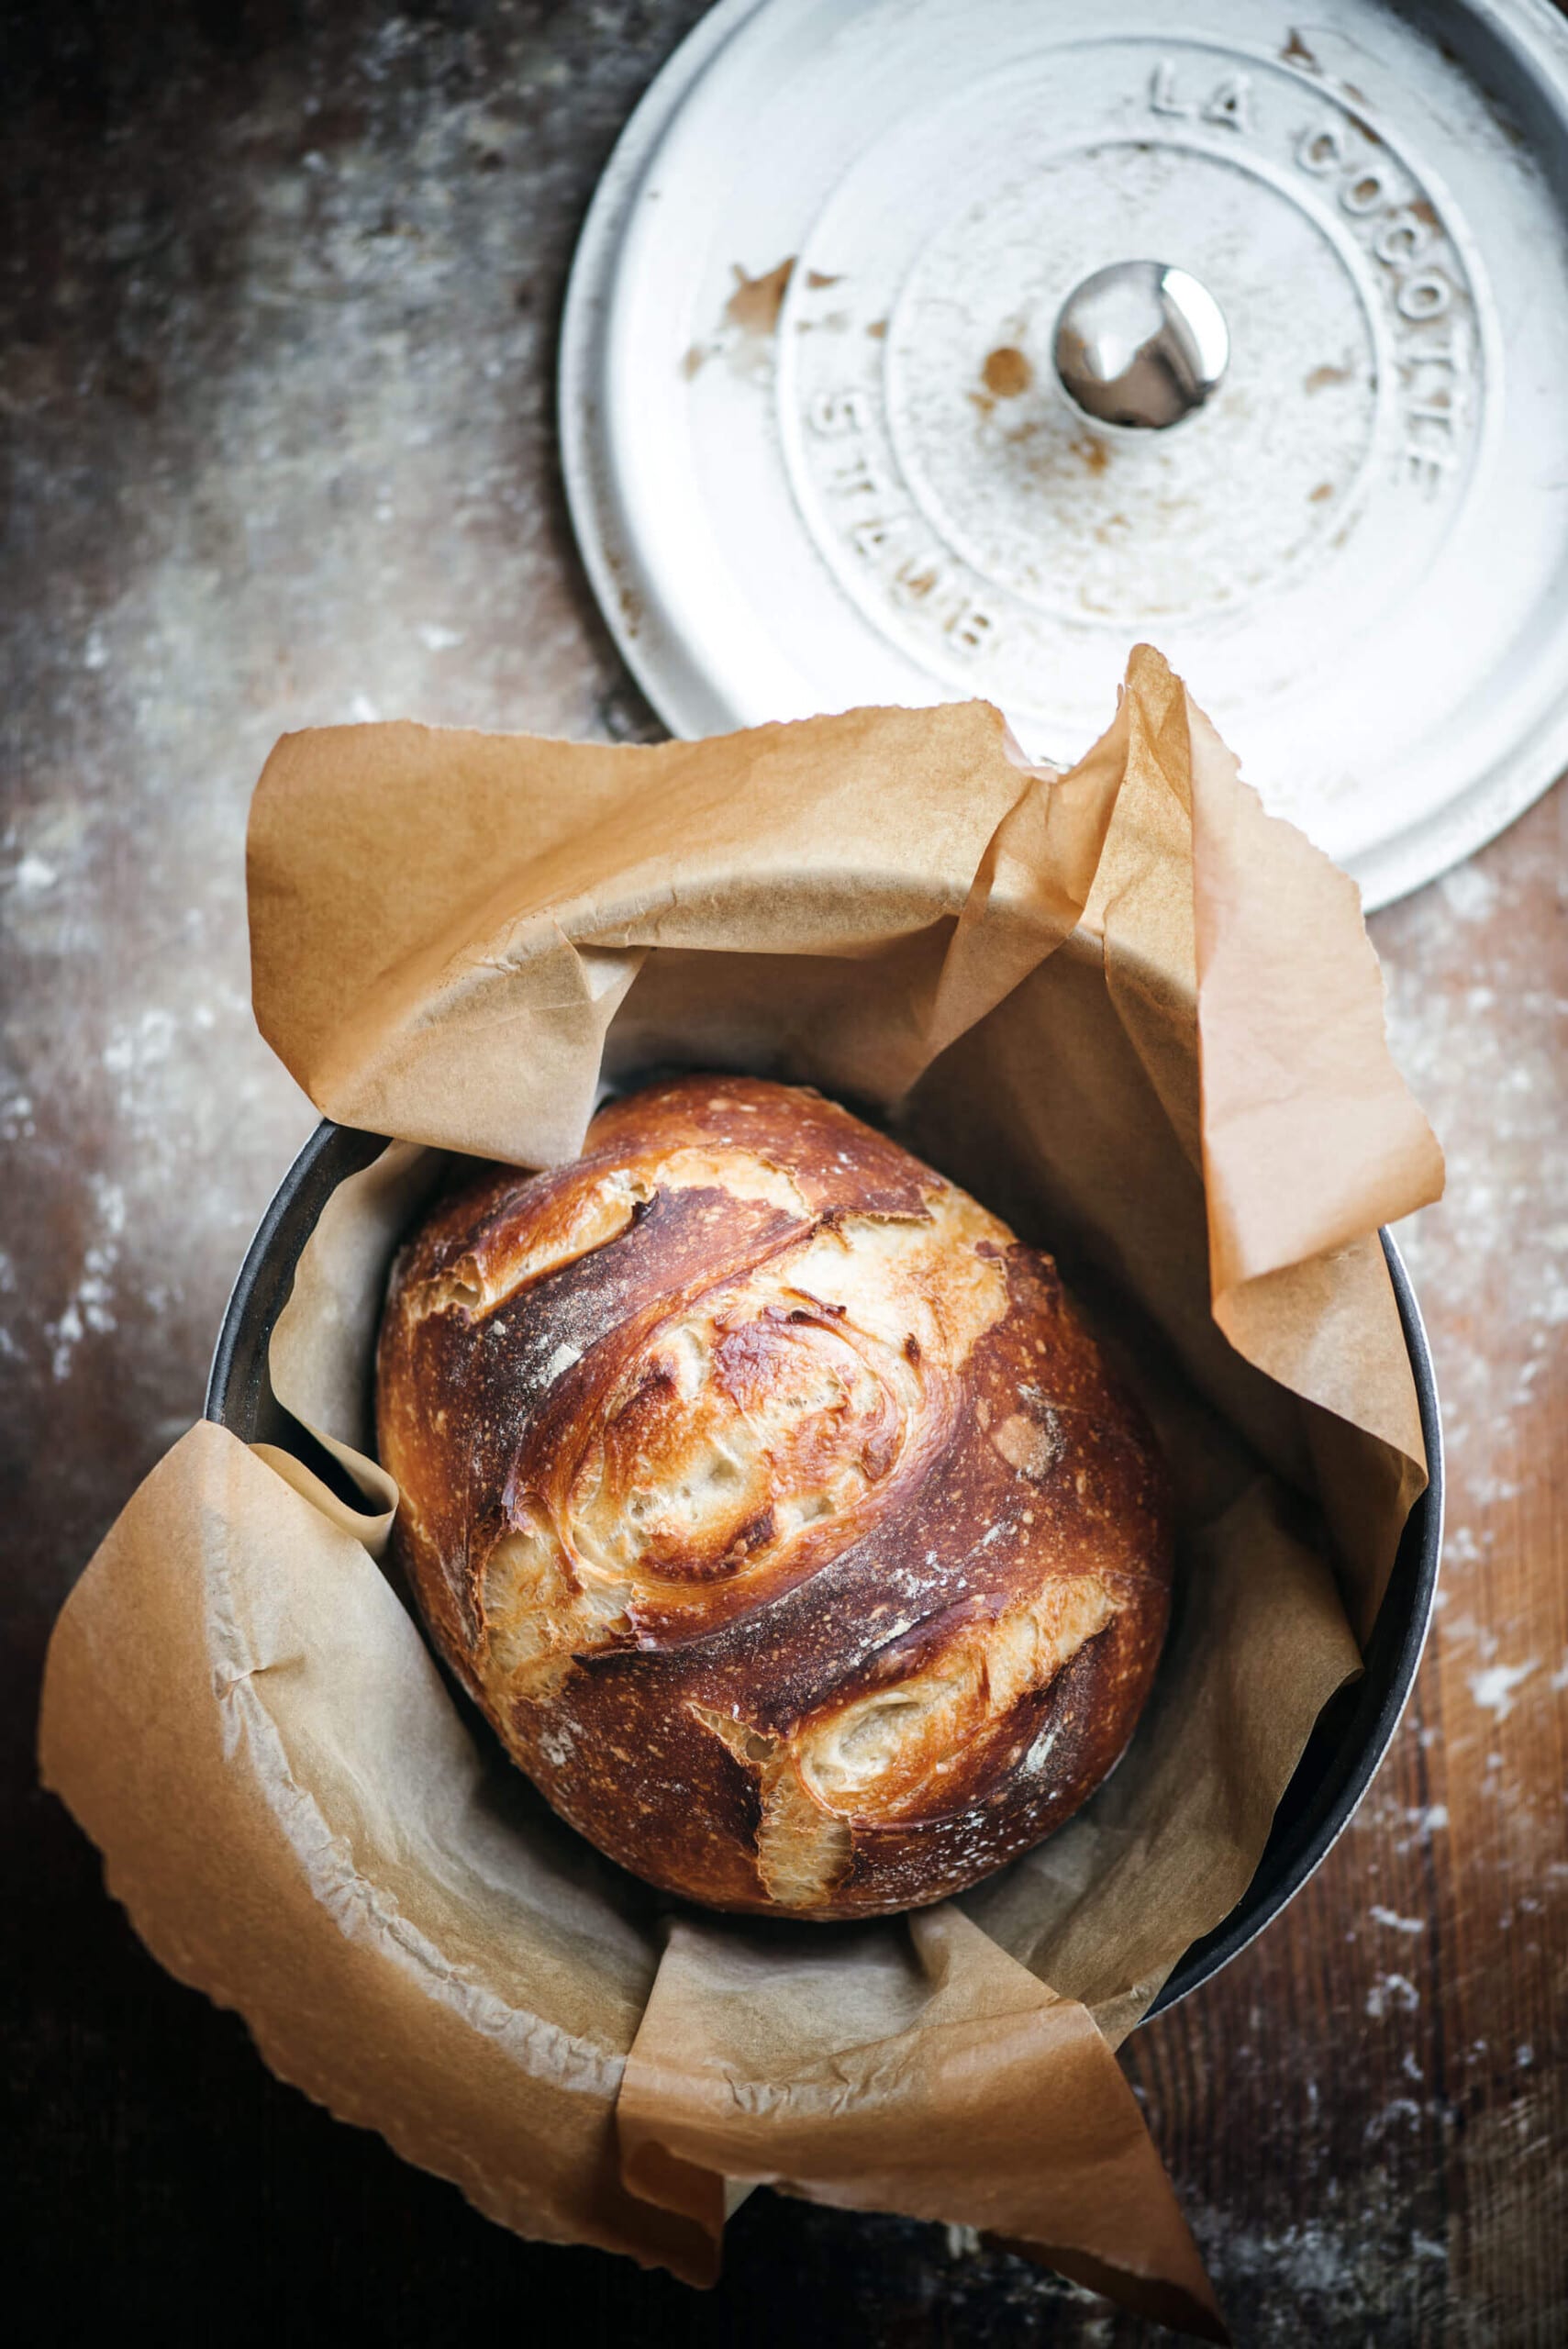
Learn how to make this easy bread recipe, Dutch Oven Bread. It has all of the flavors of artisan bread, with the wafting aroma of fresh baked bread, and that crackly crust and beautifully baked center.
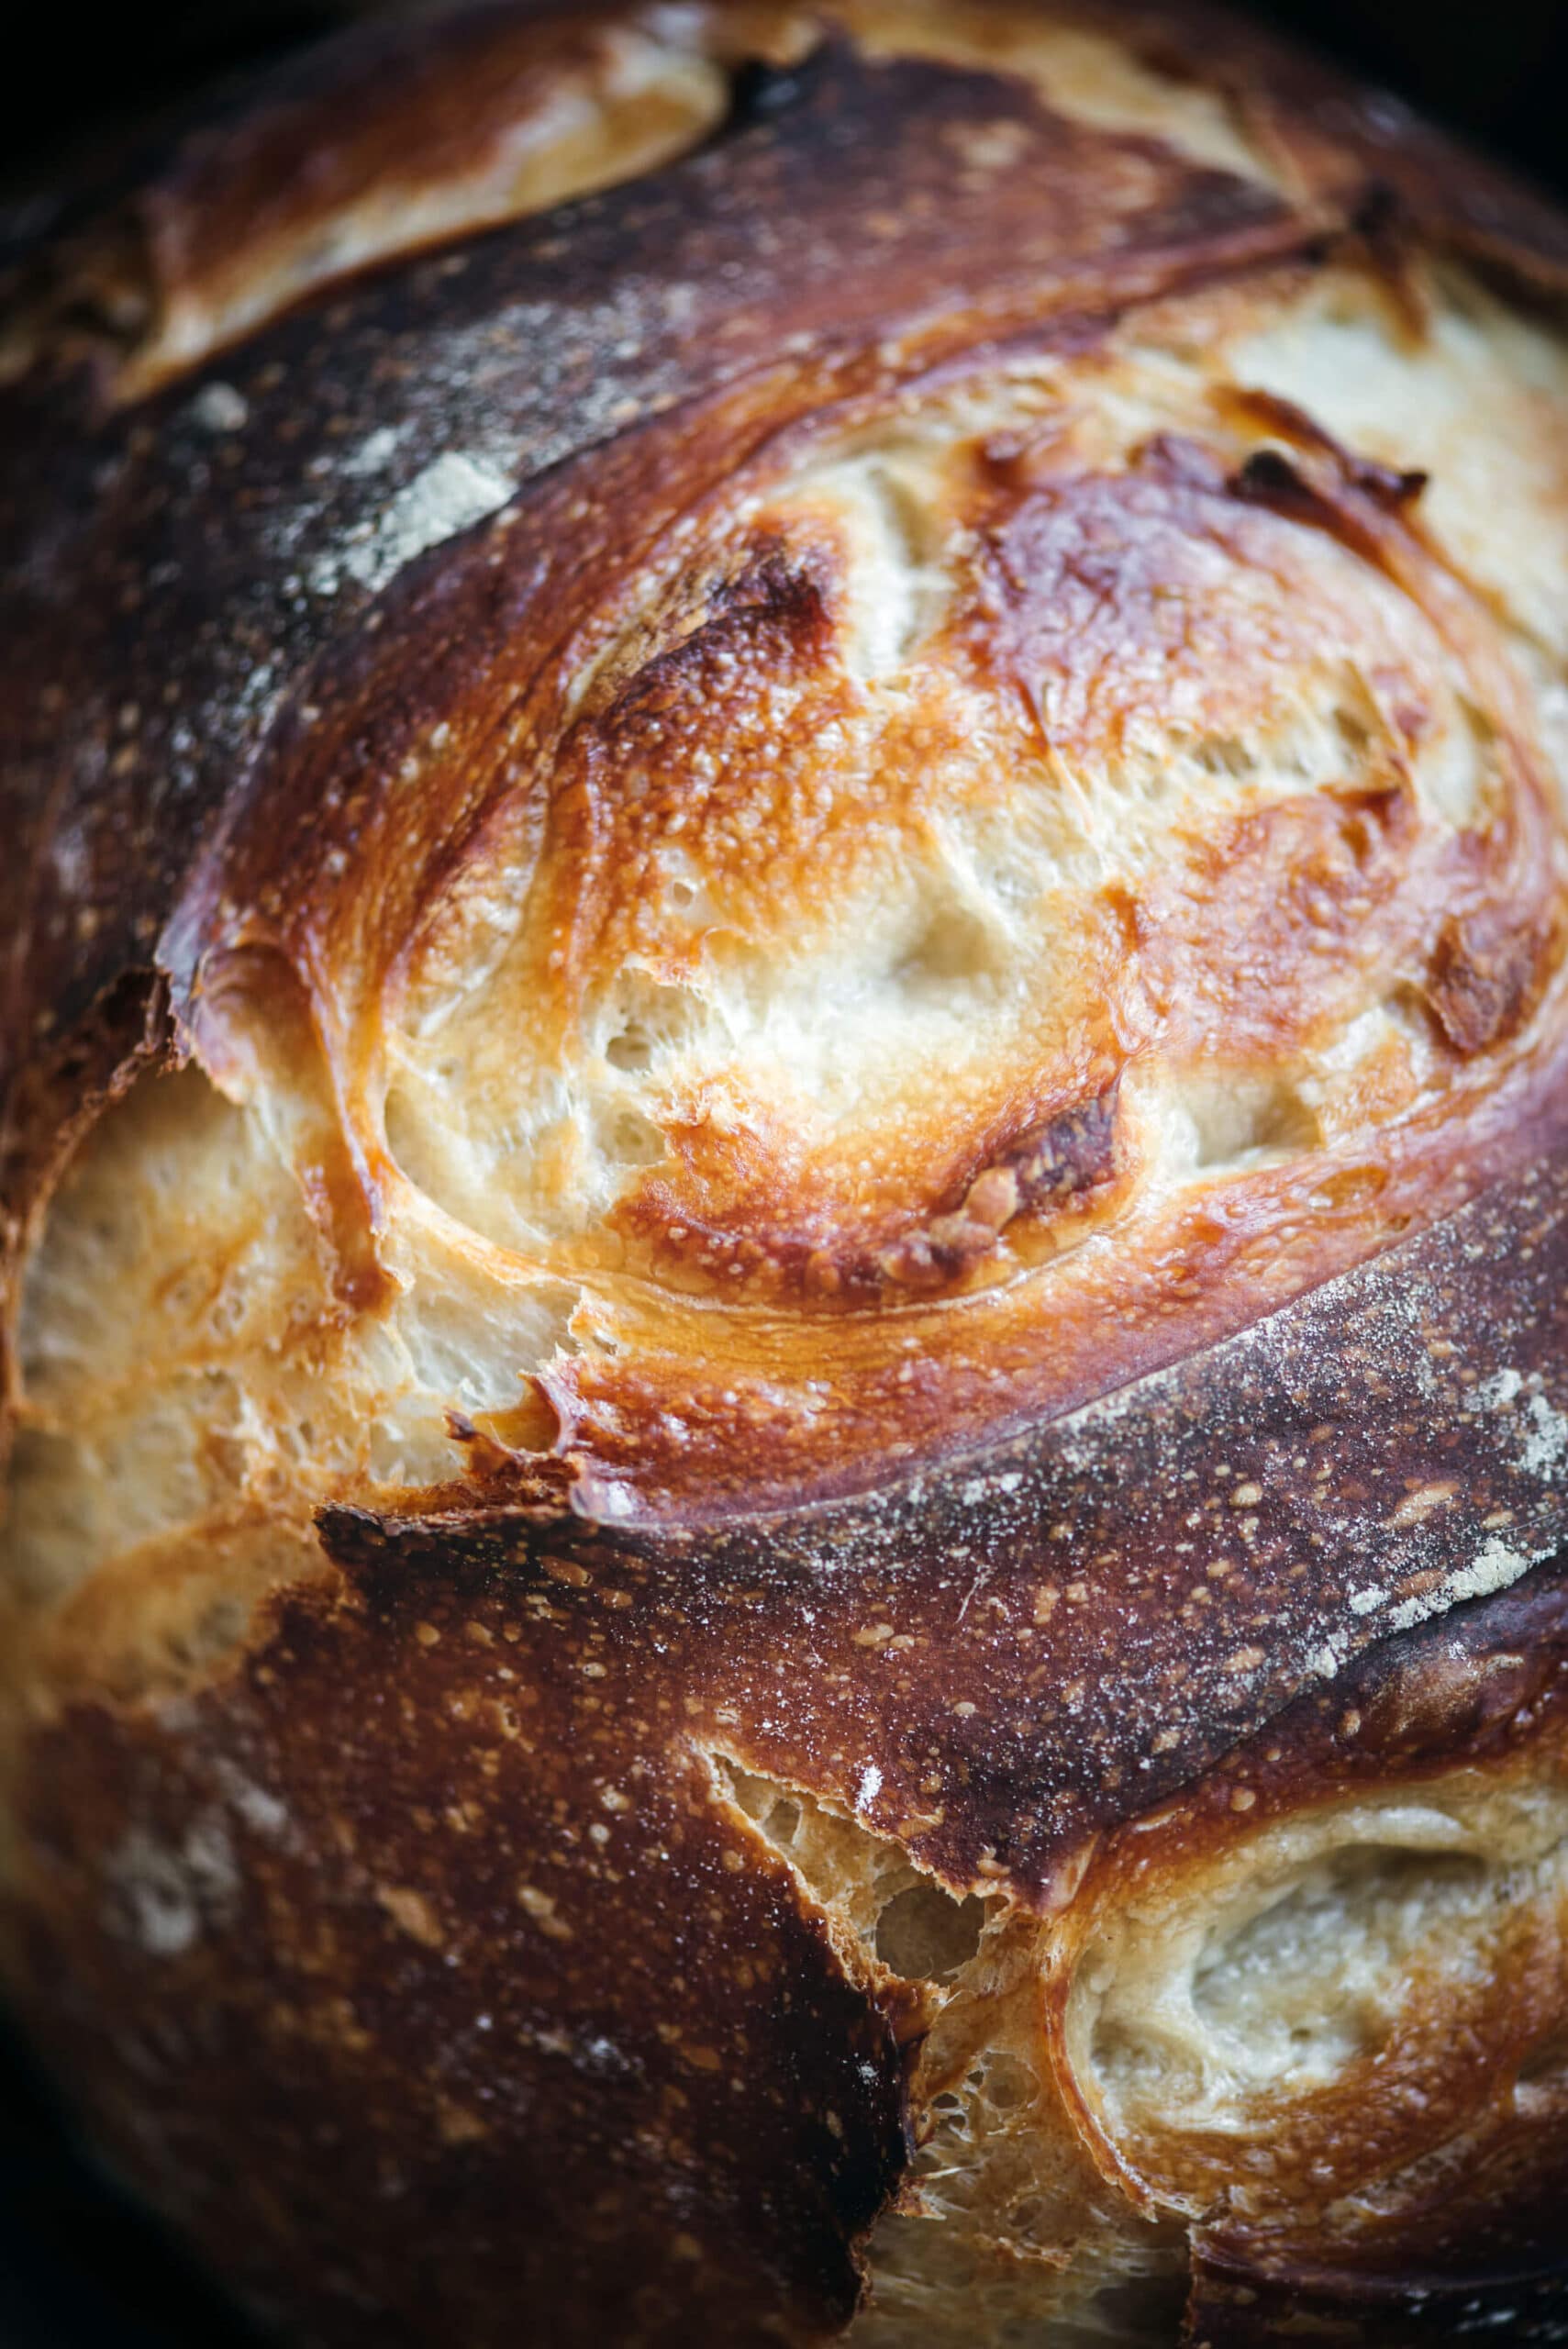
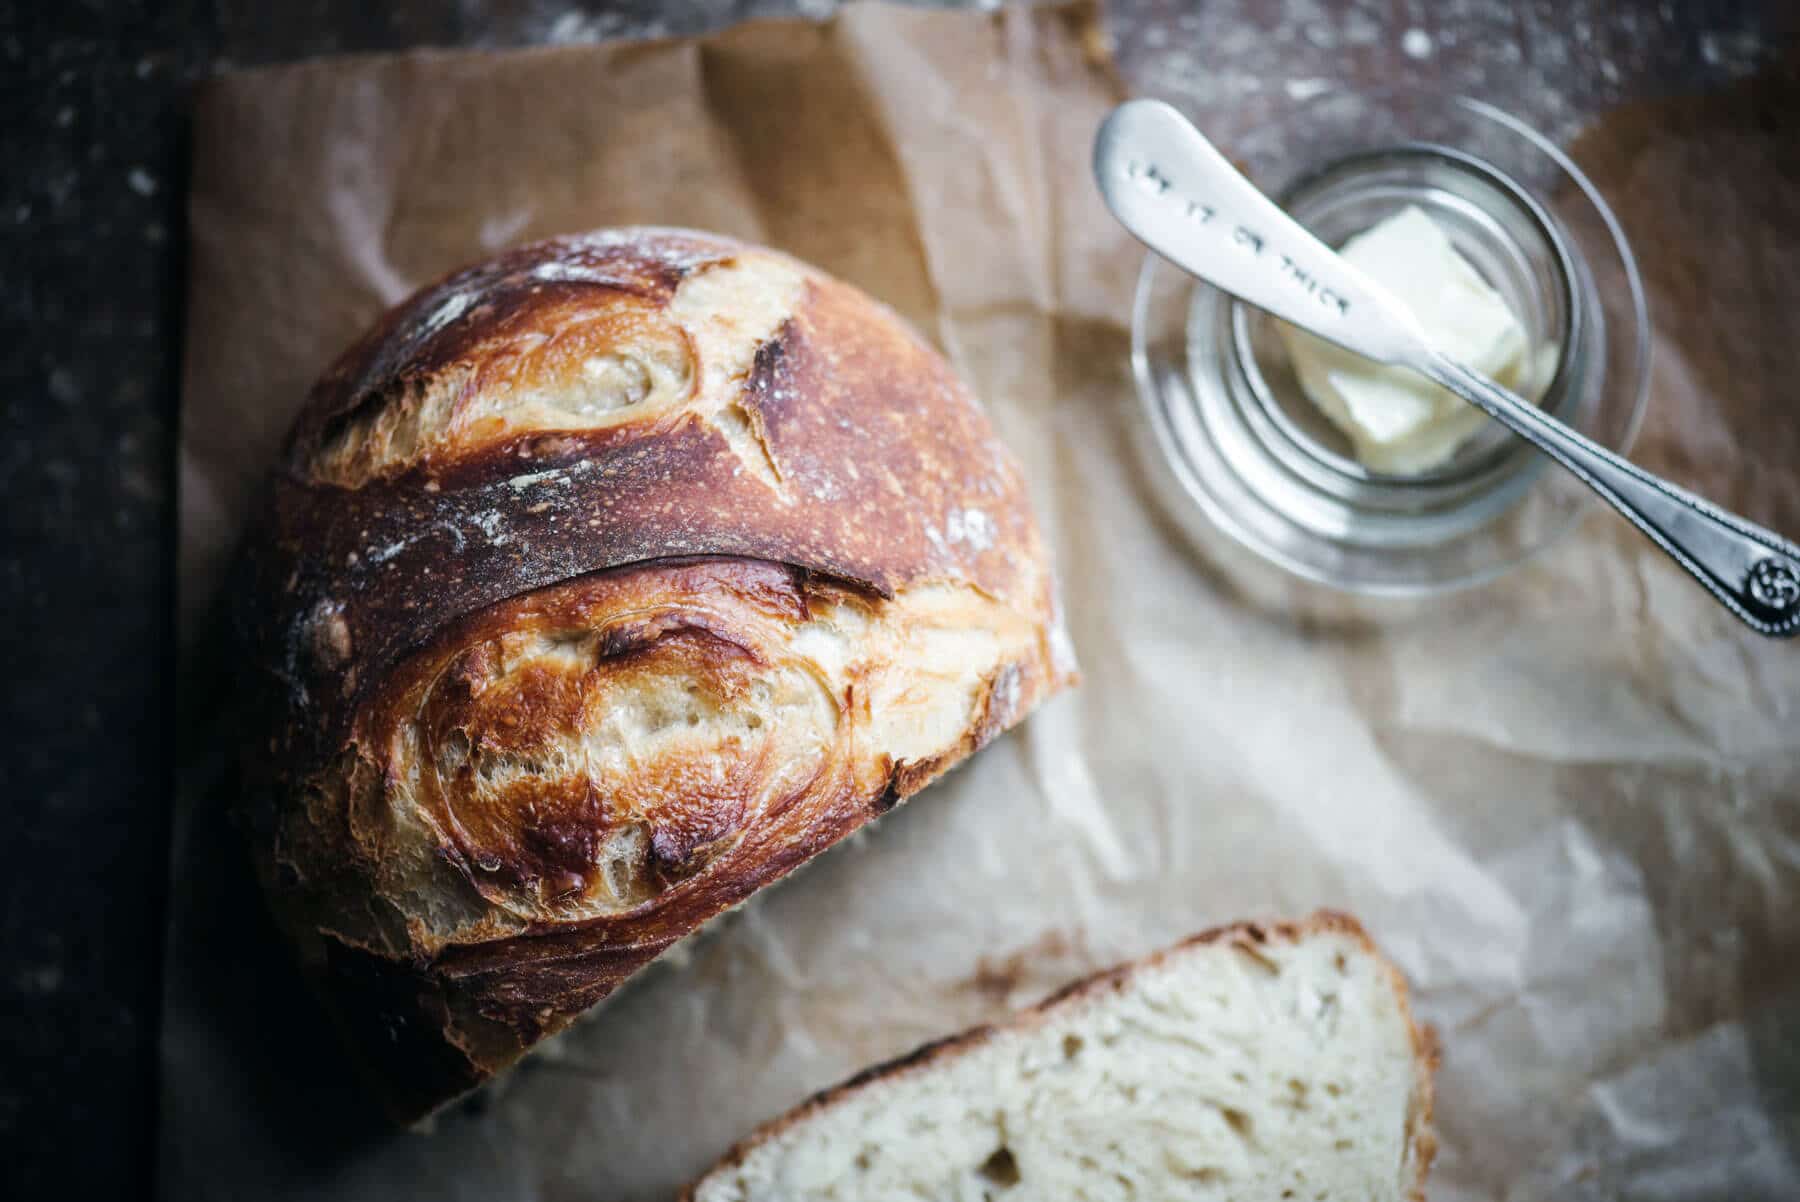
This Dutch oven bread is an easy no-knead loaf made with four pantry ingredients: flour, water, active dry yeast, and salt. The covered pot traps steam for a crackly golden crust, while the center stays soft and chewy.
Mix the dough for a same-day bake, or refrigerate it and bake a fresh loaf later. The recipe makes two large loaves or four smaller loaves, so you can bake what you need and save the remaining dough for another day.
❤️ Why You'll Love This Dutch Oven Bread
- Only four ingredients. Flour, water, active dry yeast, and salt are all you need.
- No kneading. Stir the dough, let it rise, then give it a few folds before shaping.
- Bake it the same day. The room-temperature rise takes about 1 to 2 hours. Refrigerating the dough is optional.
- Make large or small loaves. One batch makes two large loaves or four smaller loaves.
Why Bake Bread in a Dutch Oven?
The secret is steam, and a Dutch oven traps it perfectly. As the wet dough heats up inside the covered pot, it releases moisture with nowhere to go, so it circulates around the loaf during the first part of the bake. That is exactly what a professional stone hearth oven does, and it is what gives artisan bread its crackly, deeply golden crust.
Once the lid comes off for the final stretch, the steam escapes and the crust sets. The heavy pot and tight-fitting lid do the work that a standard home oven simply cannot do on its own.
The Best Dutch Oven for Bread
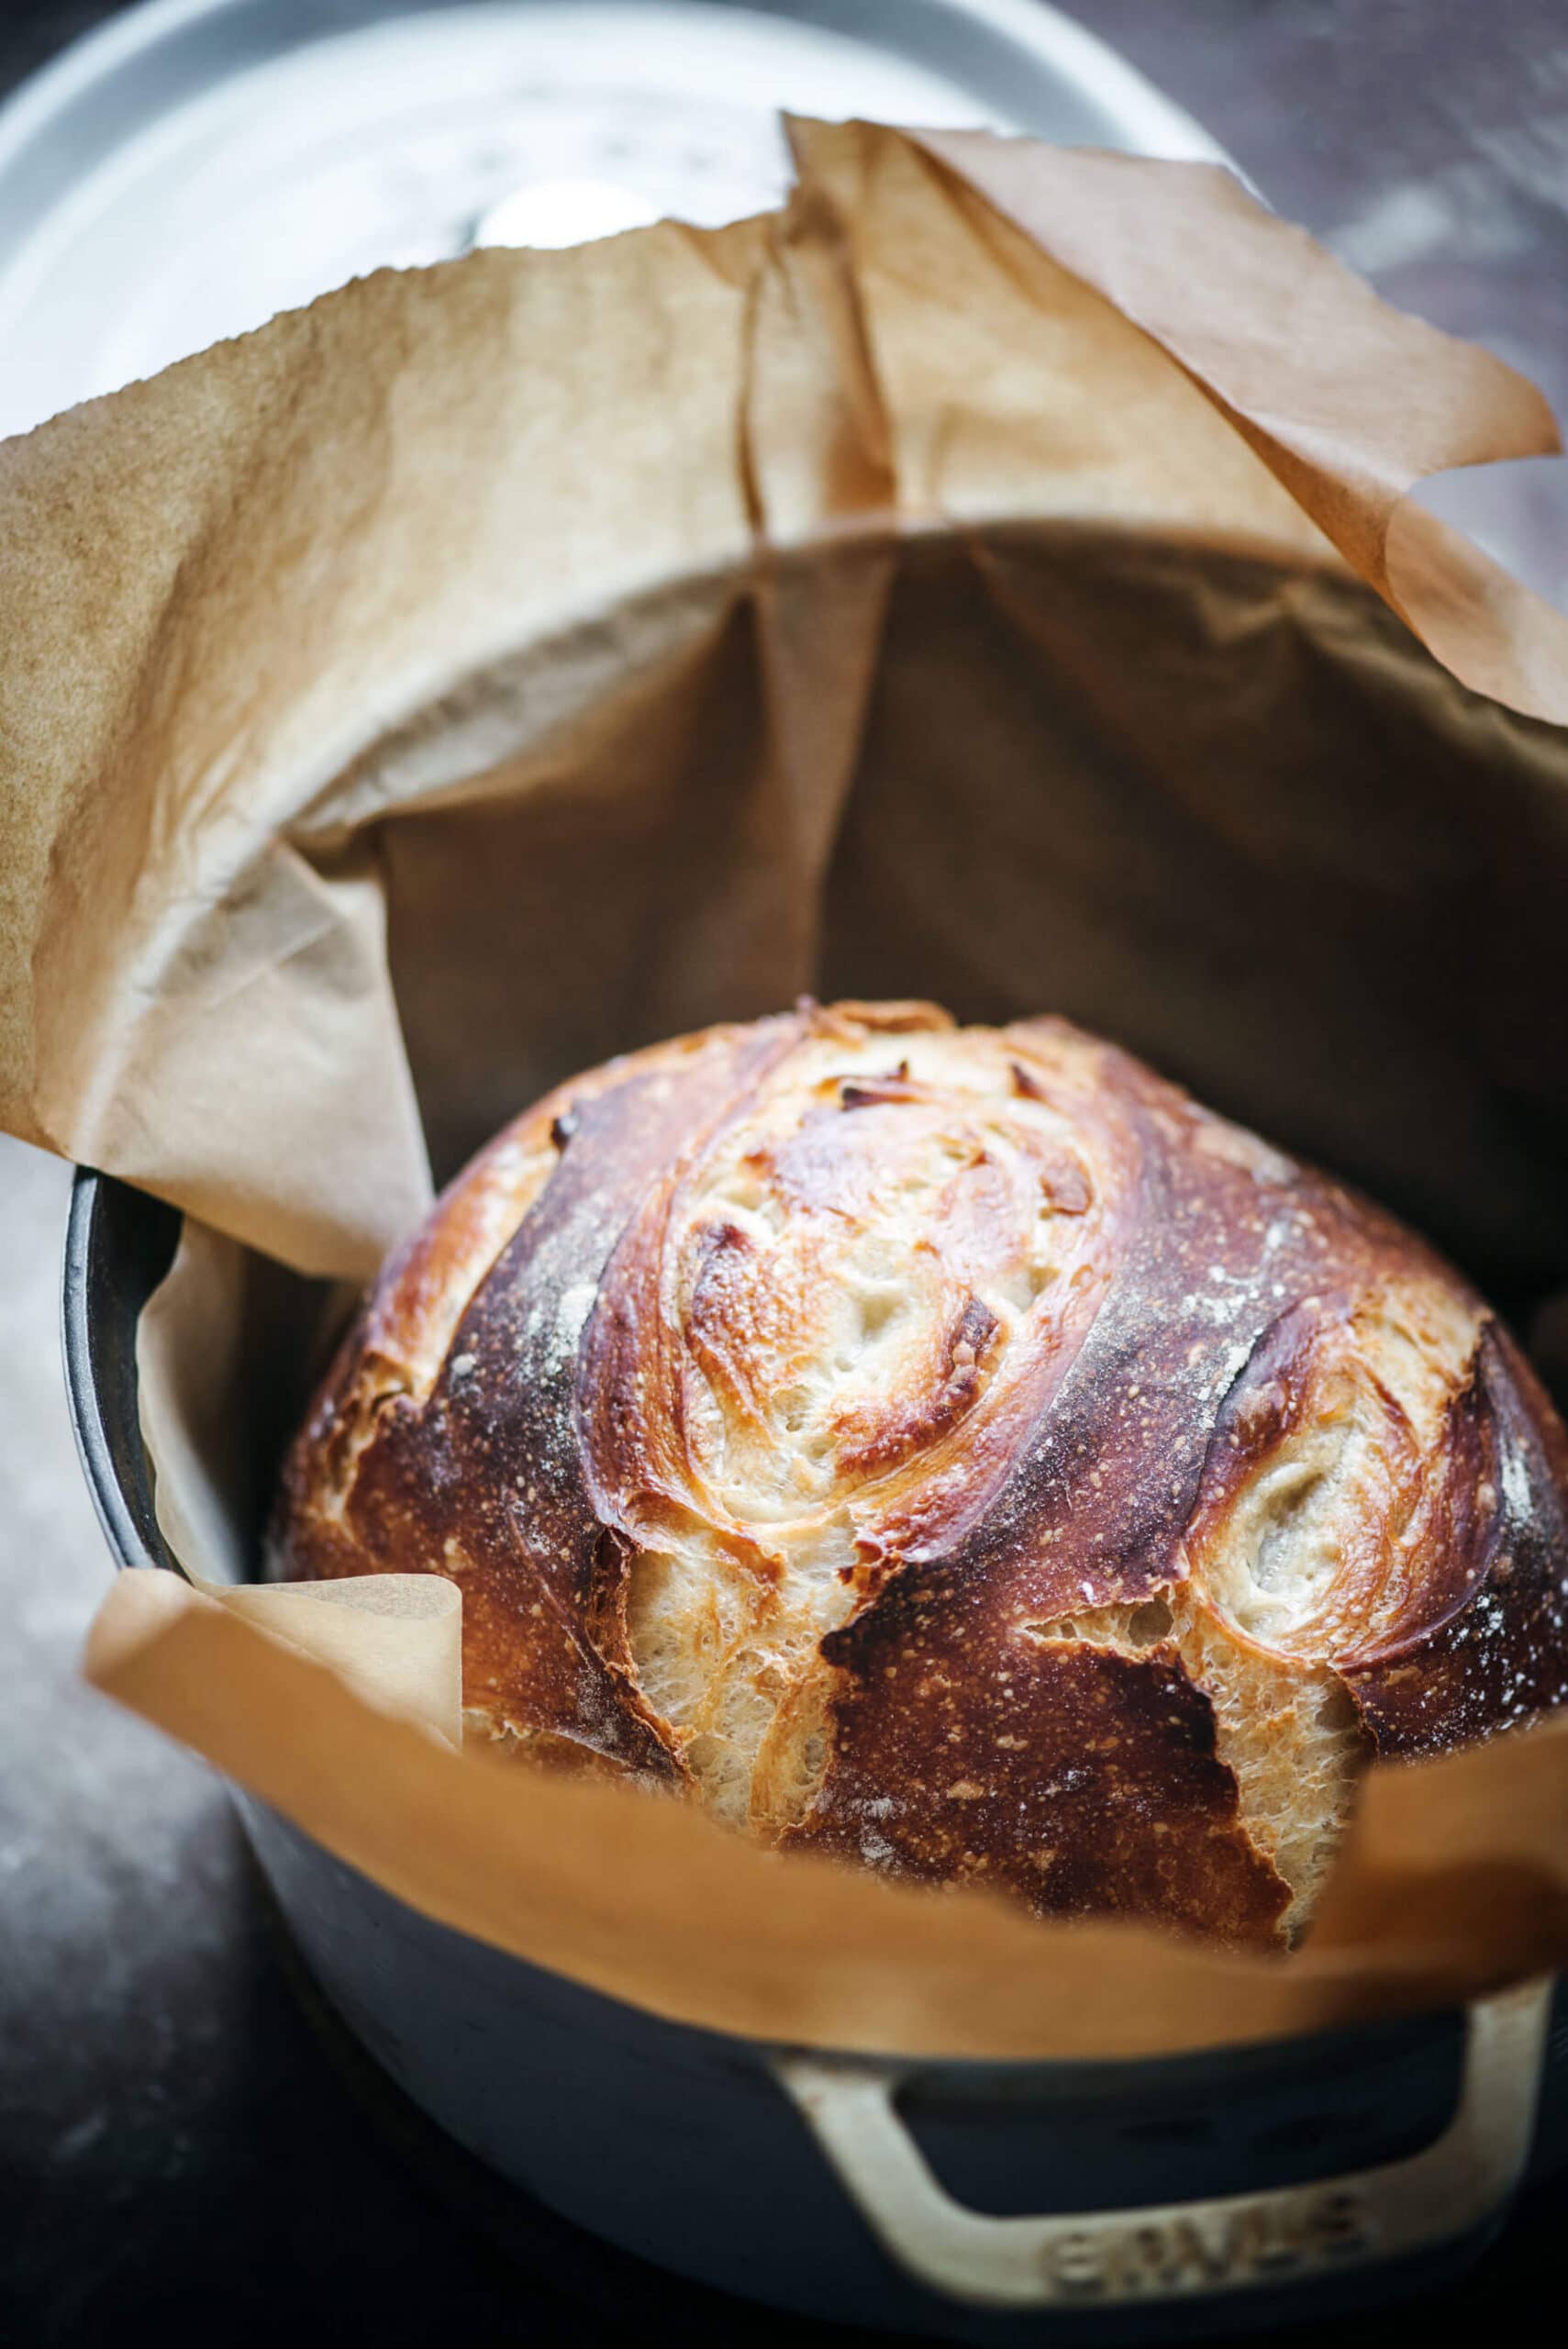
Size matters here. A 4 to 7 quart Dutch oven is the sweet spot for a standard loaf. Too small and the dough has no room to expand; too large and it spreads out flat instead of rising tall.
Enameled vs. bare cast iron. Both work well. Enameled cast iron, like a Le Creuset or Staub, is easy to maintain, and the light interior makes it simple to monitor the bottom of the loaf. Bare cast iron holds heat just as well and costs less, but it needs a little more seasoning care.
One thing to check: make sure the lid fits tightly and the whole pot, knob included, is oven safe to at least 450°F. Some lids have plastic knobs that cannot take that heat — swap in a metal one before you bake.
What You’ll Need
Here is everything that goes into this dutch oven bread — the full amounts are in the recipe card below.
- All-purpose or bread flour — either works; bread flour gives a slightly chewier crumb.
- Active dry yeast — the lift behind the loaf.
- Warm water — around 100–105°F, warm enough to wake the yeast without killing it.
- Salt — for flavor and to keep the rise in check. Do not skip it.
- Equipment: a 4–7 quart Dutch oven, a large mixing bowl, and parchment paper.
What to Expect From the Dough
This dough should look sticky or slightly wet after mixing. That is normal, and adding more flour can make the finished bread heavier. During the 1 to 2 hour rise, look for visible growth rather than waiting for the dough to double completely.
Before shaping, give the dough 8 to 10 folds to help it come together. Because the dough stays soft, lightly floured hands and a parchment sling make handling it much easier. Find the complete amounts, timing, and baking sequence in the recipe card below.
Dutch Oven Bread Troubleshooting
The dough is rising slowly
Check the yeast first. It should look foamy after resting for 5 minutes in the warm water. A cool kitchen can also slow the rise, so give the dough time and look for visible growth. It does not need to double completely before you continue.
The dough is very sticky
Sticky or slightly wet dough is expected in this recipe. Use lightly floured hands and parchment to handle it, and resist mixing in extra flour. That moisture helps create the bread’s soft, chewy center.
The center seems gummy
Use the rich golden crust and hollow sound in the recipe card as your doneness cues. Then let the loaf cool before slicing. The center continues to set as the bread cools, and cutting too soon can leave the crumb gummy.
The bottom gets too dark
Move the Dutch oven farther from a bottom heating element. You can also place an empty sheet pan on a rack below the Dutch oven to soften the direct heat without changing the recipe temperature.
A note about preheating
This recipe uses a preheated Dutch oven. Before heating yours empty, confirm that the pot, lid, handles, and knob are all rated for 450°F and follow the cookware manufacturer’s instructions.
Flavor Variations
The recipe notes support simple mix-ins such as seeds, chopped nuts, or dried fruit. Fold them into the dough for extra texture, keeping the base recipe and baking method unchanged.
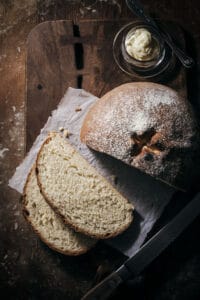
Once you have this loaf down, our rustic white bread and skillet cornbread are easy next bakes.
What to Serve With Dutch Oven Bread
A crusty loaf like this earns its place next to almost anything. Tear it alongside soups and stews, hollow it into a bread bowl, or toast thick slices for breakfast with butter and jam. It is especially good with a bowl of smoky bacon corn chowder — that combination is hard to beat.
How to Store Dutch Oven Bread
This bread is at its absolute best the day it is baked — that crust is everything. For short-term storage, wrap the loaf in a clean kitchen towel and keep it at room temperature for 2 to 3 days. Skip plastic bags; they trap moisture and turn the crackly crust soft and chewy within hours.
For longer storage, freezing works beautifully. Cool the loaf completely, slice it, then wrap the slices tightly and freeze for up to 3 months. Thaw at room temperature, or pop slices straight into a warm oven for a few minutes — they come back surprisingly well.
Dutch Oven Bread FAQ
Can you make this in a 6-quart Dutch oven?
Yes. A 6-quart Dutch oven gives a large loaf enough room to expand. Before preheating it empty, confirm that the pot, lid, handles, and knob are all rated for 450°F and follow the manufacturer’s instructions.
Can you halve the recipe to make one loaf?
Yes. Halve all four ingredients and keep the oven temperature the same. Begin checking a smaller loaf a few minutes earlier, using the rich golden crust and hollow sound described in the recipe card as your doneness cues.
Why is the dough so sticky?
Sticky or slightly wet dough is expected here. Use lightly floured hands and parchment to handle it, but avoid mixing in extra flour unless the ingredients were measured incorrectly.
Do you have to knead this bread?
No. This is a no-knead recipe, but the dough does receive 8 to 10 folds before it is divided and shaped. Follow the recipe card for the complete sequence.
How do you know when the bread is done?
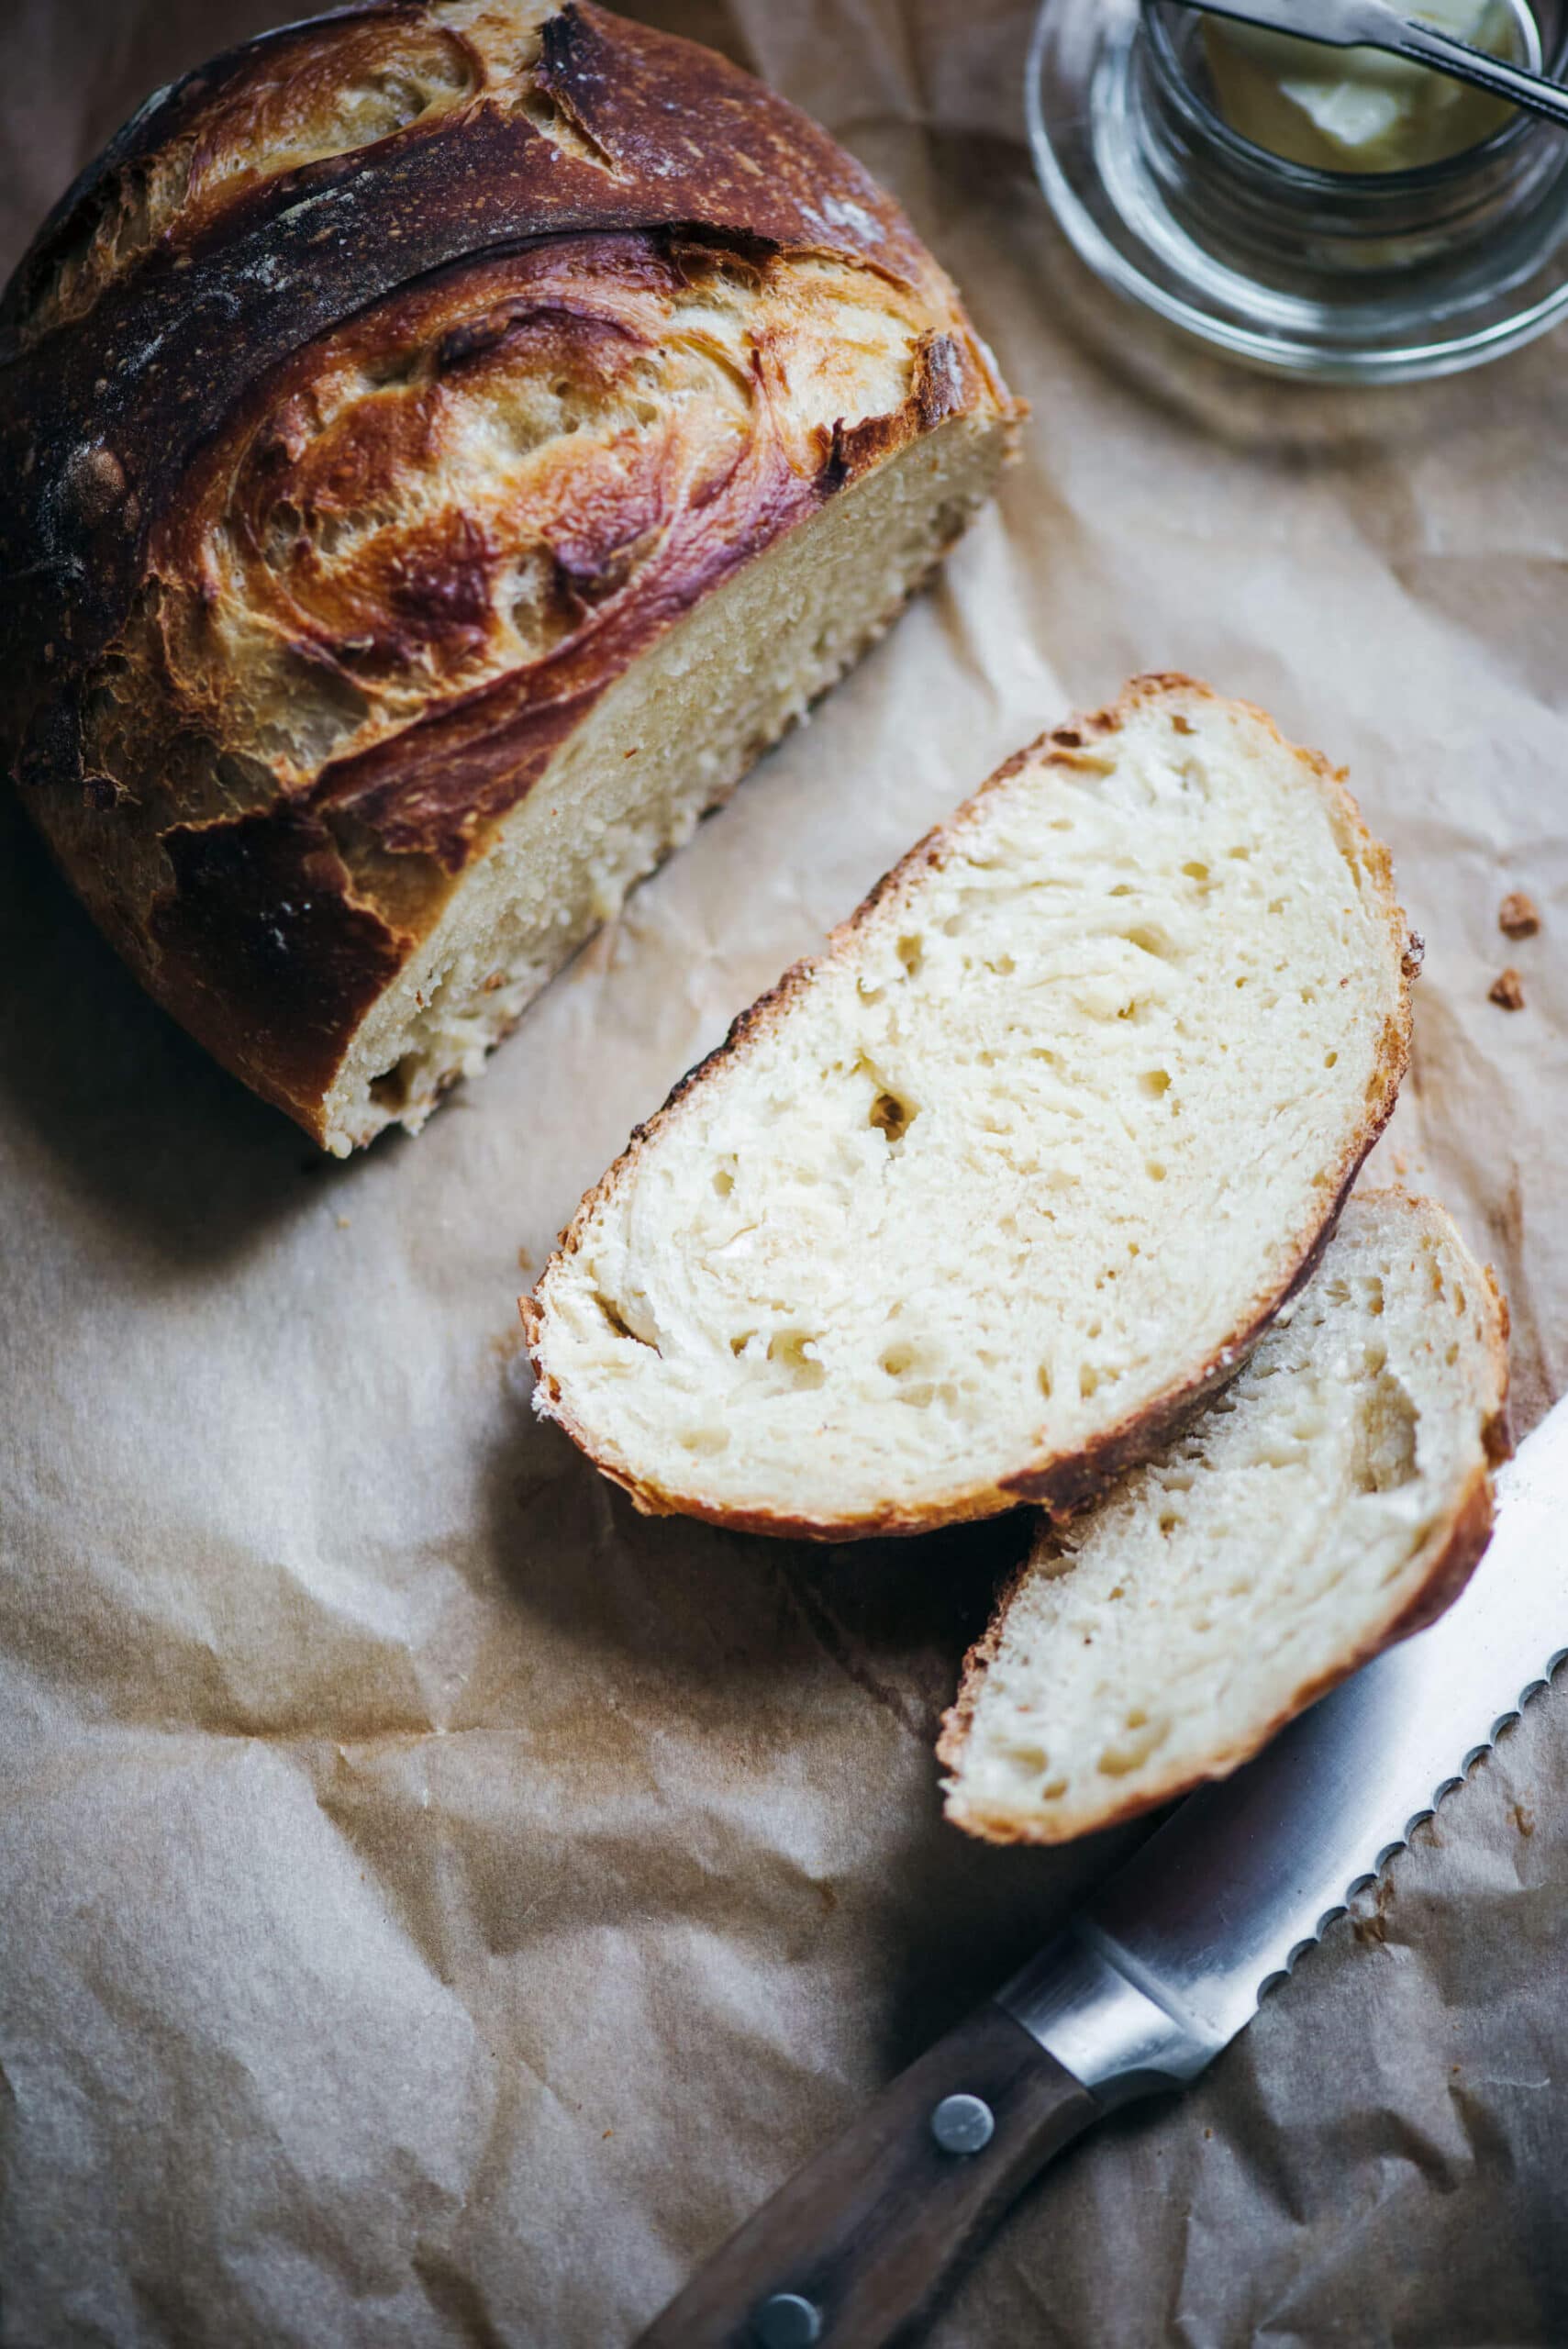
Follow the recipe card and bake until the crust is a rich golden color and the loaf sounds hollow when tapped on the bottom. Let it cool before slicing so the center has time to set.
Can you make the dough ahead of time?
Yes. The source recipe allows the covered dough to be refrigerated for up to two weeks after mixing. Bring out only what you plan to bake, then follow the shaping and baking directions in the recipe card.
This loaf is especially good next to a creamy soup, and I love it with a bowl of broccoli potato soup for dipping.
If you want something faster than a loaf, these Southern biscuits still deliver that warm-from-the-oven comfort.

Dutch Oven Bread
Ingredients
Equipment
Method
- In a large bowl or the bowl of a stand mixer fitted with a dough hook, combine the yeast and warm water. Allow to rest for 5 minutes, it should become foamy.
- Add the flour all at once along with the salt to the wet ingredients, then mix with a wooden spoon or on low speed until combined (do not overmix). The dough will be sticky or slightly wet at this point, this is normal and it will come together.
- You can keep the dough in the mixing bowl, then lightly dust with flour, do not mix in. Cover with a clean kitchen towel or plastic wrap and allow to rise in a dry warm area for about 1 – 2 hours, or until the dough has risen – don’t be worried if the dough has not completely doubled in size. (At this stage, you can continue with baking in step 4, or you can place the bowl of dough loosely covered with a kitchen towel or plastic wrap in the refrigerator for up to 2 weeks).
- While the dough is still rising, after about 45 minutes, place an empty Dutch oven (with the lid on) in a cold oven and preheat to 450°F. I usually aim to preheat my oven for at least 30 minutes or up to 1 hour, this allows the Dutch oven to preheat properly.
- Once the dough has risen (at least 1 hour), tip the dough onto a lightly floured surface and sprinkle the top of the dough with a dusting of flour. Fold it over few times (8 – 10). Divide dough in half for 2 large loaves or into 4 equal portions for four mini-sized loaves, working with one portion at a time, shape into a ball, tucking edges underneath the dough.
- Using a sharp knife or bread lame, cut 2 – 3 slashes or a cross shape into the top of the loaf.
- Place parchment paper on a clean surface or in a bowl, then place the flour-dusted dough on the parchment paper, cover with a clean kitchen towel and rest for 15 minutes.
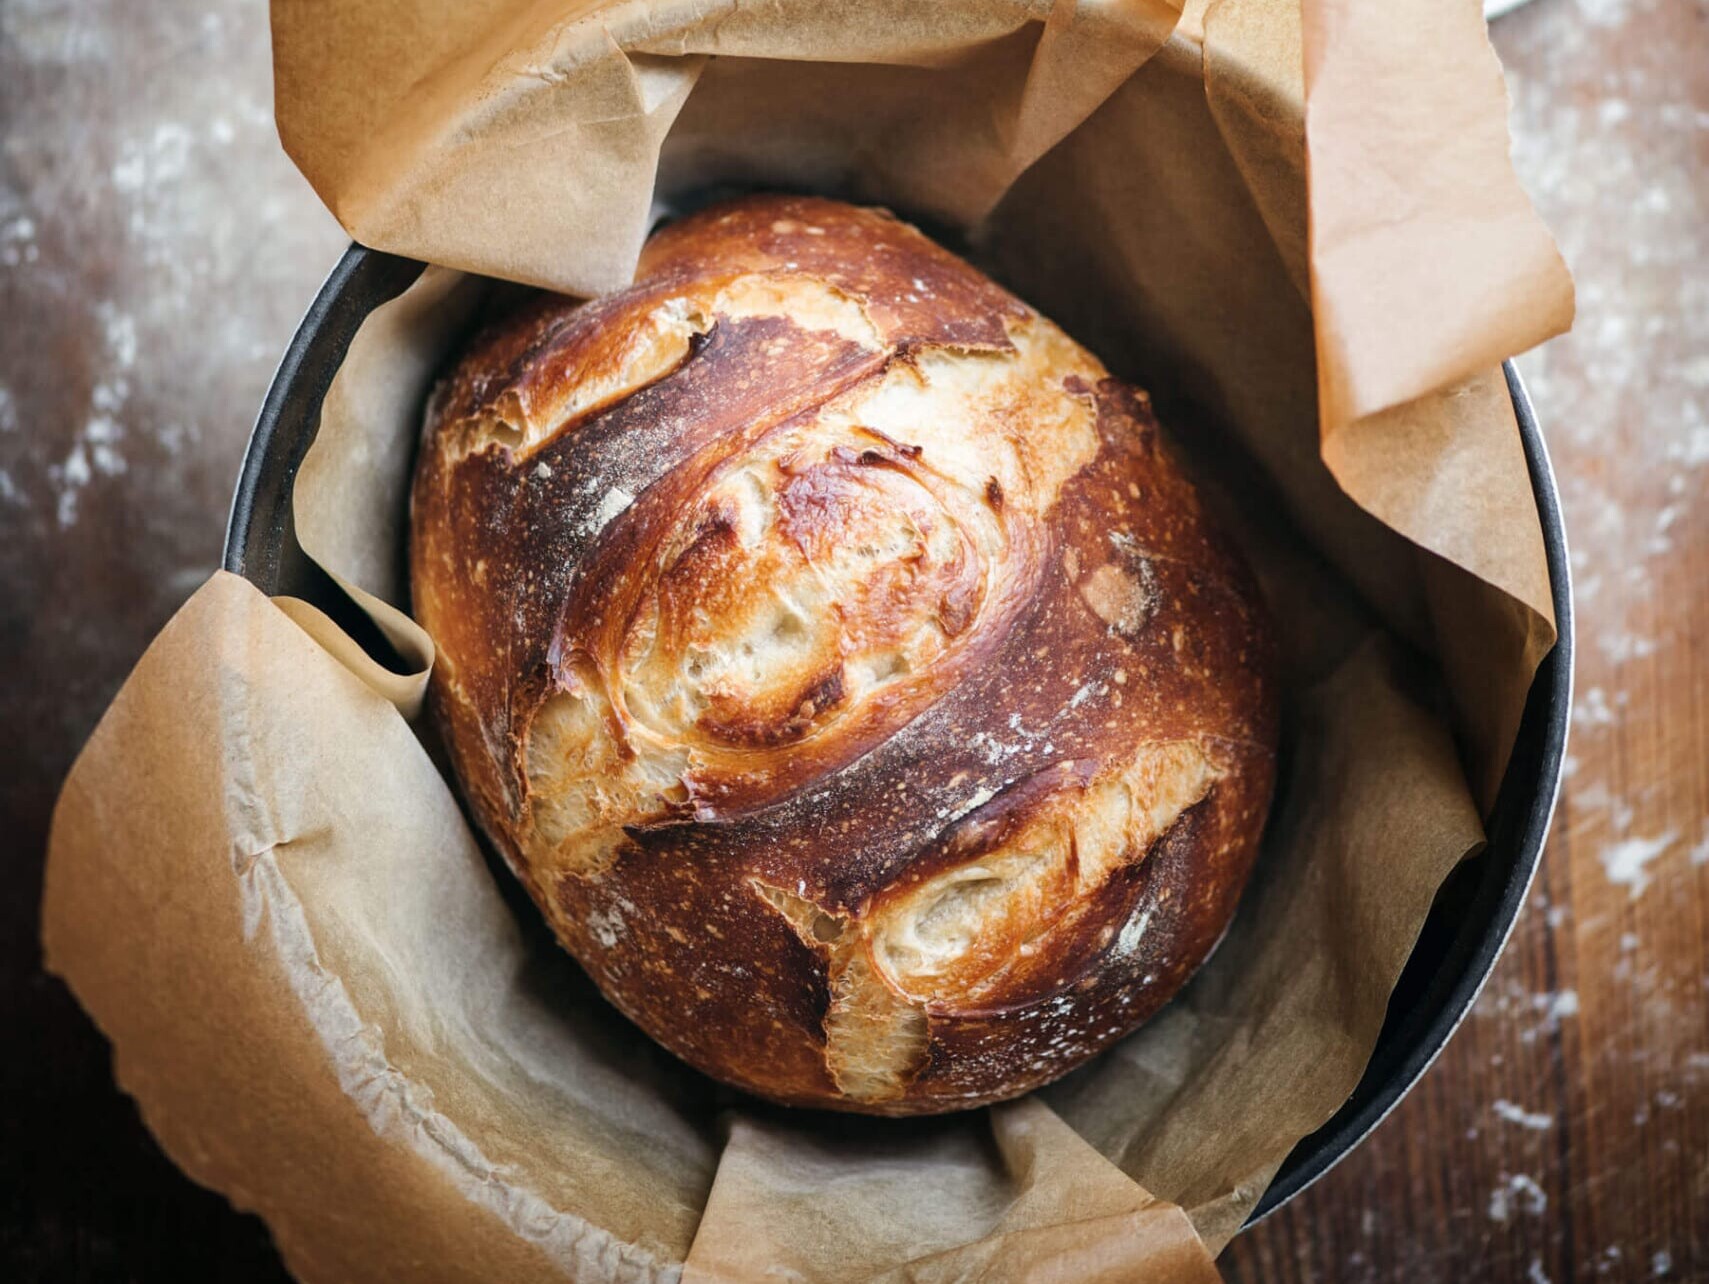
- Wearing oven gloves, carefully remove the lid of the Dutch oven, lift the parchment paper with dough and transfer it to the Dutch oven, cover it with the lid and bake for about 25 minutes for the large loaf (if making the four smaller loaves, bake for 20 minutes). Remove the lid, continue to bake for an additional 18 – 20 minutes (smaller loaves – 15 minutes), or until bread is a rich golden color and if tapped on the bottom of the loaf, it sounds hollow.
- Remove from the oven, allow the bread to rest for 15 minutes before slicing.
Nutrition
Notes
Tried this recipe?
Let us know how it was!Related Recipes
7-Day Email Series
Seven dinners worth getting undressed for.
One lands in your inbox every morning for a week — plus the side and the drink I’d pour with it. Free.
No chef’s journey. No weird ingredients. Unsubscribe whenever.
