
Recipe Summary
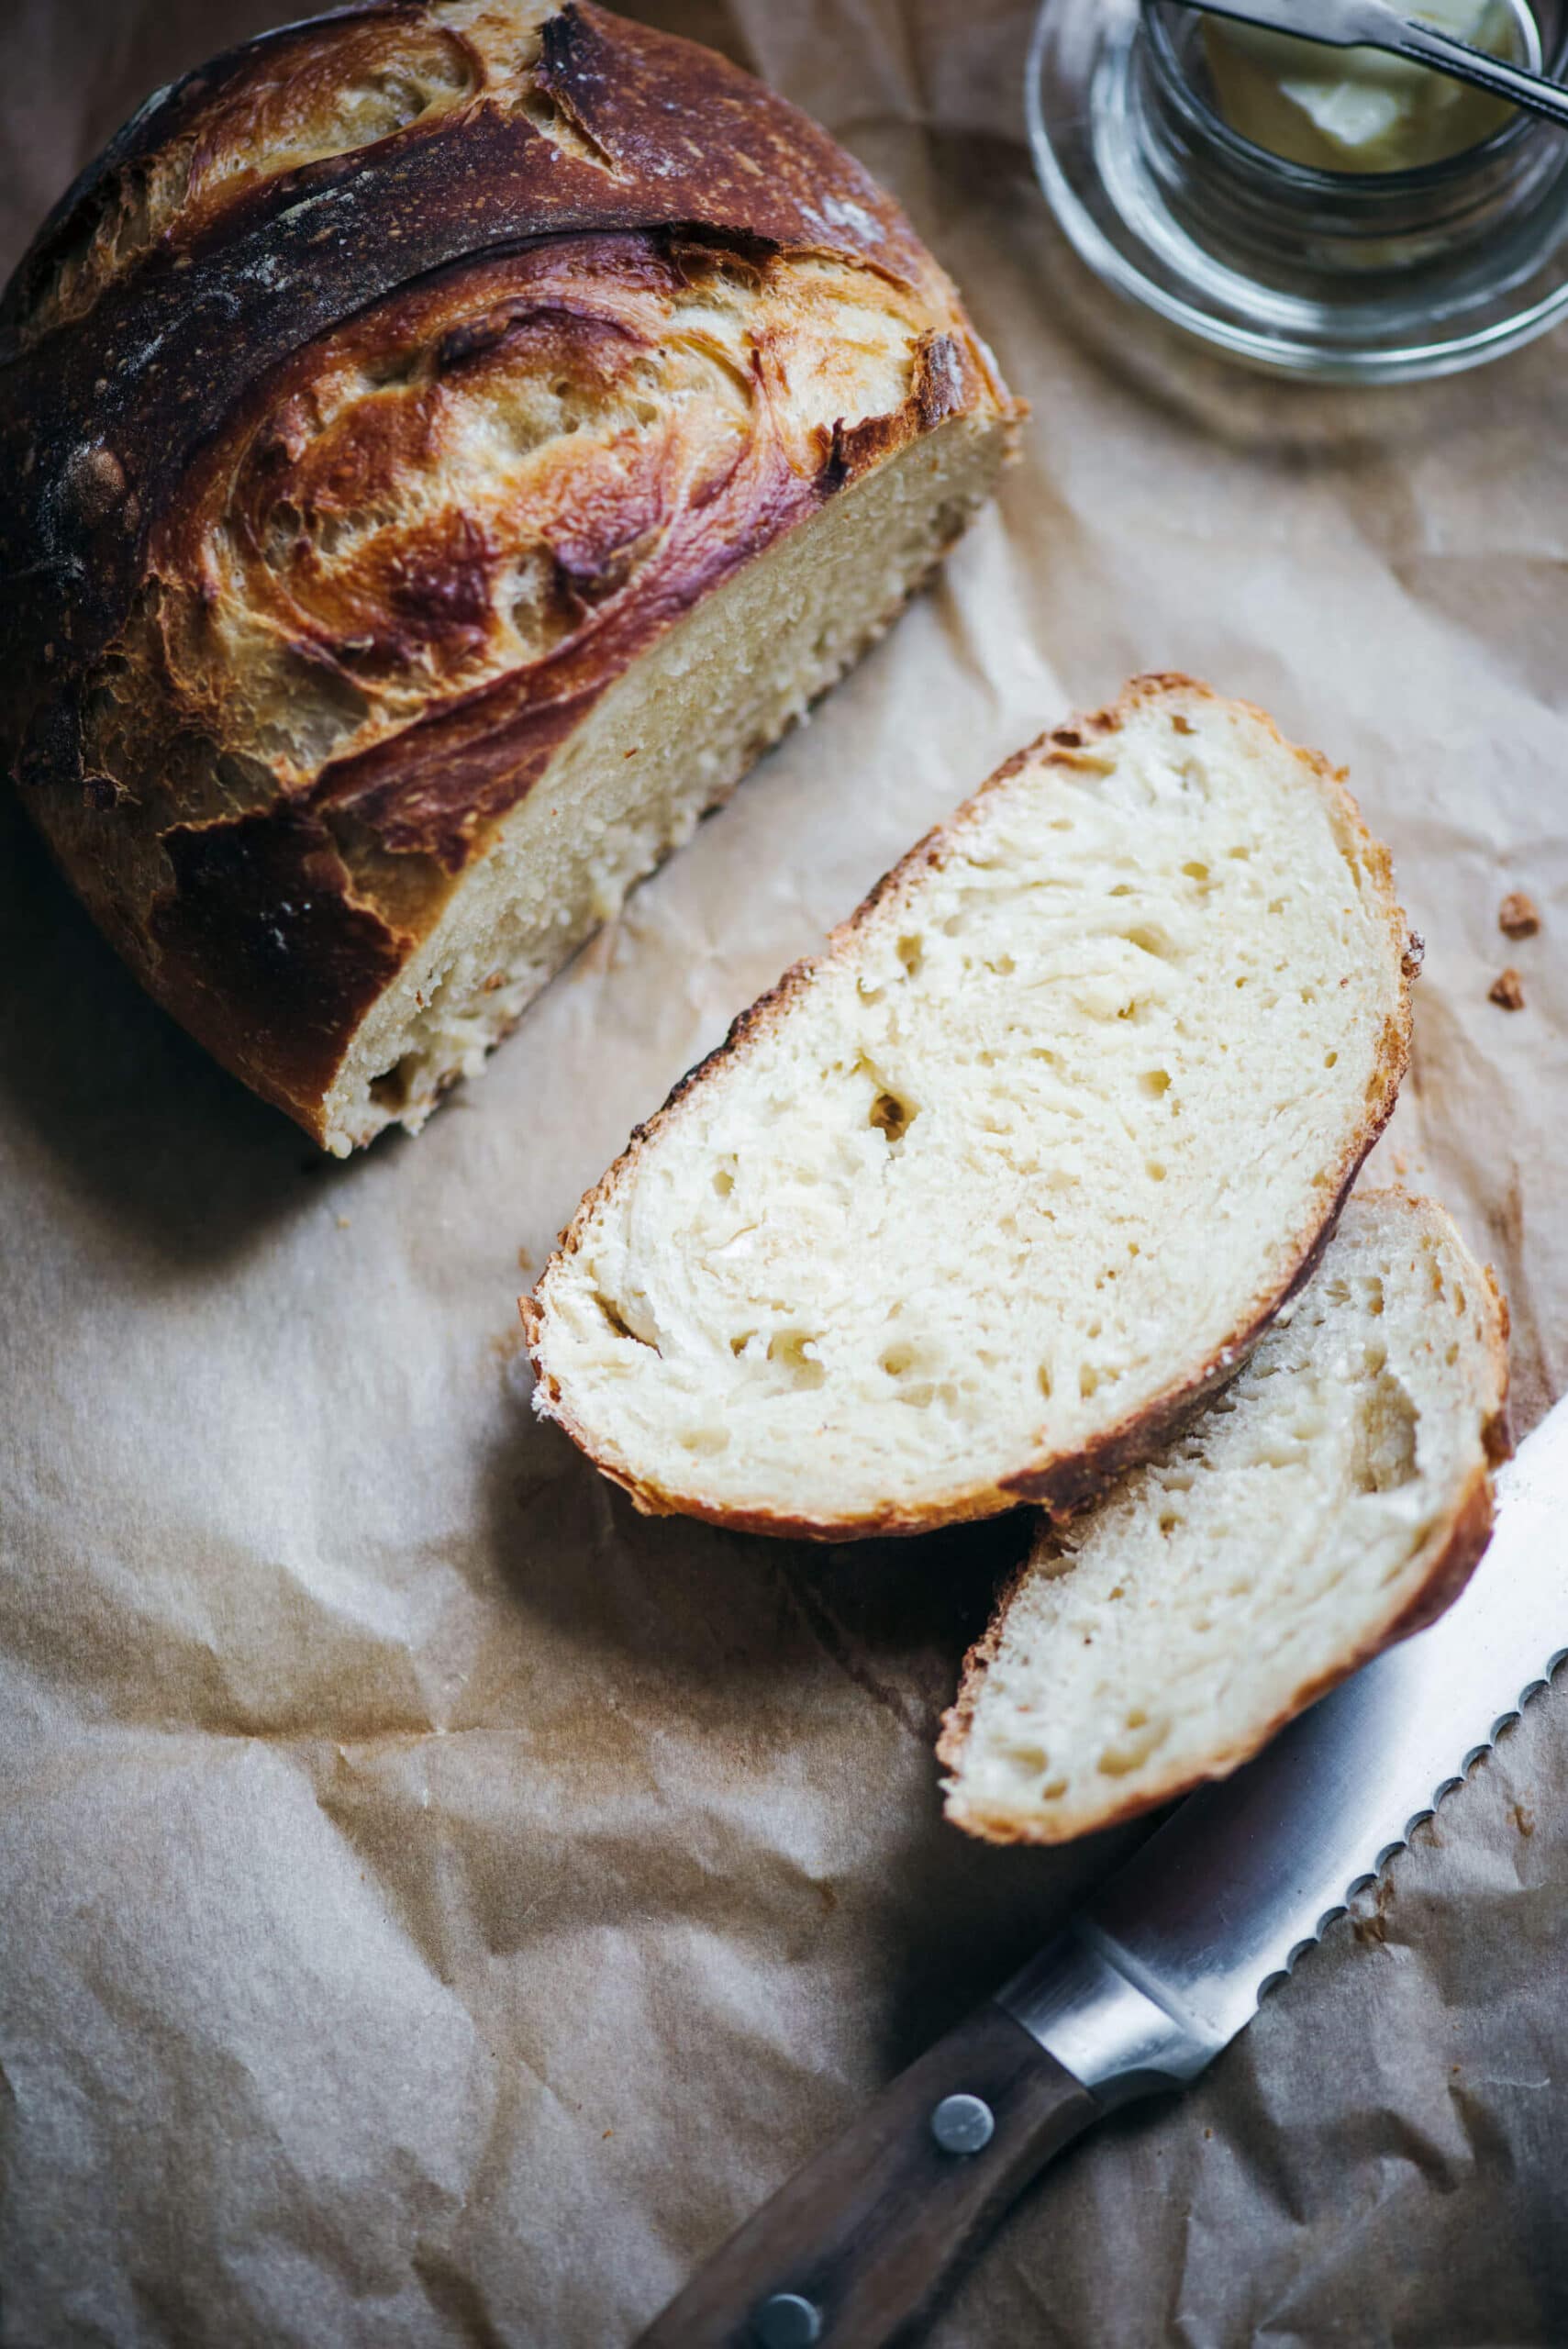
Learn how to make this easy bread recipe, Dutch Oven Bread. It has all of the flavors of artisan bread, with the wafting aroma of fresh baked bread, and that crackly crust and beautifully baked center.
Learn how to make this no-knead Dutch Oven Bread recipe just like an artisanal baker. Trust me, it’s much easier than you may think.
There’s something to be said about the aroma of freshly baked bread. Personally, I’m a firm believer that the wafting scent of bread baking can put you in a better mood, not to mention it definitely has the ability to make your mouth water.
Artisan influenced bread recipe, the Dutch Oven Bread!

Dutch ovens have been used for a long time to make bread, as well as tasty soups and stews, and other delicious recipes such as roast Thai Coconut Chicken Soup (Tom Kha Gai).
To take on a bread baking project might seem daunting to some, this is usually because some artisan bread can take anywhere from overnight to up to 3 days to plan, prep, and finally bake.
Let me assure you, with this recipe you can achieve delicious, gorgeous bread in a fraction of the time traditional artisan bread requires. It’s seriously a forgiving recipe, and be made the same day from start to finish, or can be kept ready to bak for up to 2 weeks.
Here’s my favorite basic no-knead, crackly crust, Dutch oven bread recipe, so you can bake like a pro.
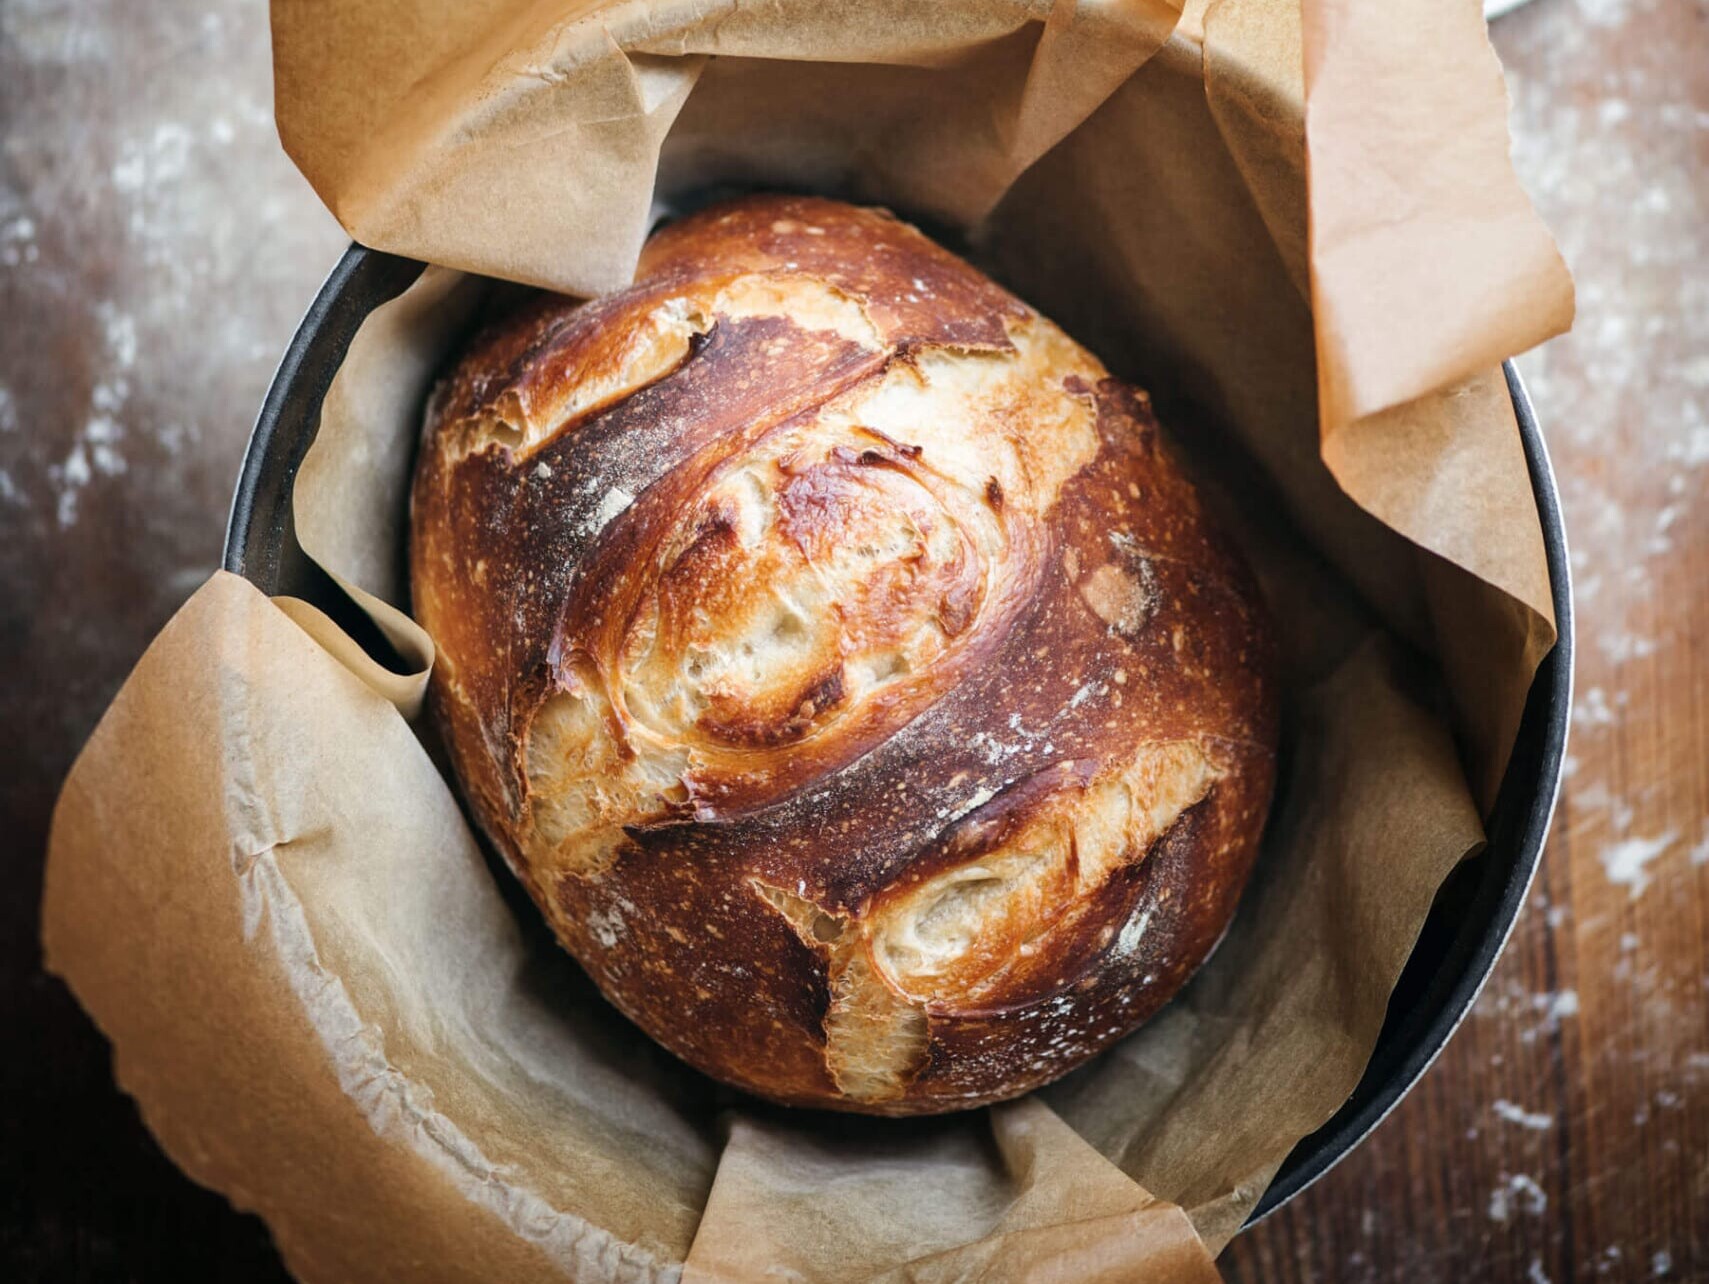
Why Bake Bread in a Dutch Oven?
The secret is steam, and a Dutch oven traps it perfectly.
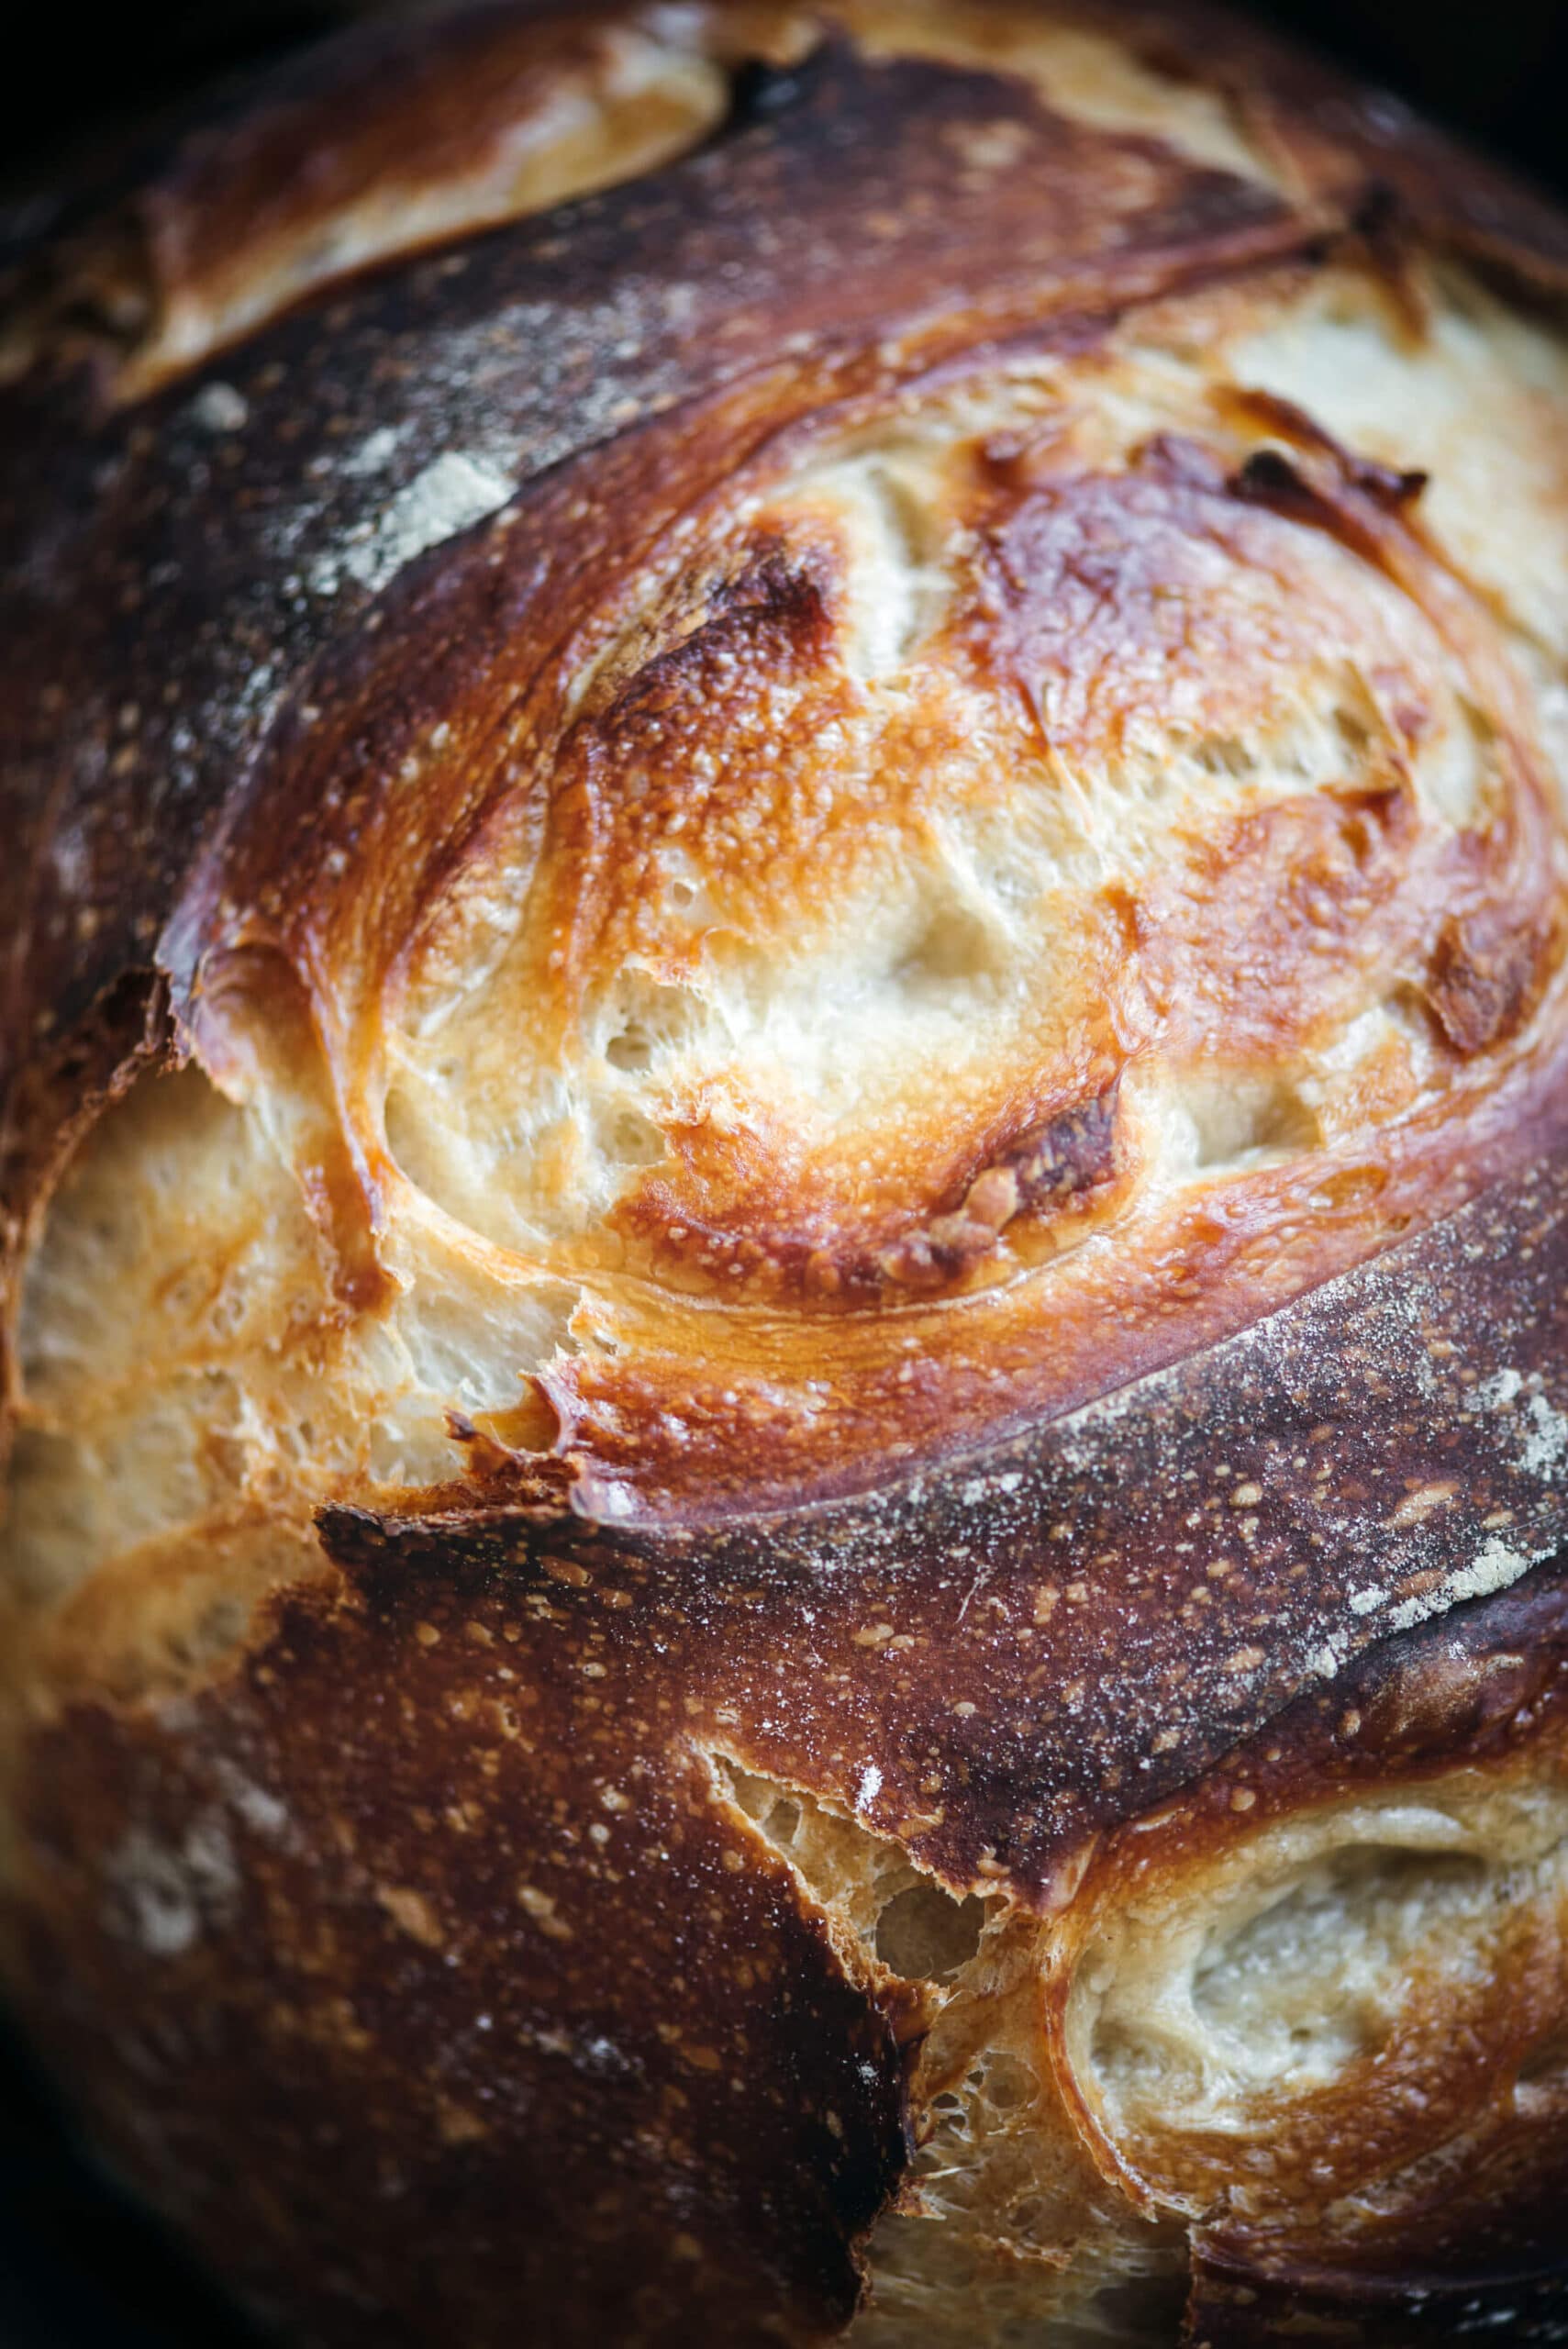
As the wet dough heats up inside the covered pot, it releases moisture. That moisture has nowhere to go, so it circulates around the loaf during the first part of the bake. This is exactly what a professional stone hearth oven does, and it’s what gives artisan bread that crackly, deeply golden crust with an intense chew and nutty flavor.
Once the lid comes off for the final stretch, the steam escapes and the crust sets. The heavy pot and tight-fitting lid do all the work that most home ovens simply can’t do on their own.
Best Dutch Oven for Bread
Size matters here. A 5 to 7 quart Dutch oven is the sweet spot for a standard loaf. Too small and the dough won’t have room to expand, too large and it spreads out flat instead of rising up.
Enameled vs bare cast iron. Both work well, but they behave a little differently. Enameled cast iron, like a Le Creuset or Staub, is easier to maintain and the light interior makes it easier to monitor the bottom of the loaf. Bare cast iron holds heat just as well and is significantly cheaper, but it requires a little more seasoning care and the darker interior can make it harder to judge color on the crust.
What to look for. Whatever you choose, make sure the lid fits tightly and the whole pot, lid included, is oven safe to at least 450°F. Some Dutch ovens have plastic or silicone knobs on the lid that can’t handle that heat. If yours does, swap the knob out for a metal one before you bake.
A good Dutch oven is a lifetime investment. I’d rather spend a little more once than replace a cheap one every few years.
What Equipment Do I Need to Bake Bread?
- 4 quart (or larger) Dutch Oven is best for no-knead bread
- Large bowl for mixing by hand or stand mixer fitted with a dough hook
- Parchment paper
What Ingredients You’ll Need for Baking Bread in a Dutch Oven:
- All-purpose flour
- Active dry yeast
- Salt
- Warm water
How To Make Dutch Oven Bread
Step One:
Prepare the dough. Combine wet ingredients first, and mix well with dry ingredients until a sticky dough starts to pull away from the bowl ( do not over mix if using the stand mixer, just enough to bring it all together).
Step Two:
Let it rise. The dough will take approximately 1- 2 hours to rise, depending on the temperature in your kitchen. At this stage, you can either continue to Step Three or keep it loosely covered in the refrigerator for up to 4 days before baking.
Step Three:
Preheat Dutch oven. Place Dutch oven with the lid on in a cold oven, turn the oven on to 450°F.
Step Four:
Turn dough out onto lightly floured parchment and divide in half for two large loaves or into 4 pieces for mini-sized loaves, perfect for serving soup in. Reserve remaining dough in a lightly floured bowl and loosely covered until ready to bake. Shape each dough portion into a ball or oblong loaf, if desired, and allow to rest and relax for 15 – 30 minutes. Finally, cut 2 – 3 slashes or a cross shape in the dough using a sharp knife or bread lame.
Step Five:
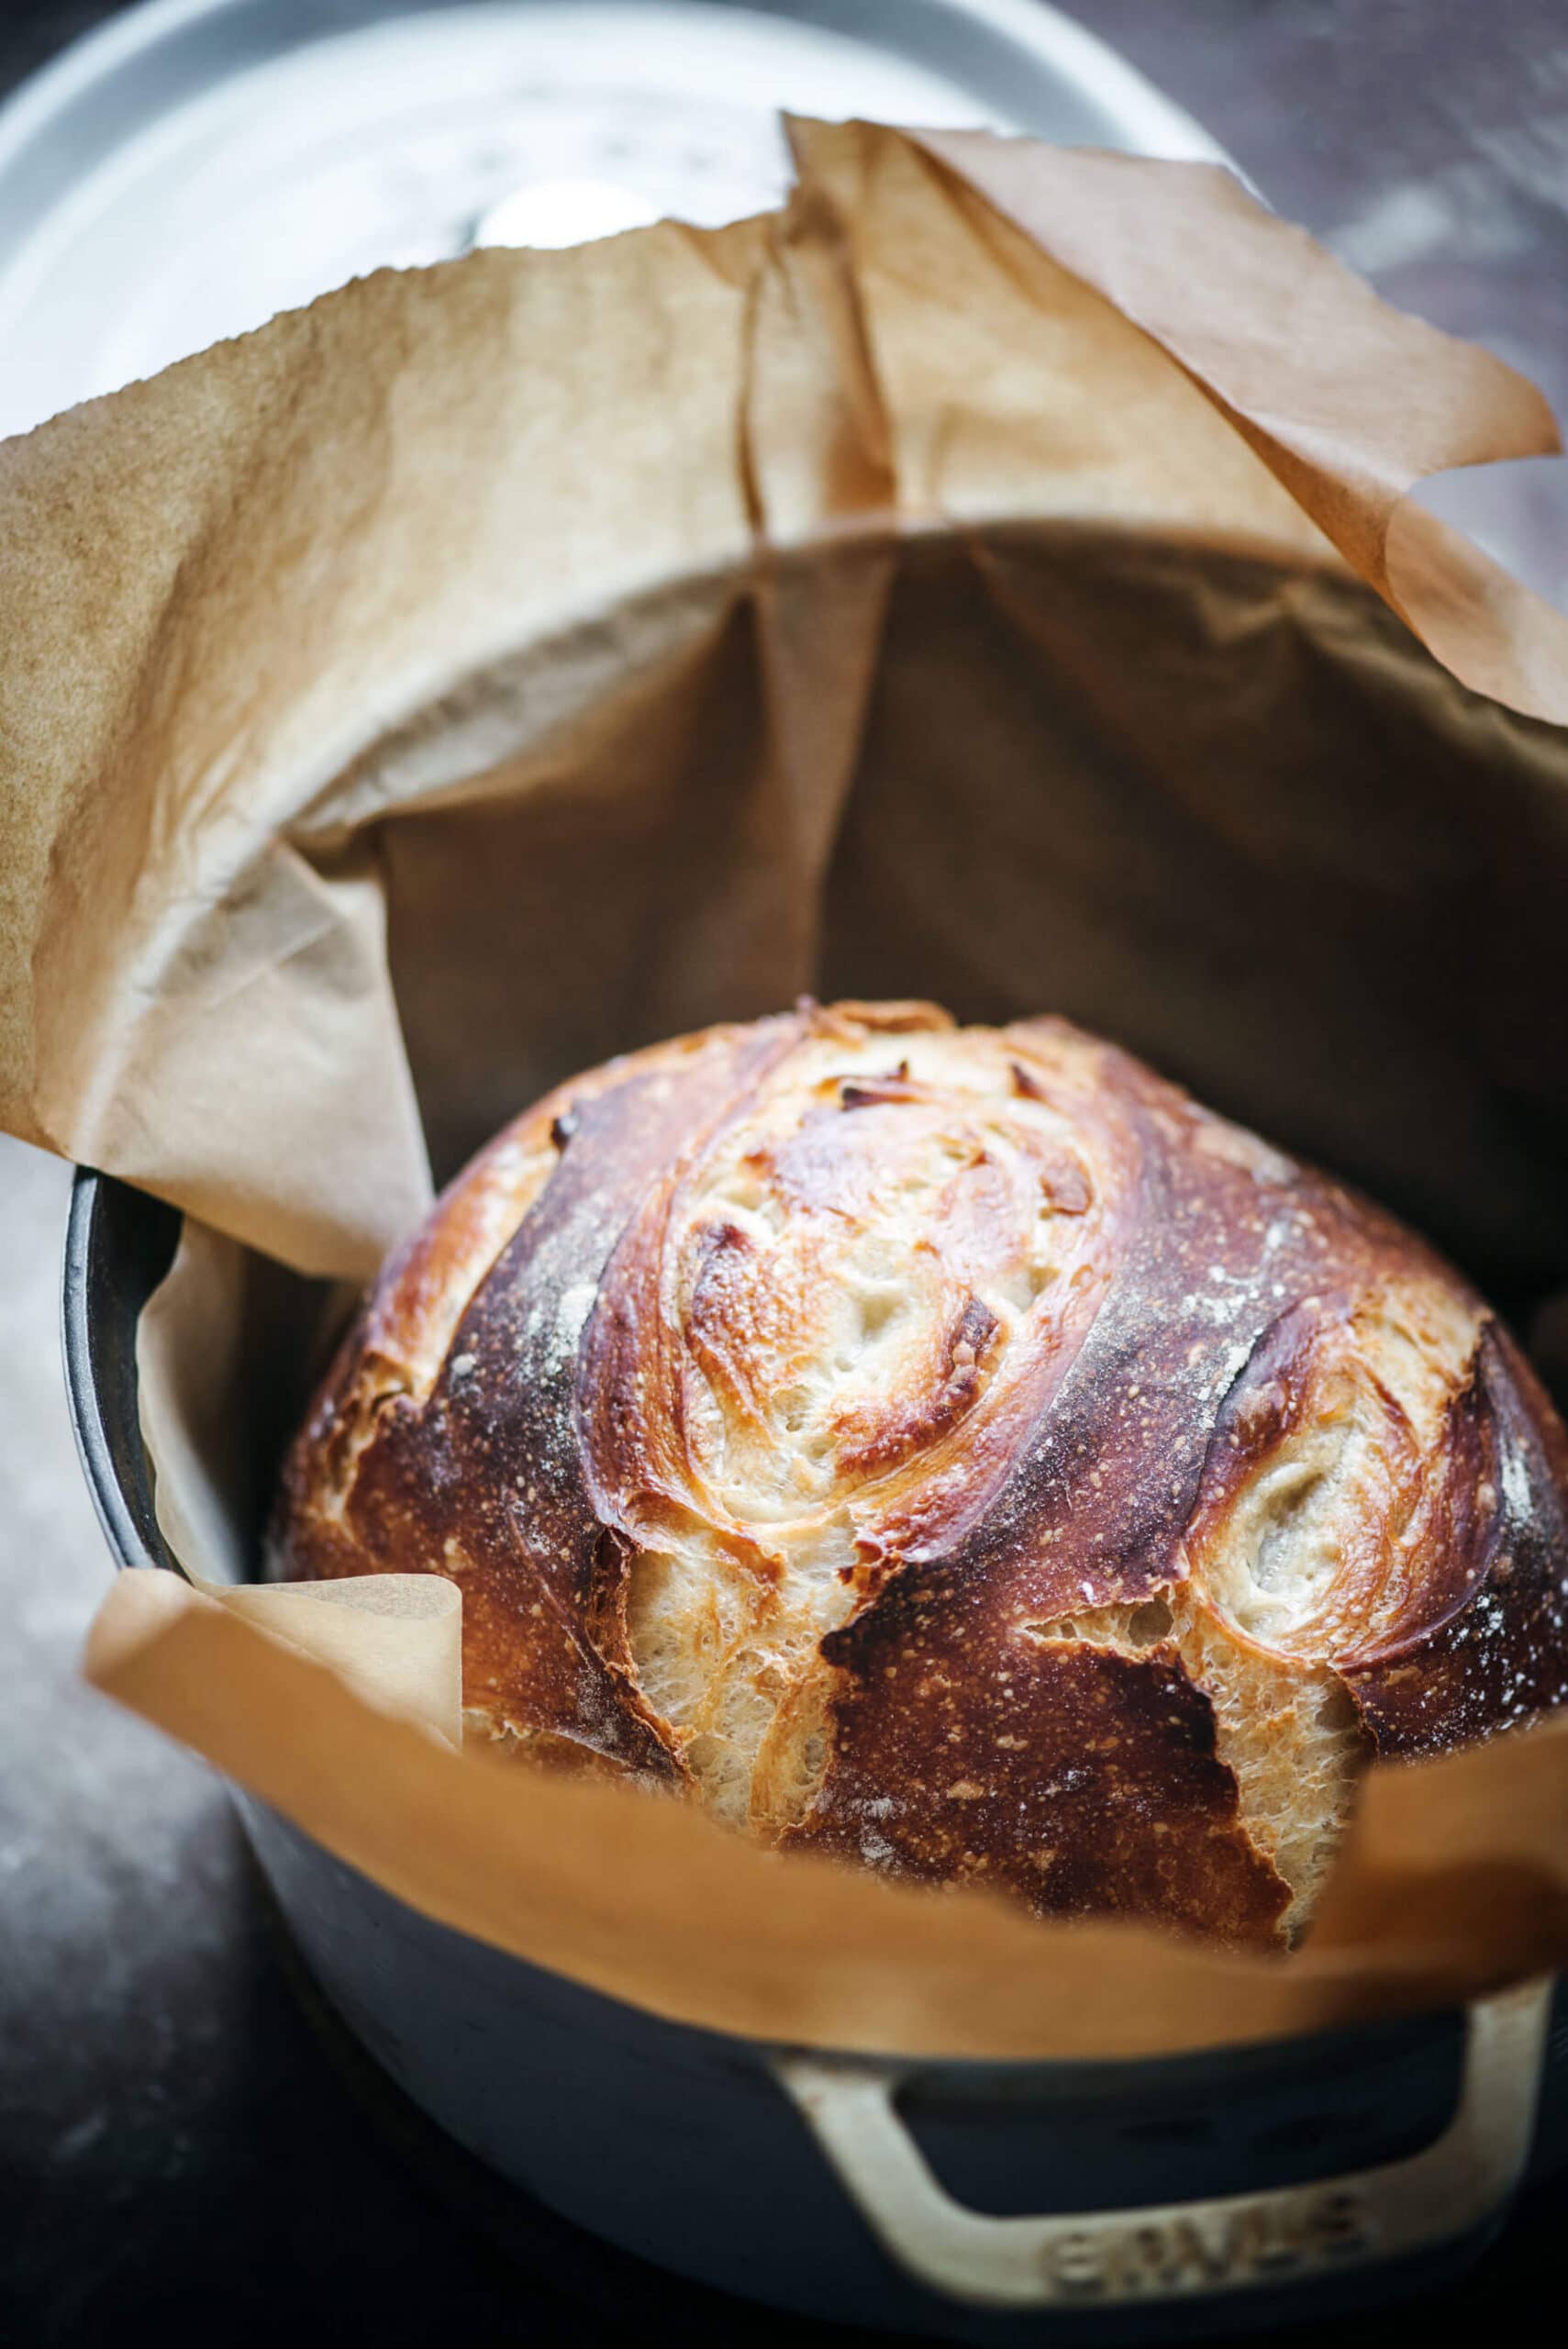
Bake. Carefully remove the Dutch oven from the hot oven, remove the lid. Keeping the dough on the parchment, transfer both to the preheated Dutch oven, cover, and bake for about 30 – 35 minutes. Once baked, very carefully remove the Dutch oven lid, and lift the baked bread out by using the parchment paper.
I consider this to be an essential bread recipe to keep on hand. It’s quick to make, and best of all, this Dutch oven bread can be ready in just a few hours from start to finish or you can keep the dough in the refrigerator and ready to bake for up to 2 weeks.
Want to learn more tips and tricks to successful bread baking? Check out my go-to source, King Arthurs Flour. Note: In the recipe below I use the scoop-and-sweep method of measuring the flour.
Dutch Oven Bread Tips
Use a parchment paper sling. Cut a sheet of parchment large enough to hang over the sides of the pot and use it to lower the dough in and lift the loaf out. Hot cast iron and a fragile loaf of dough are a difficult combination without it. It also prevents any sticking on the bottom.
Preheat the Dutch oven. Put the empty Dutch oven, lid and all, into the oven while it preheats. Lowering the dough into a screaming hot pot is what gives you that immediate crust formation on the bottom of the loaf. Skipping this step and starting in a cold pot will cost you crust.
Score the dough before it goes in. A sharp knife or bread lame dragged across the top of the loaf just before baking gives the bread a controlled place to expand. Without it, the loaf will crack wherever it feels like, which is usually not where you’d want it. A single slash down the center is all you need.
Don’t drop the temperature. This bread bakes hot. Resist the urge to lower the oven if it feels like it’s going too fast. The high heat is doing exactly what it’s supposed to. Trust the process, set a timer, and let it work.
Dutch Oven Bread Goes Great With:
- Sandwiches
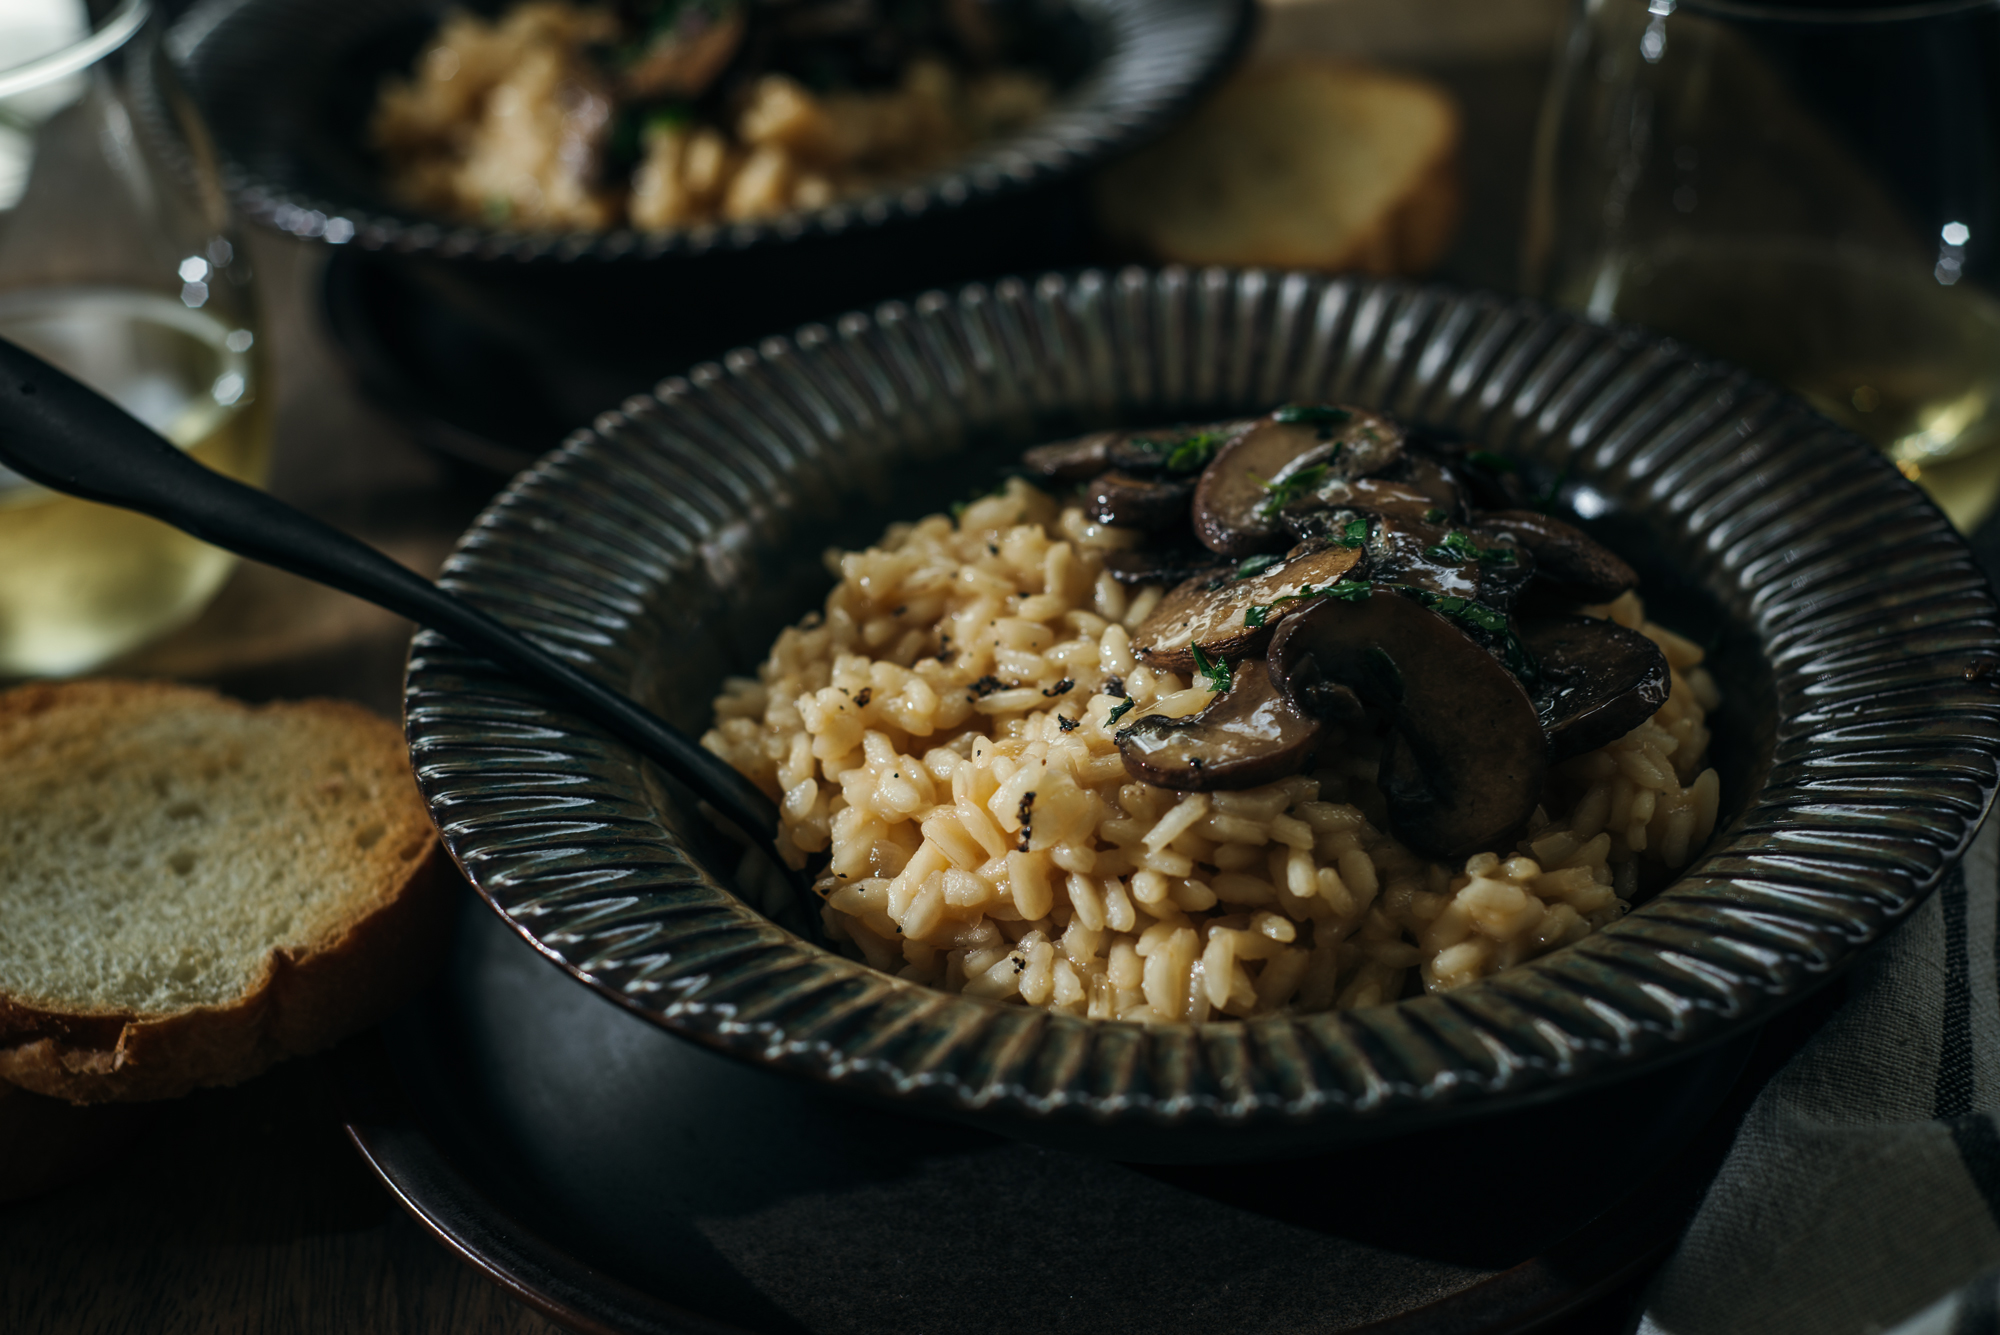
- Pasta dishes
- Make into a bread bowl for serving soups and dips
- Toasted to serve with breakfast
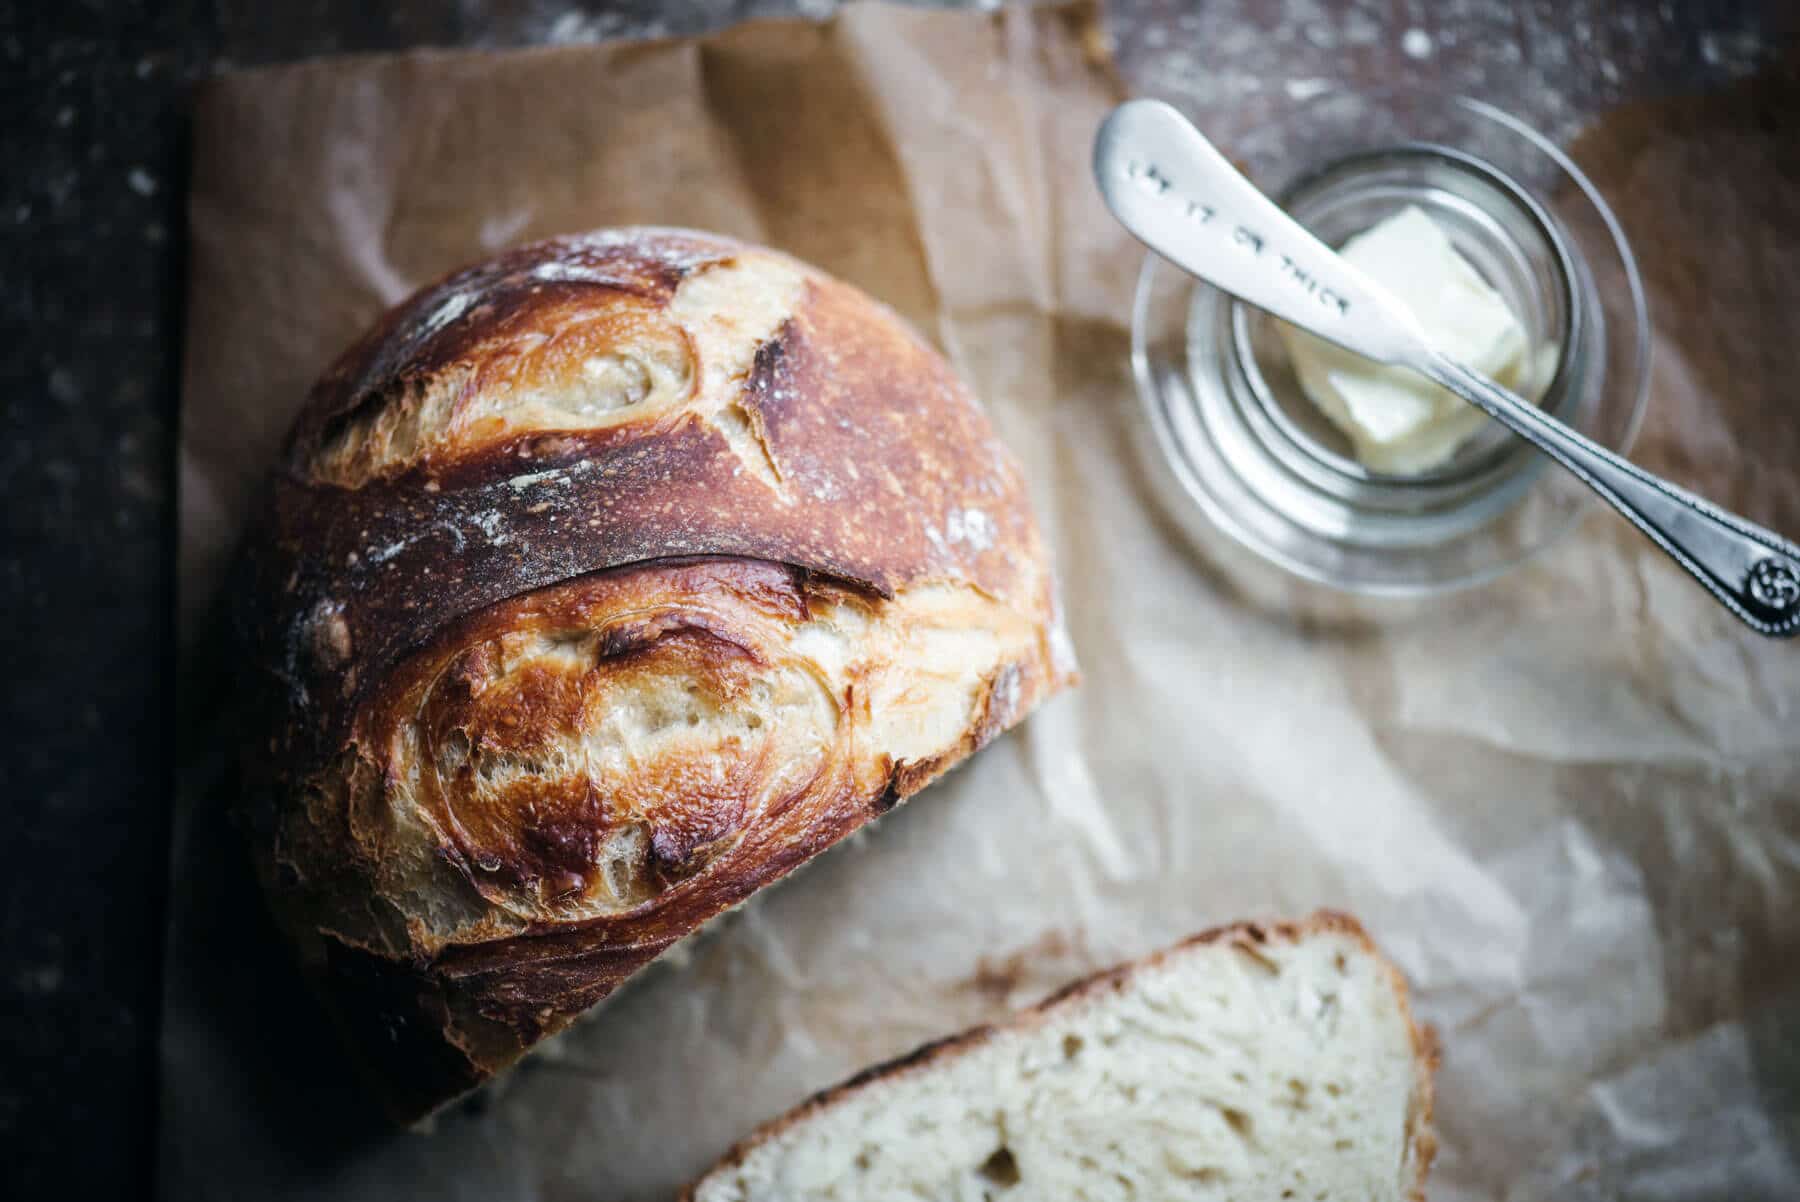
- My corn chowder is one of my favorite pairings for this loaf. Smokey bacon, thyme scented croutons, and a thick slice of crusty bread on the side is a combination I come back to every time
- Or simply on it’s own with your favorite jam as a wholesome snack on its own
How to Store Dutch Oven Bread
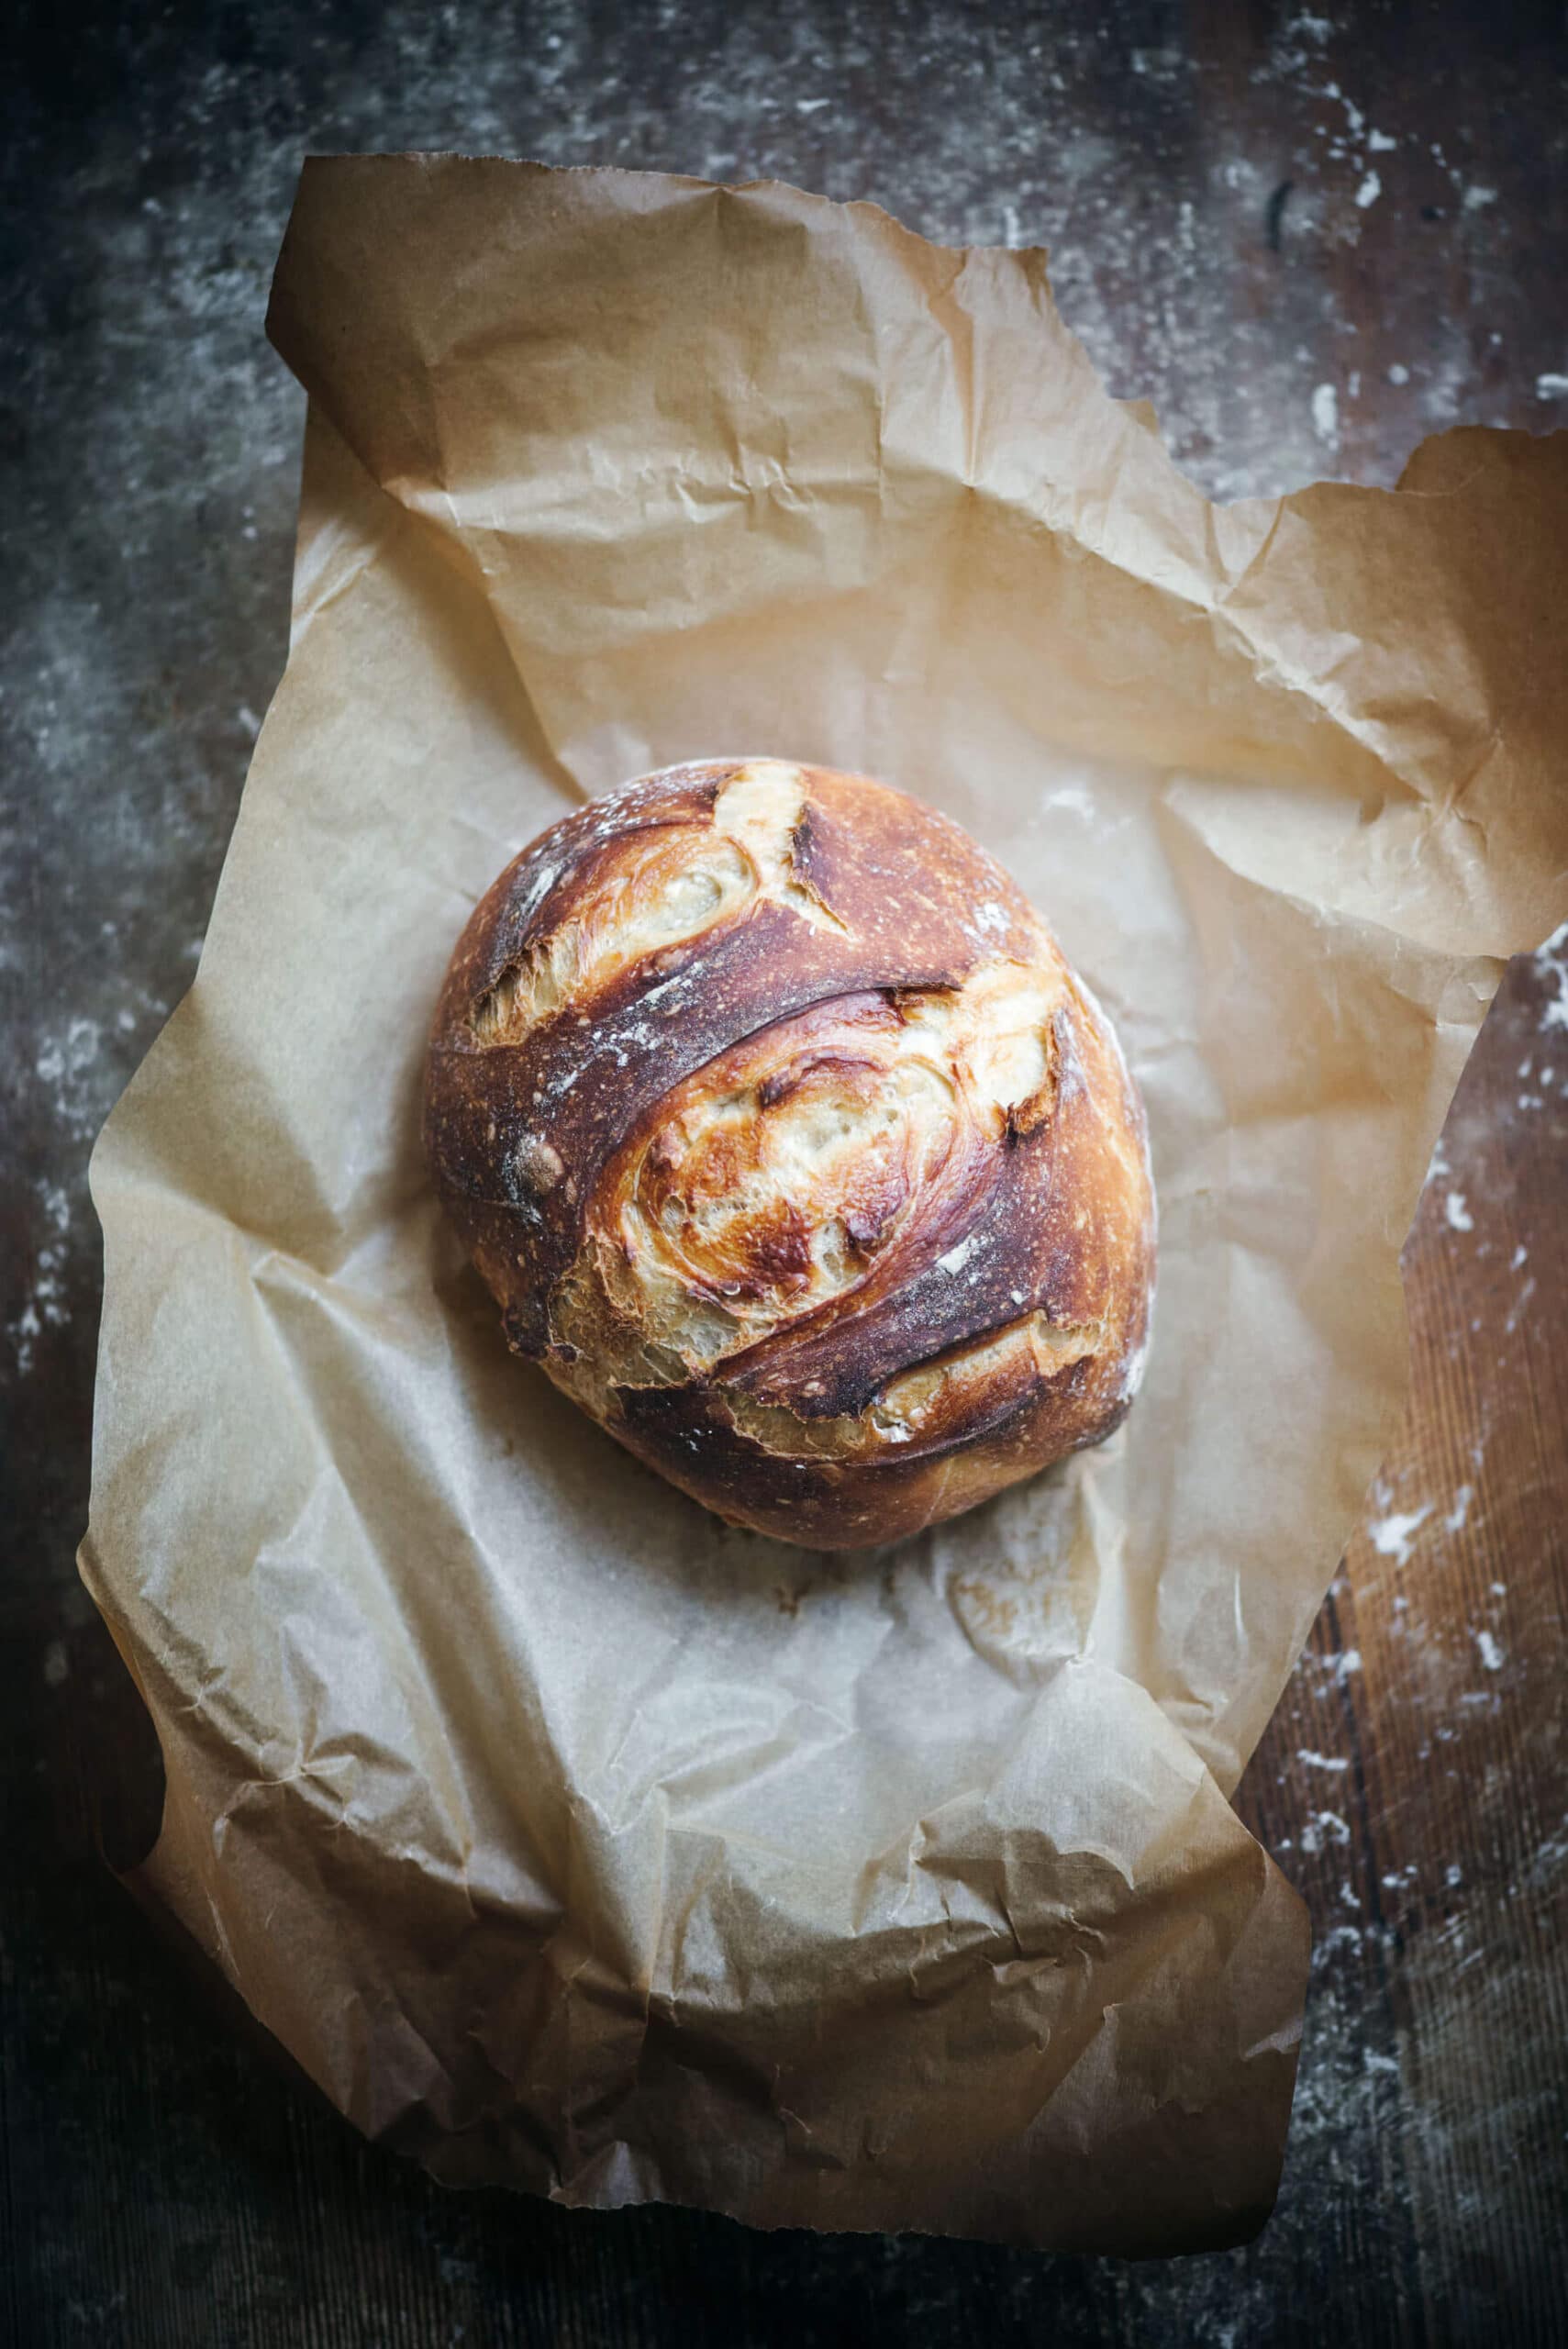
This bread is at its absolute best on the day it’s baked. That crust is everything, and nothing keeps it quite the same overnight.
For short term storage, wrap the loaf in a clean kitchen towel and keep it at room temperature. It will stay good for 2 to 3 days. Avoid plastic bags if you can, they trap moisture and turn that gorgeous crackly crust soft and chewy in a matter of hours.
For longer storage, freezing works beautifully. Let the loaf cool completely, then slice it before freezing so you can pull out exactly what you need without thawing the whole thing. Wrap slices tightly in plastic wrap, then foil, and freeze for up to 3 months. To serve, let slices thaw at room temperature or pop them straight from the freezer into a warm oven for a few minutes. They come back surprisingly well.
Variations
This base recipe is a great canvas. Once you’re comfortable with the process, it’s easy to mix things up.
Rosemary olive oil. Add a tablespoon of good olive oil to the dough and fold in a generous handful of fresh rosemary before the first rise. The rosemary gets fragrant and slightly crispy where it meets the crust. One of my favorites.
Garlic herb. Mix in roasted garlic and a combination of fresh herbs, thyme, rosemary, and parsley all work well. Roasting the garlic first mellows the sharpness and keeps it from burning against the hot cast iron.
Whole wheat. Swap up to half the all-purpose flour for whole wheat. Going beyond half tends to make the loaf too dense, so I’d stay at that ratio until you get a feel for how whole wheat affects the dough. The flavor is earthier and a little more complex.
Seeded. Brush the top of the loaf with water before it goes in and press on whatever seeds you like. Sesame, poppy, sunflower, caraway. They toast beautifully against the hot lid and add both texture and flavor to every slice.
Other Delicious Bread Recipes to Try:
- Skillet Cornbread
- No Yeast Irish Brown Bread
- Easy to Make Rustic White Bread
- Homemade Flour Tortillas
- If you haven’t made my Southern biscuits yet, that’s the next stop. Flaky, buttery, and gone before they hit the table every single time.
How to Make:
How to Make Dutch Oven Bread Recipe
Ingredients
Equipment
Method
- In a large bowl or the bowl of a stand mixer fitted with a dough hook, combine the yeast and warm water. Allow to rest for 5 minutes, it should become foamy.
- Add the flour all at once along with the salt to the wet ingredients, then mix with a wooden spoon or on low speed until combined (do not overmix). The dough will be sticky or slightly wet at this point, this is normal and it will come together.
- You can keep the dough in the mixing bowl, then lightly dust with flour, do not mix in. Cover with a clean kitchen towel or plastic wrap and allow to rise in a dry warm area for about 1 – 2 hours, or until the dough has risen – don’t be worried if the dough has not completely doubled in size. (At this stage, you can continue with baking in step 4, or you can place the bowl of dough loosely covered with a kitchen towel or plastic wrap in the refrigerator for up to 2 weeks).
- While the dough is still rising, after about 45 minutes, place an empty Dutch oven (with the lid on) in a cold oven and preheat to 450°F. I usually aim to preheat my oven for at least 30 minutes or up to 1 hour, this allows the Dutch oven to preheat properly.
- Once the dough has risen (at least 1 hour), tip the dough onto a lightly floured surface and sprinkle the top of the dough with a dusting of flour. Fold it over few times (8 – 10). Divide dough in half for 2 large loaves or into 4 equal portions for four mini-sized loaves, working with one portion at a time, shape into a ball, tucking edges underneath the dough.
- Using a sharp knife or bread lame, cut 2 – 3 slashes or a cross shape into the top of the loaf.
- Place parchment paper on a clean surface or in a bowl, then place the flour-dusted dough on the parchment paper, cover with a clean kitchen towel and rest for 15 minutes.
- Wearing oven gloves, carefully remove the lid of the Dutch oven, lift the parchment paper with dough and transfer it to the Dutch oven, cover it with the lid and bake for about 25 minutes for the large loaf (if making the four smaller loaves, bake for 20 minutes). Remove the lid, continue to bake for an additional 18 – 20 minutes (smaller loaves – 15 minutes), or until bread is a rich golden color and if tapped on the bottom of the loaf, it sounds hollow.
- Remove from the oven, allow the bread to rest for 15 minutes before slicing.
Nutrition
Notes
Tried this recipe?
Let us know how it was!7-Day Email Series
Seven dinners worth getting undressed for.
One lands in your inbox every morning for a week — plus the side and the drink I’d pour with it. Free.
No chef’s journey. No weird ingredients. Unsubscribe whenever.


Can you make this recipe into one very large loaf in a 6 quart Dutch oven?
Or can you half the recipe to make just 1 loaf?
Hi Teresa!
You can make it in a 6 qt Dutch oven, it may not be a “taller” loaf, it will still rise but may just spread out a bit, and yes, you can also make it as one loaf. 🙂 Hop you enjoy!