Chocolate Crème Brûlée?!?
Yes, please.
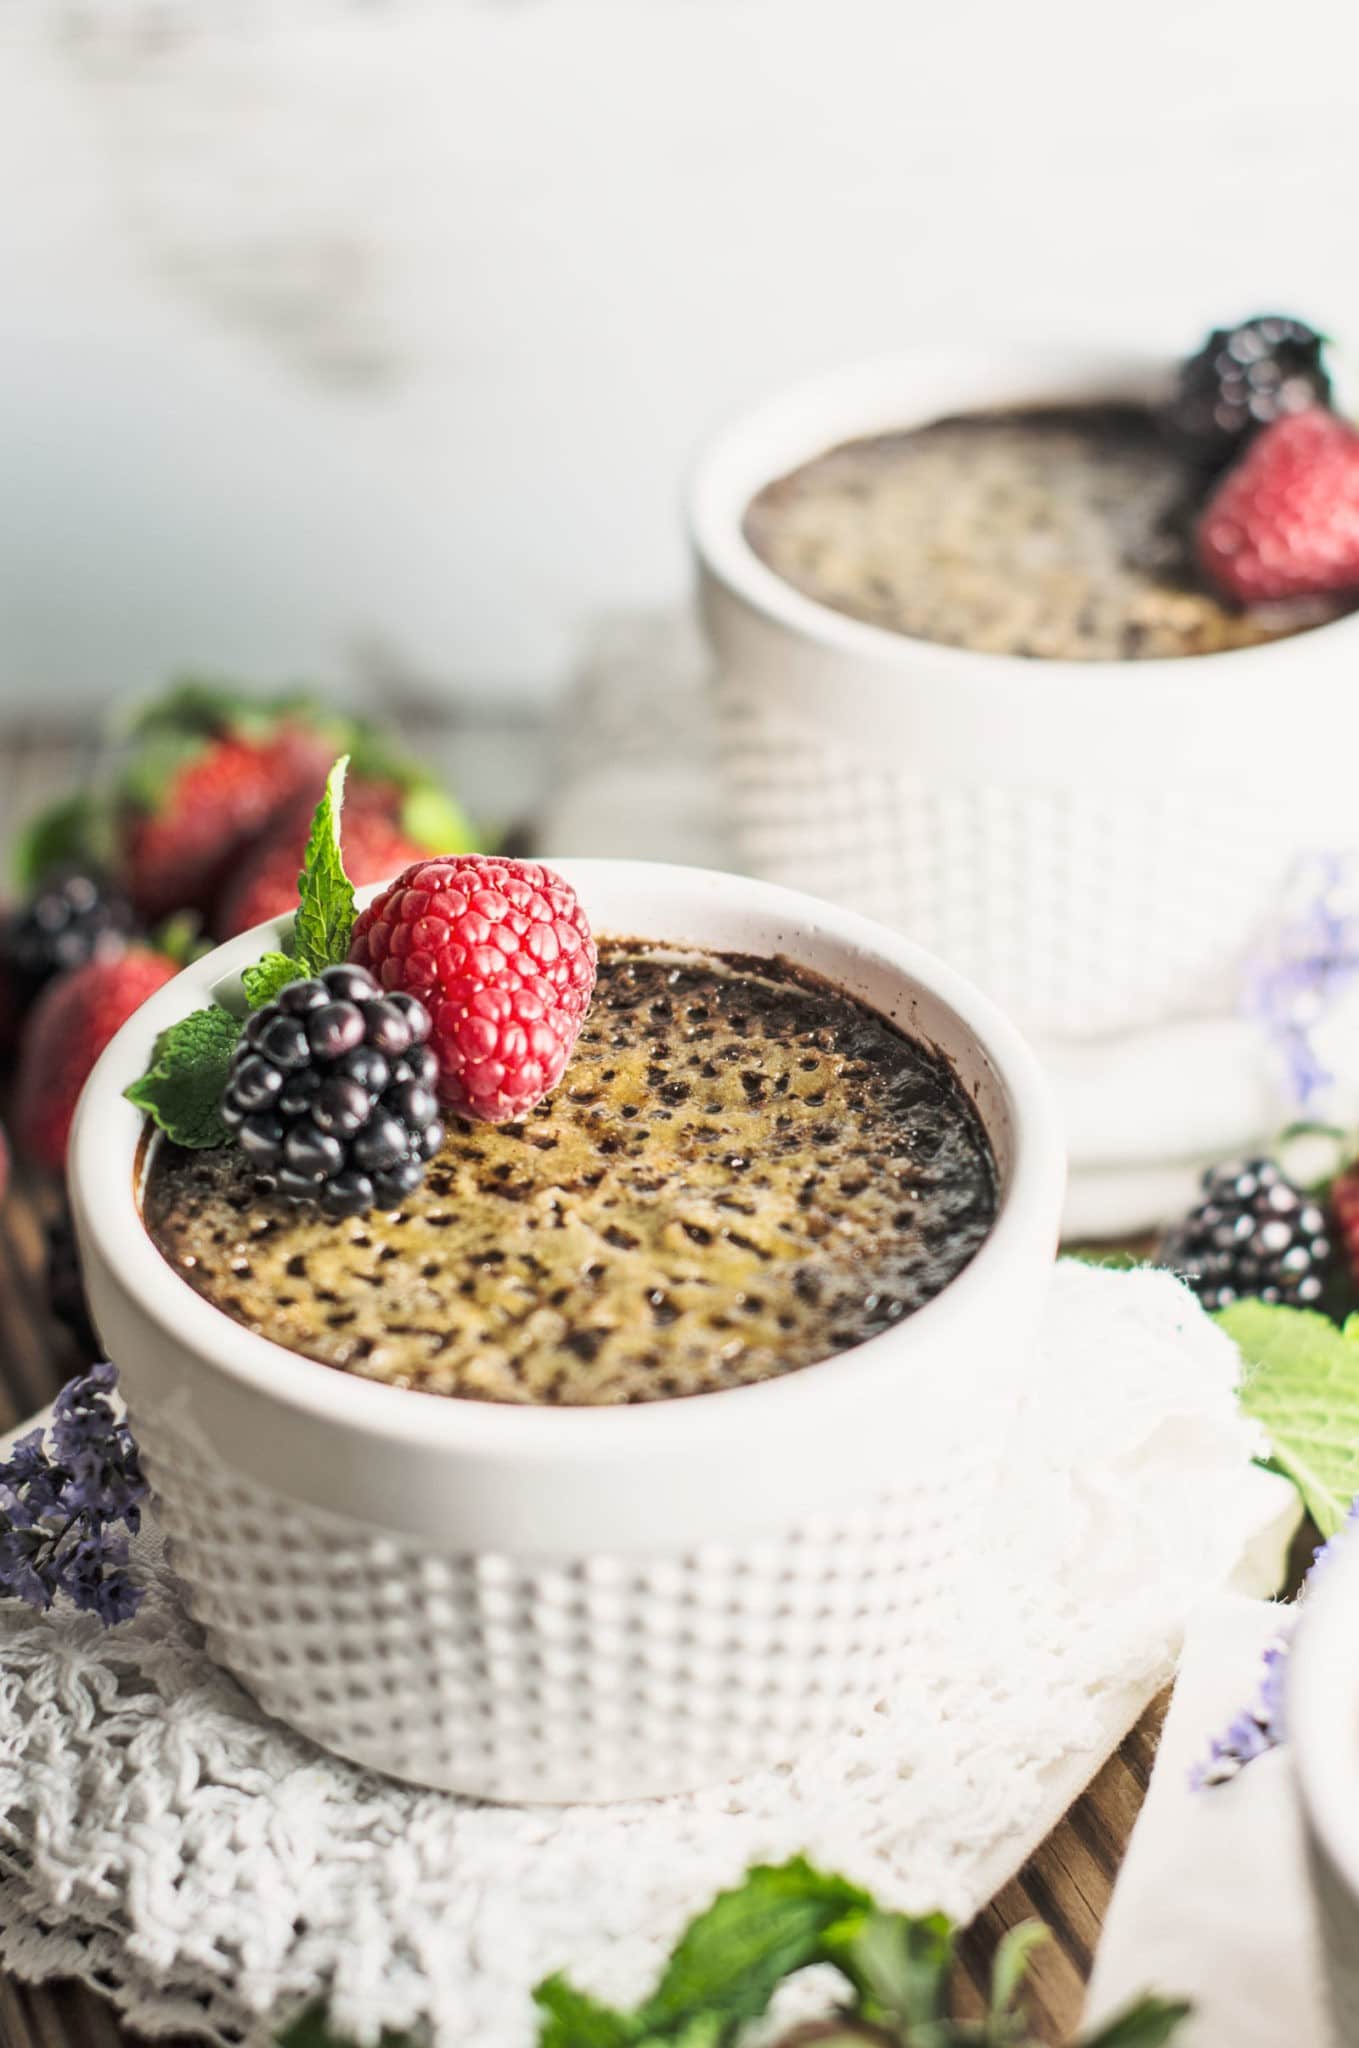
Here’s my absolute favorite dessert, seriously my all-time favorite! I fell in love with all things Crème Brûlée when I was discovering the world during my teens. I felt so grown up savoring this dessert. From that time on, I’ve tried many renditions of this caramelized custard, but I just keep coming back to this, Chocolate Crème Brûlée.
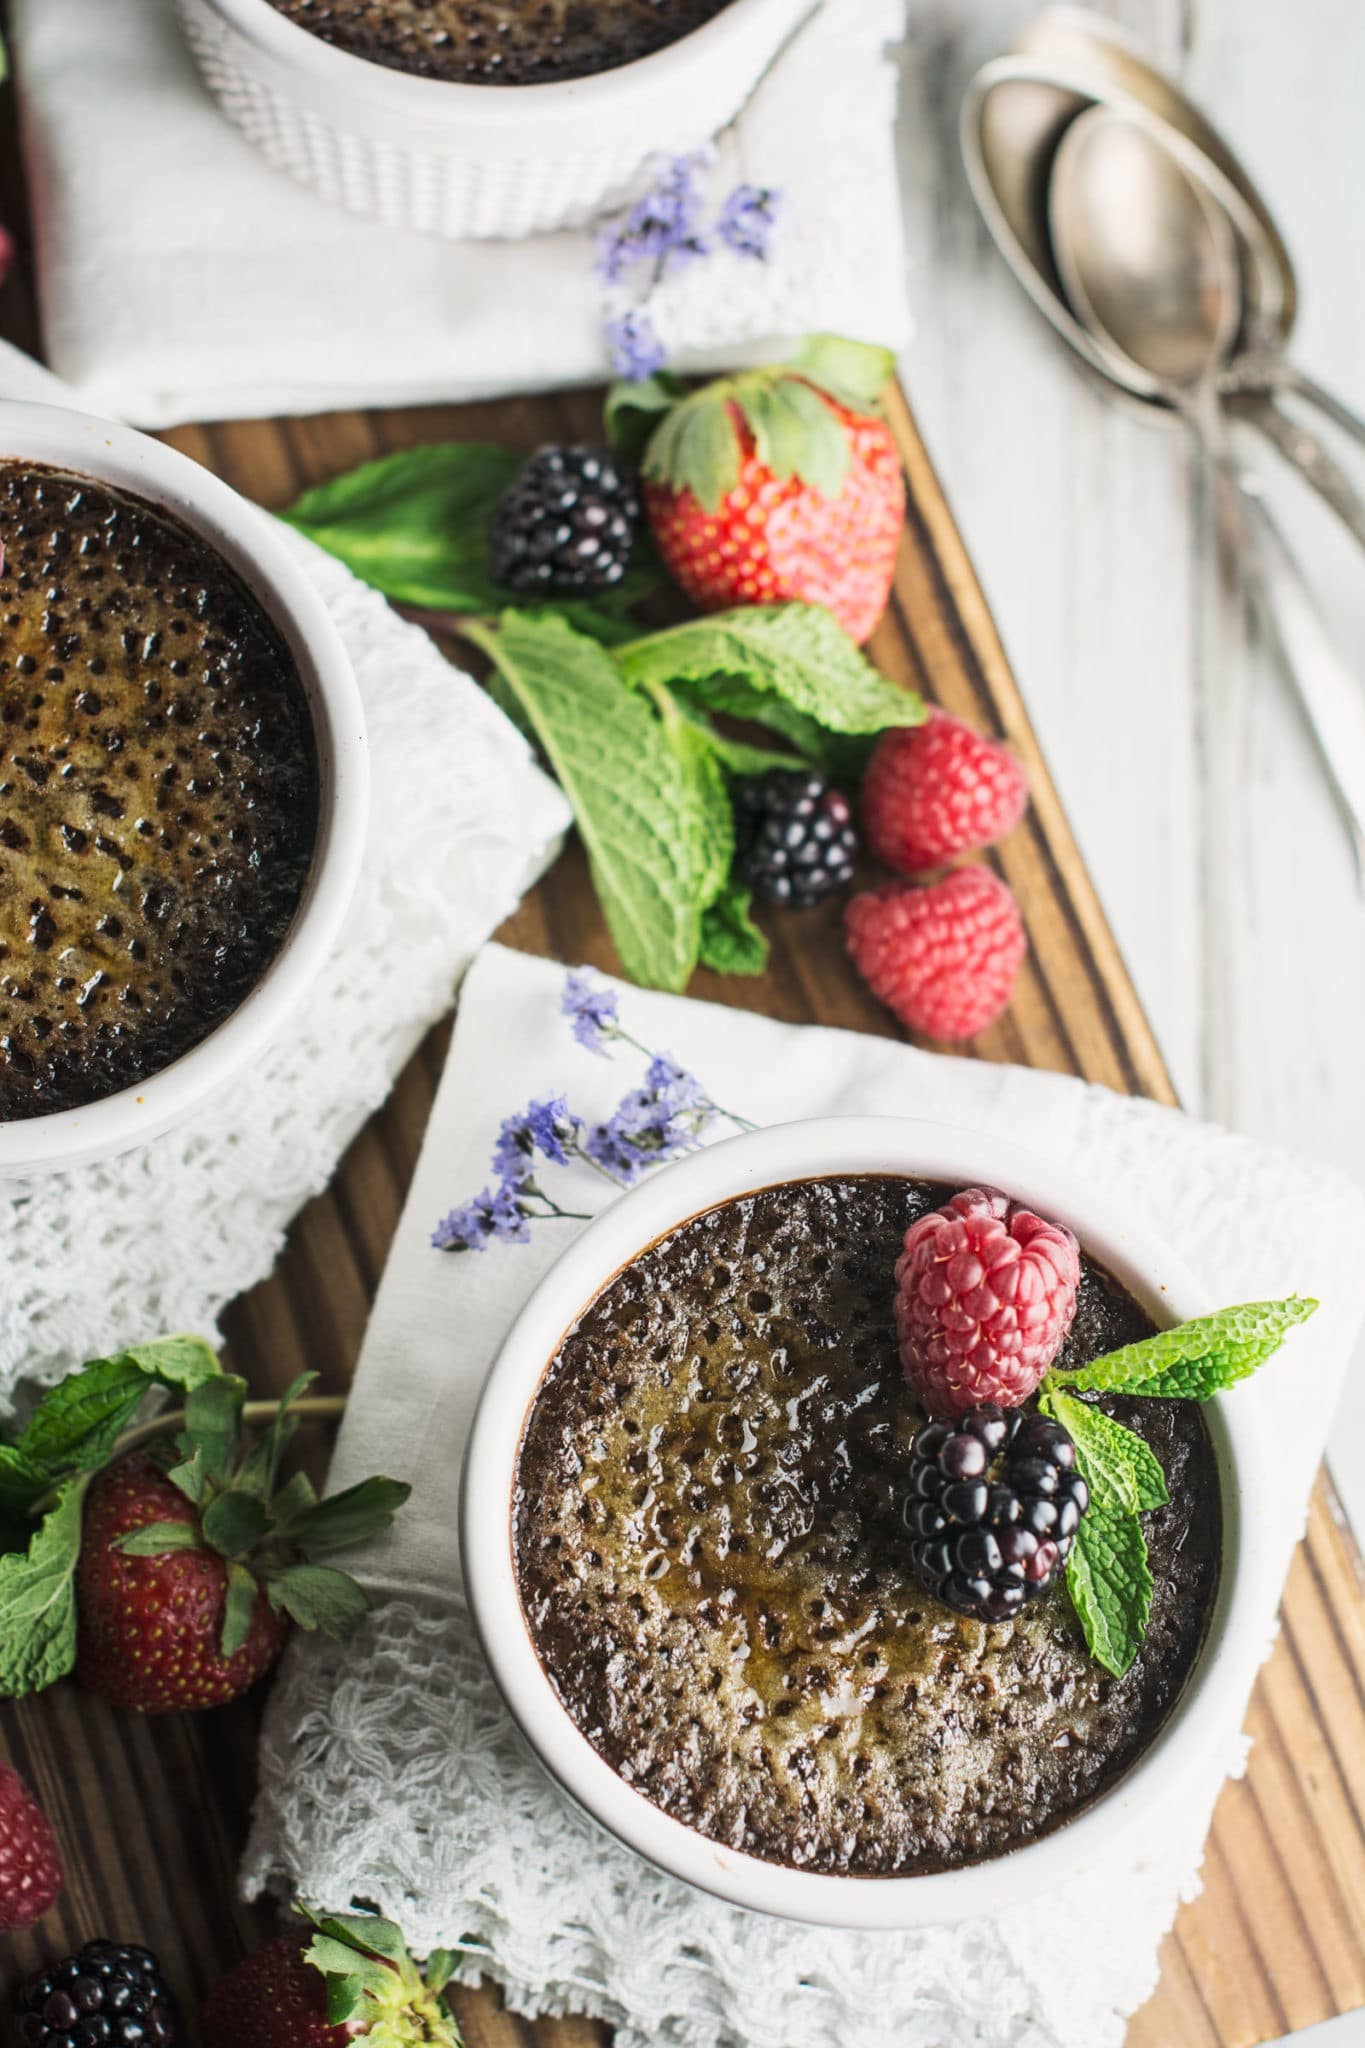
Don’t be nervous about making these decadent beauties, as they are much easier than you might think. They just need your undivided attention during the cooking process, otherwise, you might end up with a scrambled mess. Just remember to keep whisking, and you’ll have no problems.
A silky smooth textured chocolatey delight that is perfect for an elegant dessert at the end of a beautiful meal. And if you want to serve it as the main course, I won’t judge! 😉
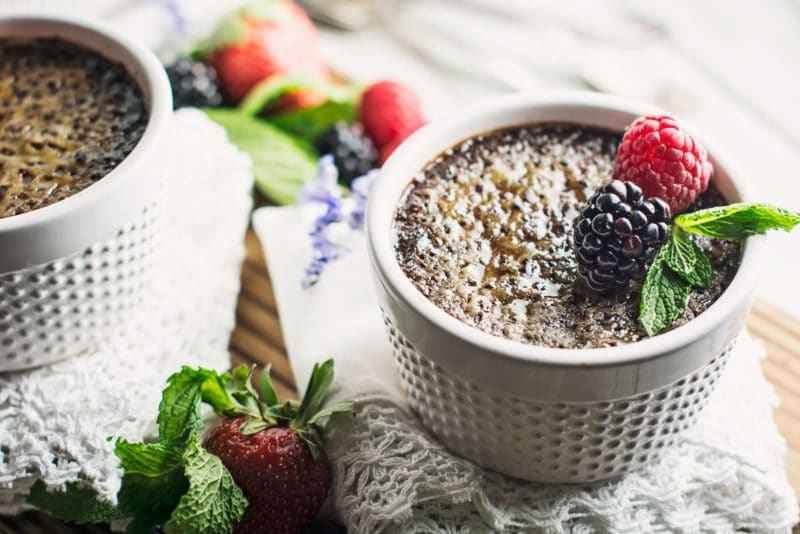
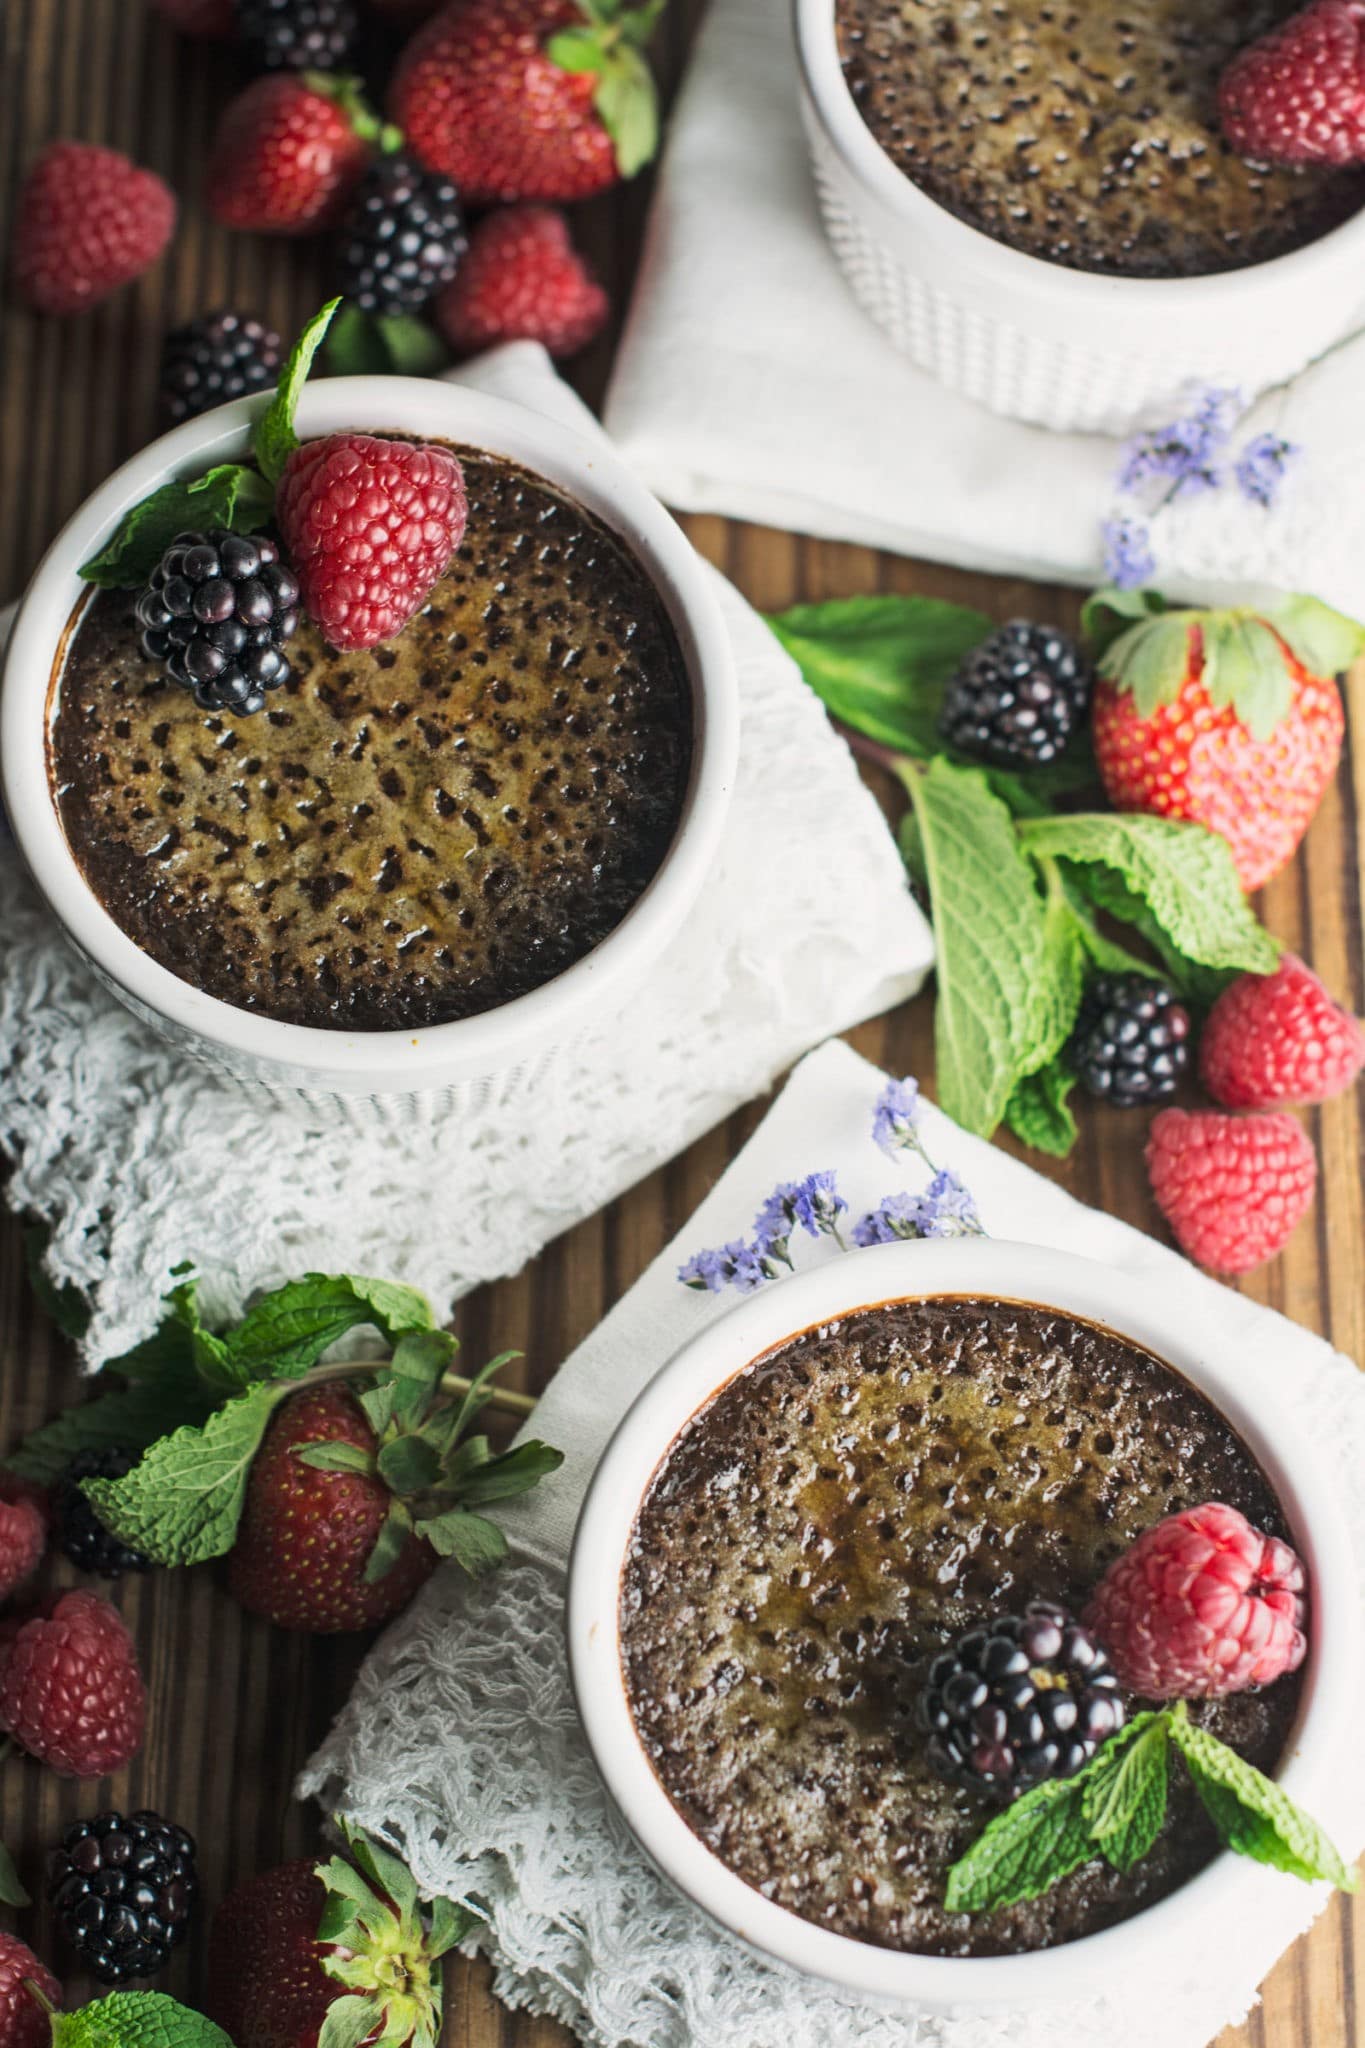
I enjoy serving these dreamy Crème Brûlée with plenty of fresh berries. You can also add more chocolate shavings, because more chocolate is always a good idea!
Bon Appetit!
Chocolate Crème Brûlée
Ingredients
- 6 Egg Yolks
- ½ cup Sugar
- 2 tsp Vanilla Extract
- 3 cups Heavy Whipping Cream
- ¼ cup Cocoa Powder
- ½ tsp Salt
- Sugar about 1 Tbsp per serving for caramelizing top
Instructions
- In a bowl, whisk together the Egg Yolks, Sugar and Vanilla until well mixed. Set aside.
- In a saucepan over medium low heat, gently warm the Cream and add in the Salt and Cocoa Powder a bit a time, whisking/stirring until well incorporated. Keep whisking to make sure that the cream doesn't boil over or scorch.
- Take the Cream off the heat, add about 1/4 cup of the chocolate Cream mixture to the Egg yolk mixture slowly, whisking continuously. This is to "warm" the egg mixture. Whisking is a must and don't let up, otherwise you might end up with a scrambled mess.
- Once the Eggs are "warmed", slowly pour the Egg mixture back into the Cream mixture, continuously whisking and put the saucepan back on low heat. Keep cooking for about 5 minutes, and yes, whisking still. Once the mixture has slightly thickened, pour into ramekins or small oven proof dishes. Allow to cool, then cover with plastic wrap, making sure not to allow the wrap to touch the top of the Crème Brûlée. (You want the creme to form a skin). Place in the refrigerator for at least an hour or overnight to chill.
- Just before serving, sprinkle about 1 Tbsp of Sugar over each creme, using a kitchen blow torch, caramelize the top of each until bubbly. If you do not have a kitchen blow torch, you can also place them under the broiler of the oven for 30 - 60 seconds. Be careful not to leave them under the broiler for too long, or you'll burn the Creme Brulee.
- If desired, garnish with a dusting of sifted powder sugar, fresh fruits or chocolate shavings.
- Enjoy!
Notes
Fresh bites, cozy vibes 😎
Dig into something delicious with us by subscribing below
