Friday Nights = PIZZA
It’s a good day when you can eat pizza. I remember when I was a teenager that I would sneak it for breakfast – COLD. Still do once in a while and I still love cold pizza, shhh. Give it to me hot and fresh though and I’m glued to the chair until I have nibbled away at my slice of any kind of yummy pizza.
For a while I was so busy that I hardly had time to make it homemade, but the request from my kids grew and I decided that it was time to break down and just do it.
It’s a family thing really.
After I make the dough and let it rise, it’s time to punch that massive dough down and roll it out. This is when the flour kind of hovers in the air and in the end we all emerge with flour dusted faces and fingers 3 times their normal size from all of the dough glued on. It’s great fun for all and the memories are brilliant.

When the pizza dough is finally ready for the toppings, I can guarantee you that most of the olives have been spoken for. We all enjoy olives, I blame it on the fact that I ate them continuously during each pregnancy. It’s actually a miracle that the olives even make it to the pizza in the first place. Moving on.
I am usually very adventurous when it comes to trying a variety of toppings, but we have our old faithful standby’s. We prefer Italian Salami instead of pepperoni, light on the sauce (but save it for “on the side” to dip later), mozzarella, basil leaves and olives…with a dusting of salt, pepper and oregano and a drizzle of olive oil on top.
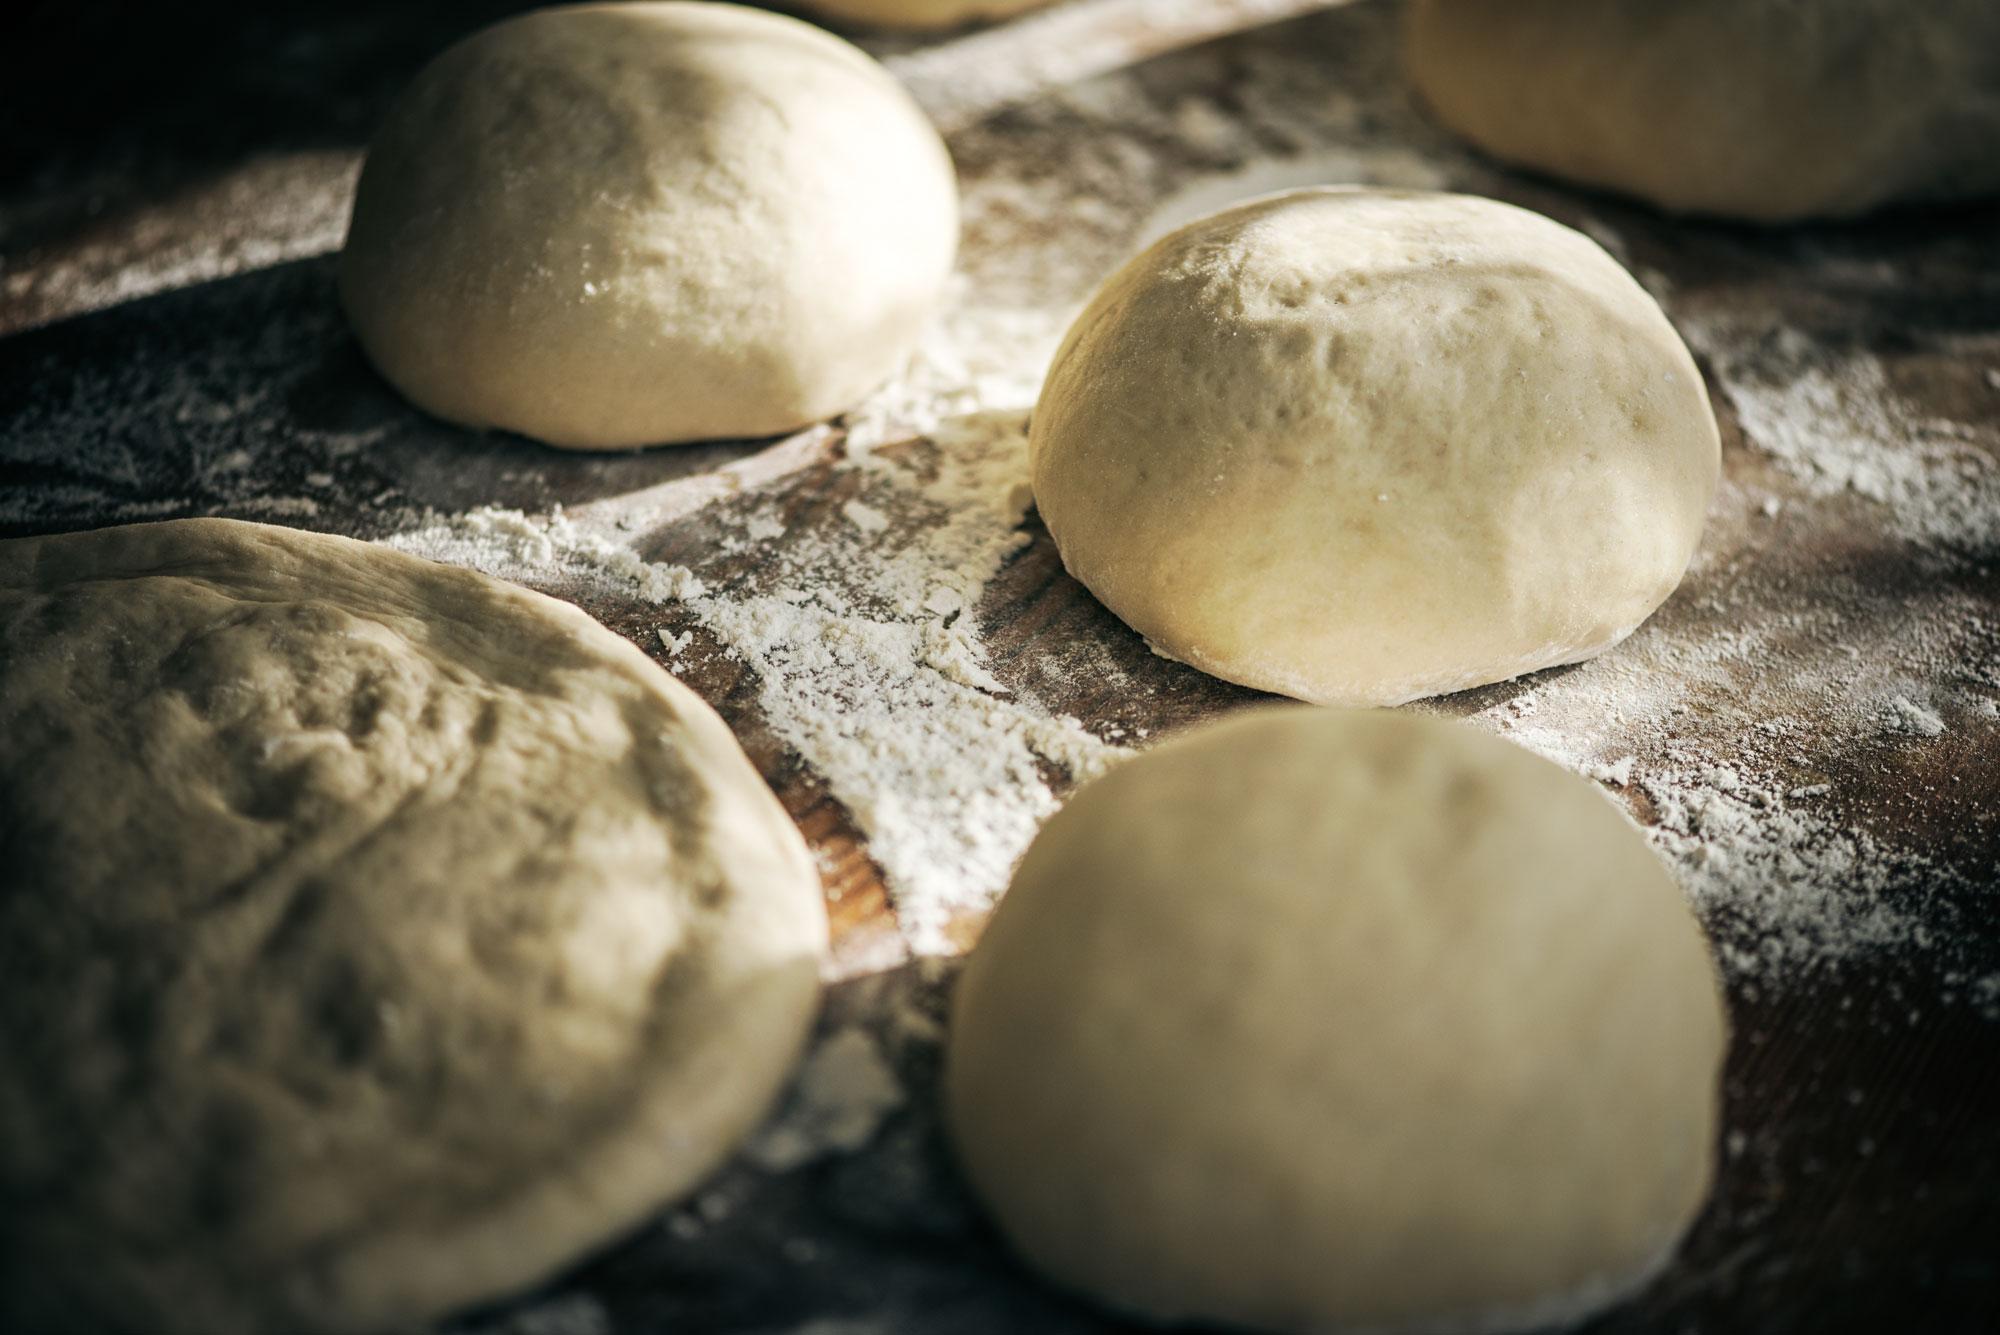
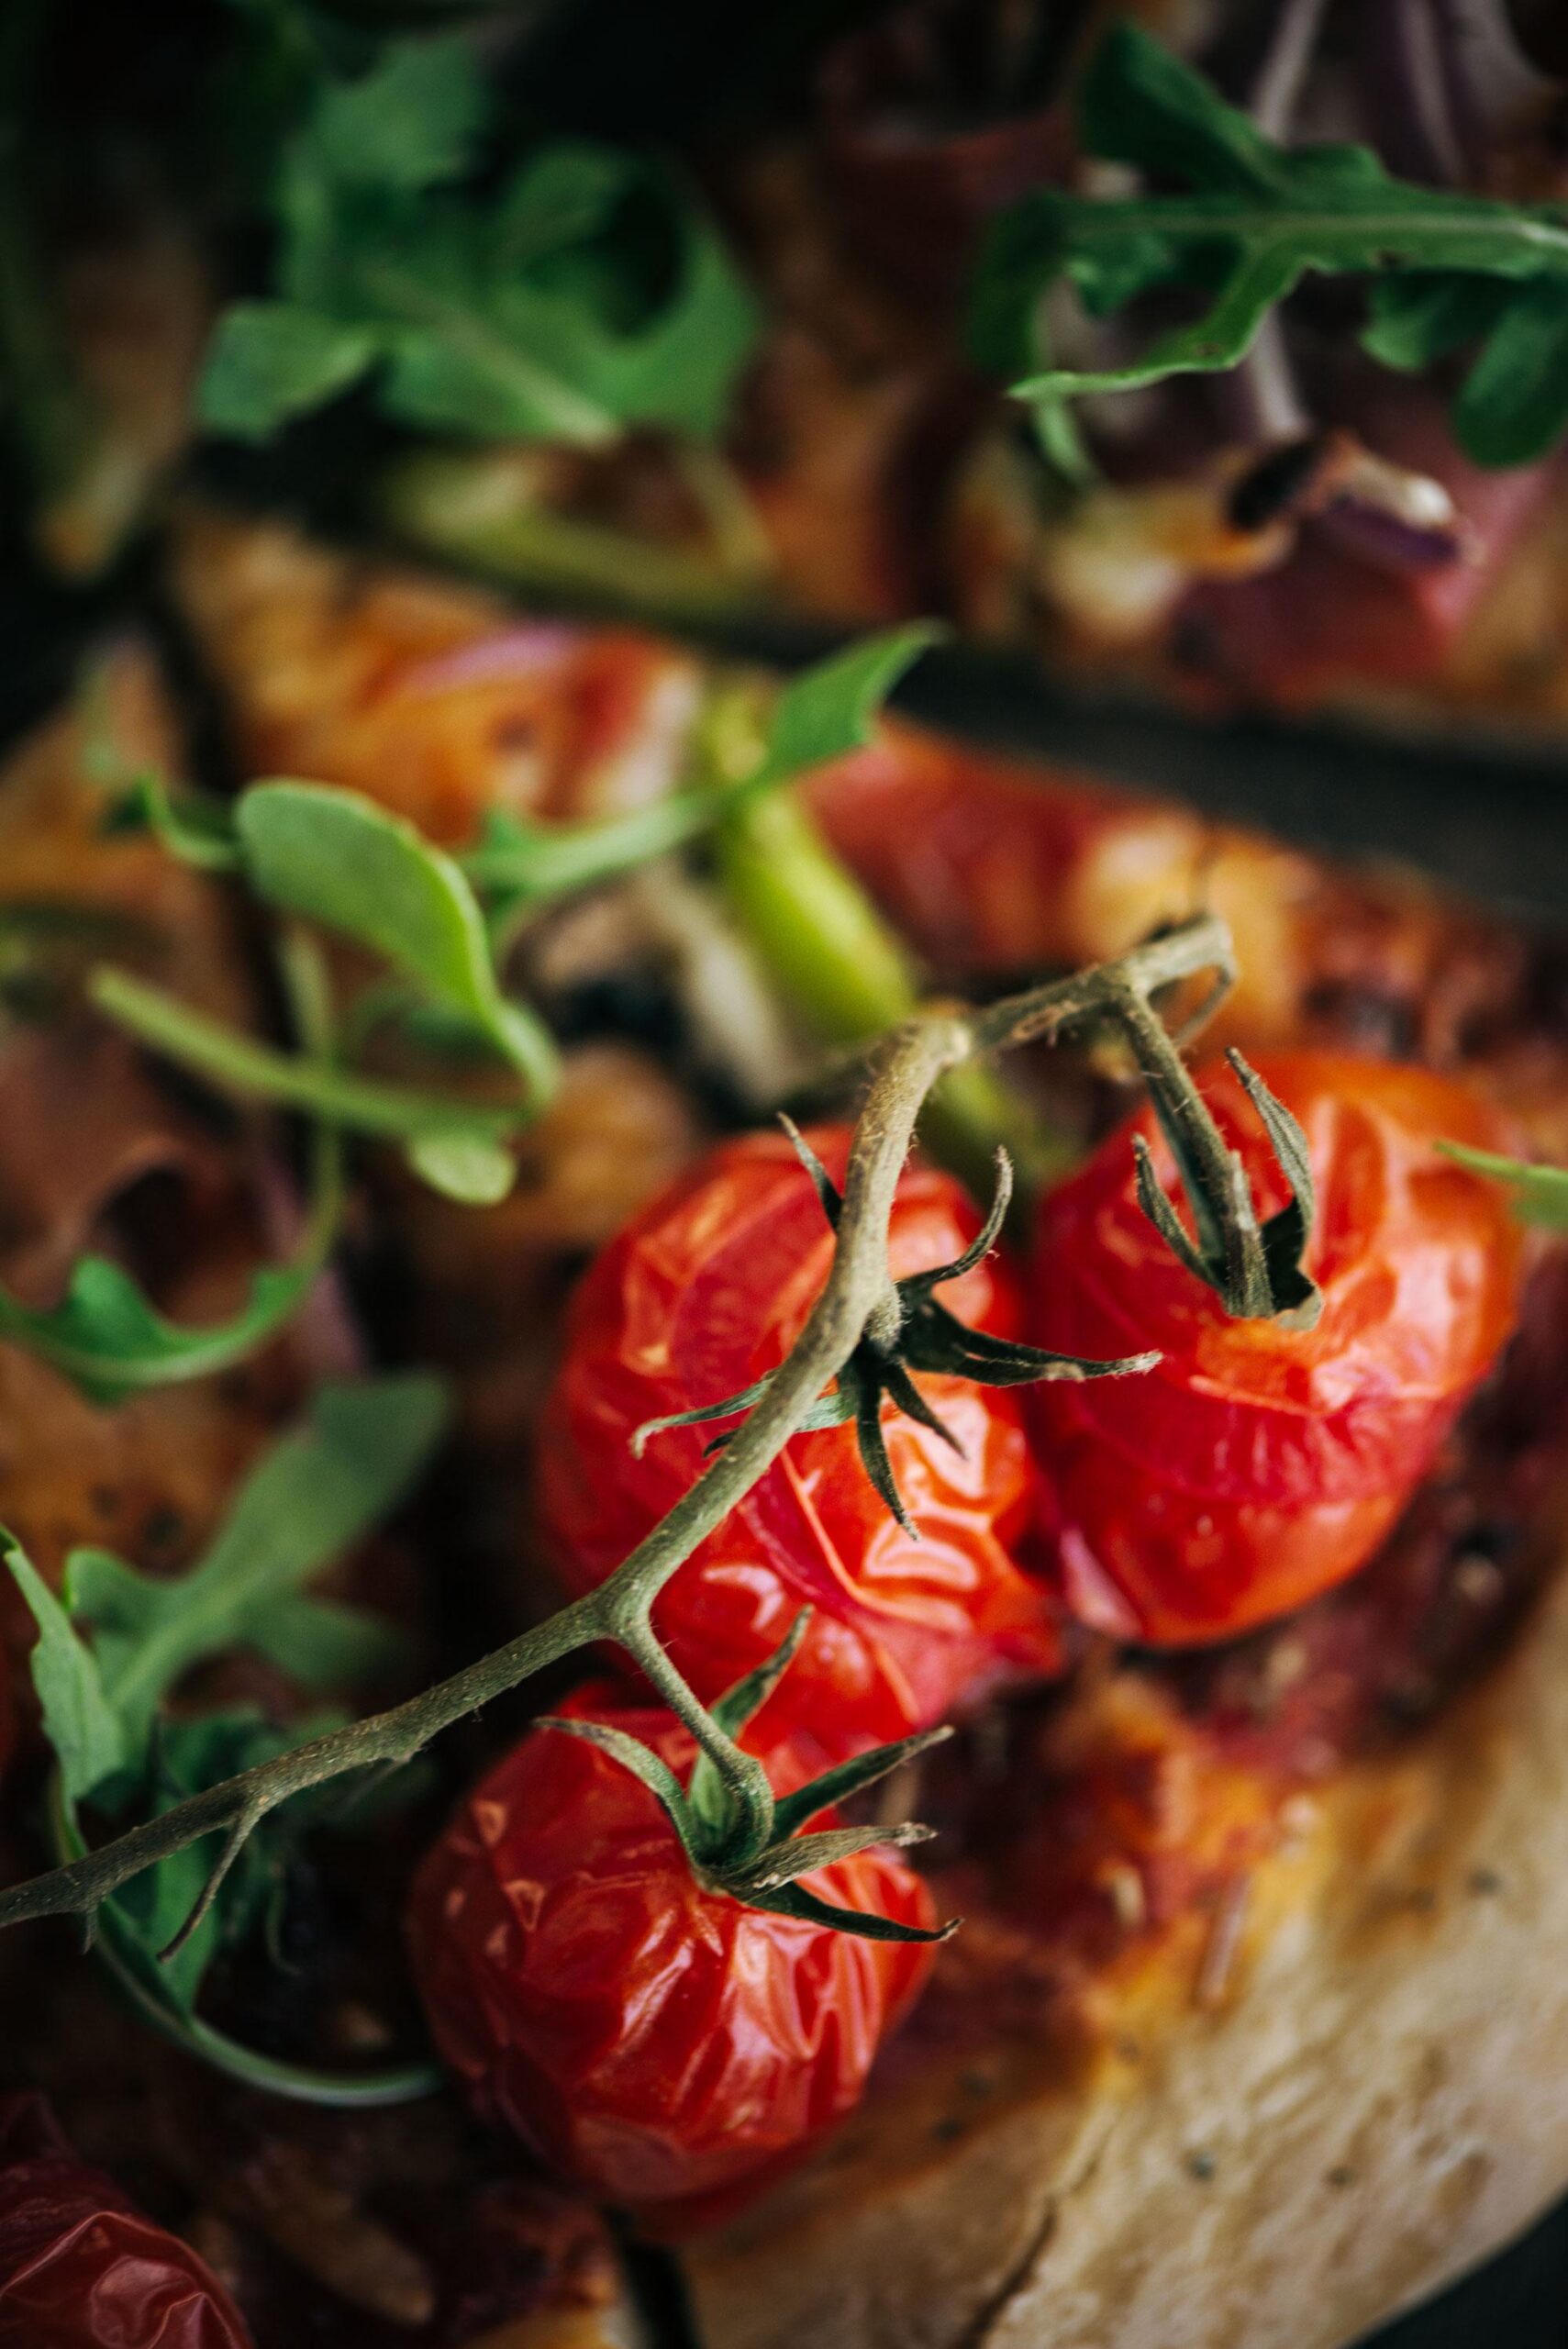
What I like most about making my own dough is that I know exactly what is in that pizza dough and also economical. I made a half batch this time, but usually I go ahead and make the full batch and freeze my divided mounds of dough for the next time. After you let the dough rise and knead it, you divide it into 8 balls of dough. Round off each ball, cover with freezer cling wrap and put it in a freezer bag. Freeze. The next time you decide to make it, just pull it out to defrost in the morning and by dinner time it’s ready to roll out, top and cook. Big time saver!
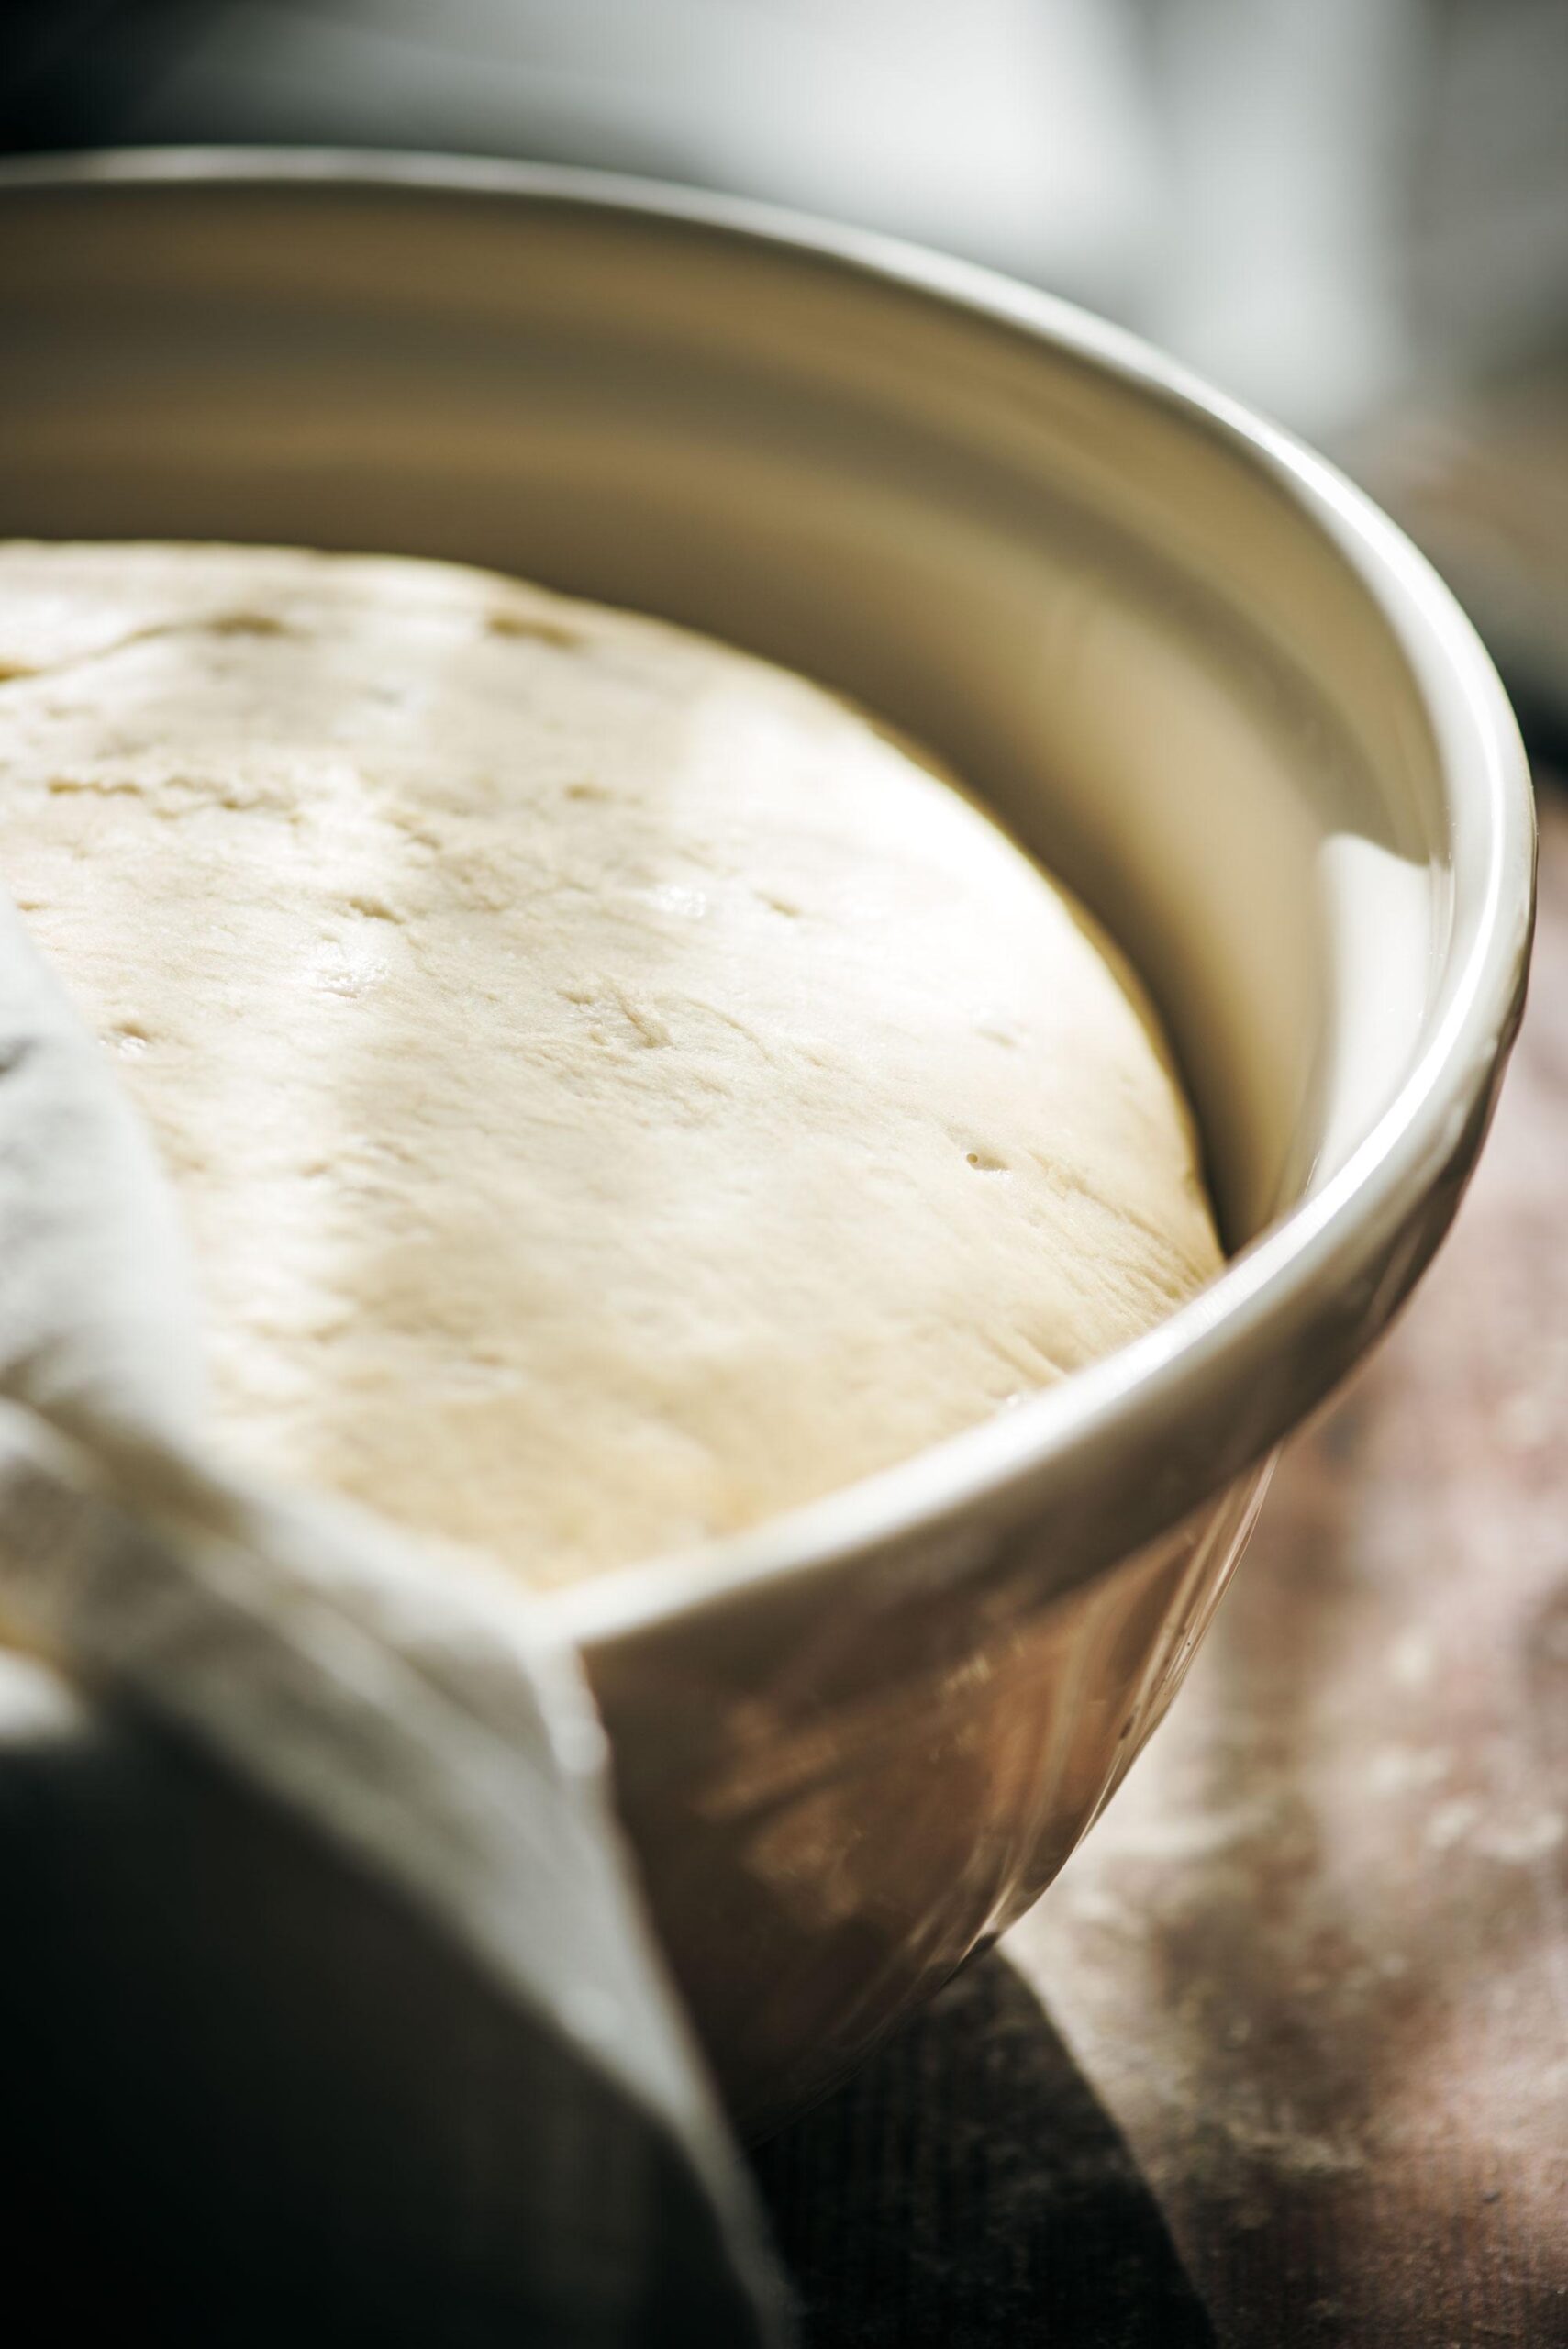
Another reason I seriously love to make my own dough is because it is so therapeutic! I mean it. I don’t think I can explain it, but I can be all stressed out from a nasty day and when I start to make any kind of bread dough, my stress levels drop dramatically. My kids probably would love for me to continuously make pizza dough just for that reason alone. Ha.
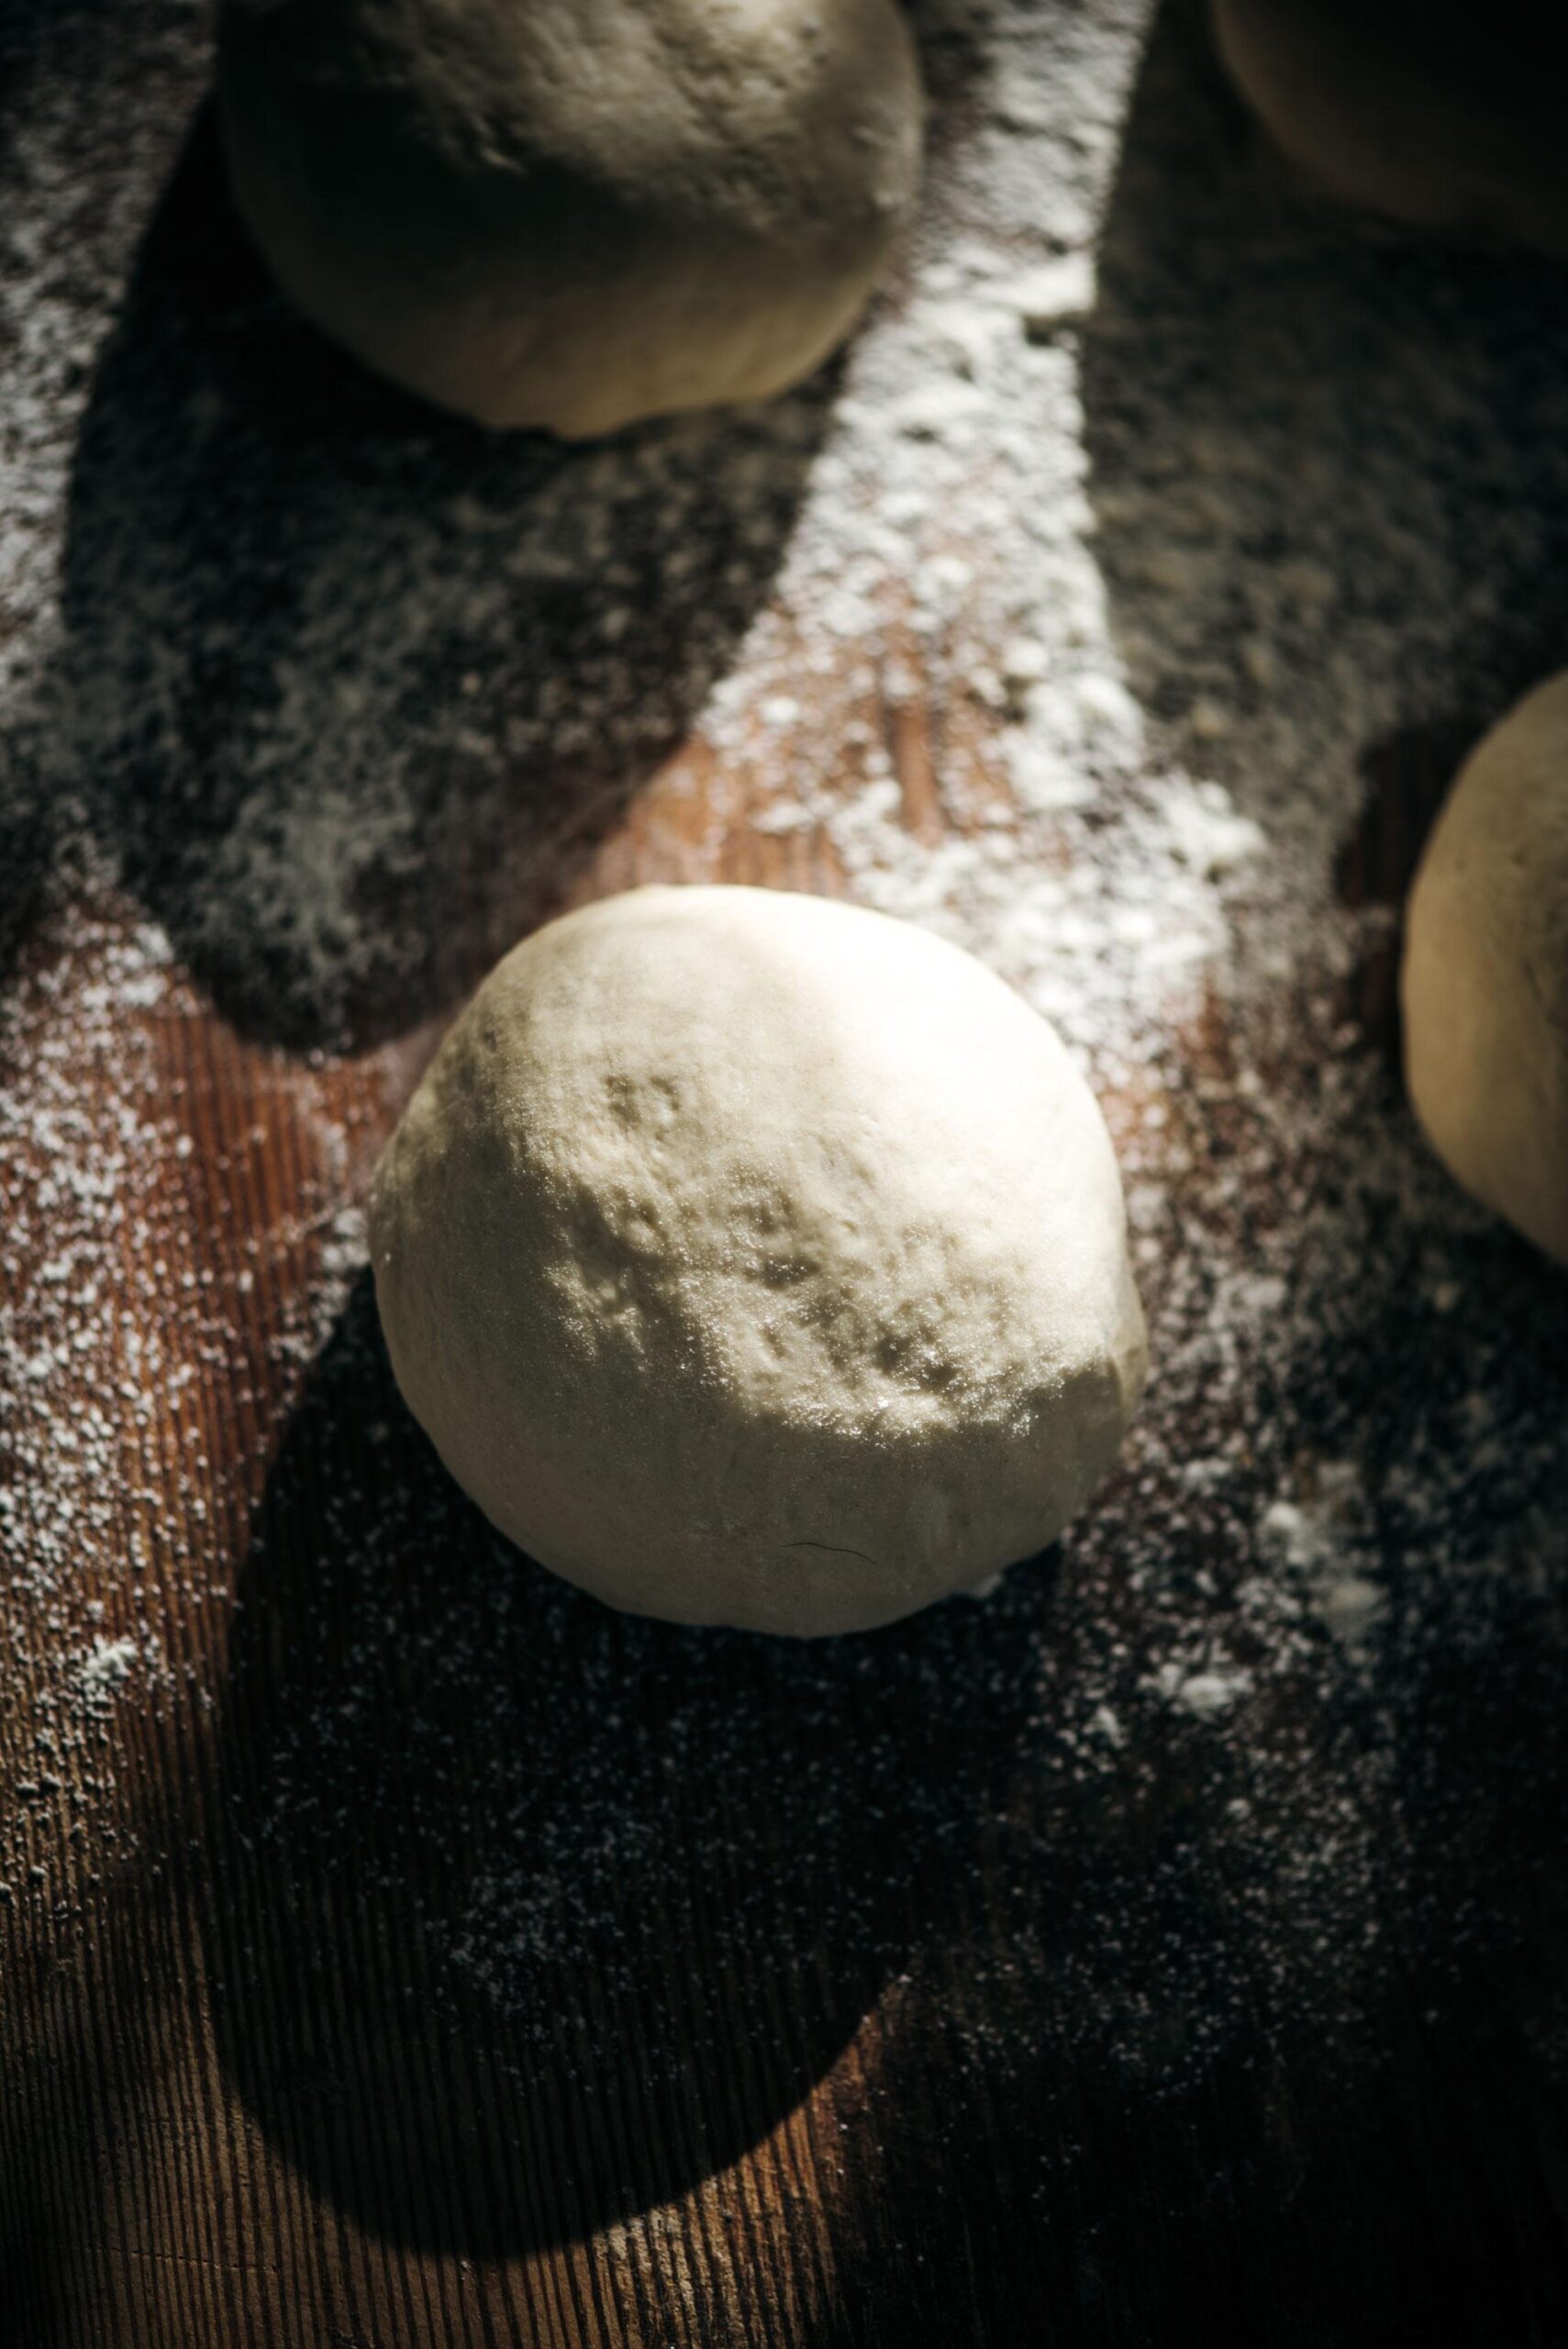
I have to add this one tip. Whenever you are making any kind of bread dough, it’s best to actually weigh your flours. Dry measures are good, but if you can invest in a food scale that goes to about 5 pounds, you will notice a difference in your dough texture. Everyone has their opinion and that just happens to be mine. But if you are only going to make it once in a blue moon, dry measures will most definitely suffice. Either way, I hope you enjoy!
Homemade Pizza Dough
Ingredients
- Dough:
- 7 cups good quality bread flour or all-purpose flour
- 1 Tbls. Salt I like Himalayan Pink salt or sea salt, ground fine
- 2 ½ cups lukewarm water @110 degrees
- 1 Tbls two 1/4-oz packets dry active yeast
- 1 Tbls sugar
- 4 Tbls extra virgin olive oil
- Toppings – Basic Suggestions:
- Tomato or Pasta sauce
- Mozzarella Cheese
- Pepperoni or a good Italian Salami
- Peppers
- Onions
- Roma Tomatoes
- Olives
- Basil Leaves
- Dried Oregano
- Olive Oil
Instructions
- In a large bowl, sift together your flour and salt and set aside. In a smaller bowl, pour your water in, add your sugar and olive oil and sprinkle the yeast over the top. Give it a gentle stir and leave alone for about 5 min. A good sign that the yeast is good is that the yeast will cause a foam to start on top of the water.
- In your bowl of flour, make a well in the center and slowly pour in the water/yeast mixture. With a fork or spoon, start to bring it all together until well mixed.
- On a floured surface, scrape your dough out and with floured hands start to knead until smooth and elastic. If you need to add more flour only use a dusting, you don’t want to change your dough’s consistency by adding too much flour. Don’t over work the dough. About 3 -5 mins of kneading is sufficient.
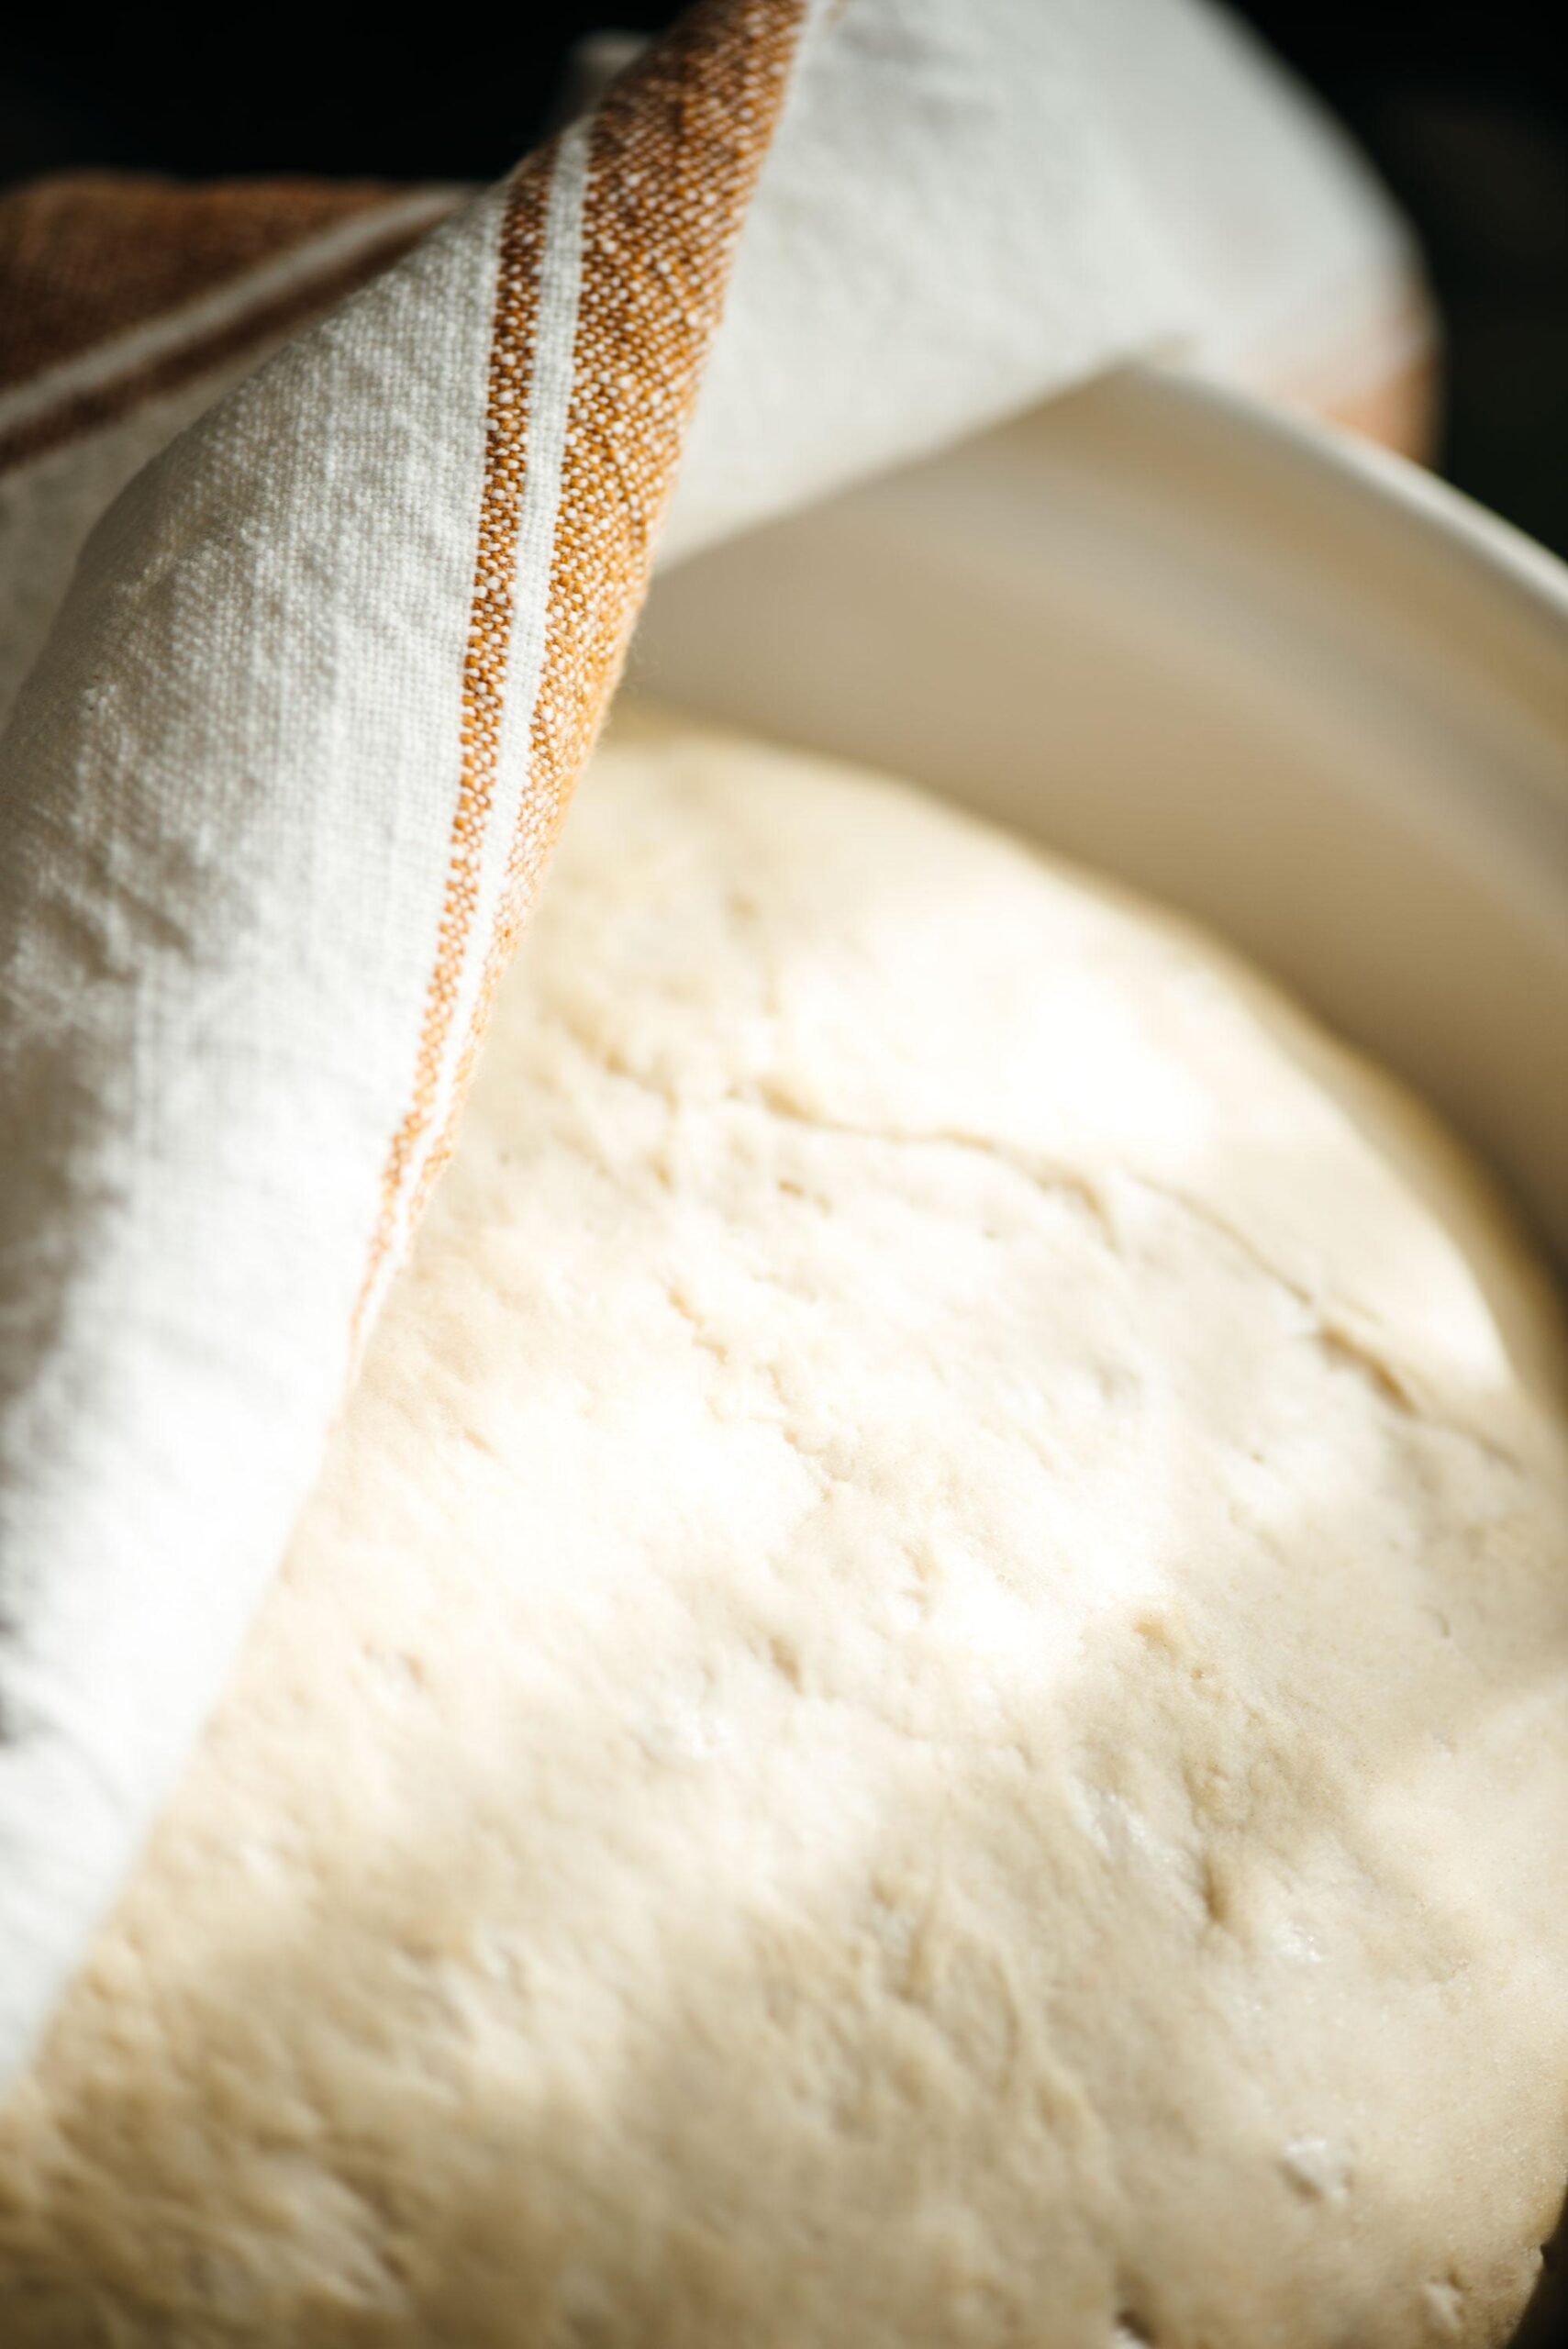
- Place your dough In a flour dusted large bowl, top with a damp kitchen towel and leave to rise for 30 min – 1 hr or until it has doubled in size.
- After the dough has doubled in size, scrape back out of bowl onto a floured surface and punch down the dough to get the air bubbles knocked out. Form a smooth ball and divide into 6 – 8 pizza crust bases. I usually get 8 and use half now and wrap each remaining pizza base in plastic wrap and freeze for later from this point.
- *At this point you will want to turn your oven on to 500F, and get your baking sheets ready (I don’t bother with greasing, I use non-stick).
- You can either use your hands to push and stretch out the dough to form your base or use a floured rolling pin to get an even rolled out base. You might even find yourself tossing it up in the air like in the movies, just try not to get it stuck to the ceiling or land on the flour.
- After your pizza dough is rolled out let it sit for a couple of minutes, it will shrink just slightly, this normally happens.
- Now place your base on it’s baking sheet and add your favorite toppings. I start with a light tomato sauce, followed by salami, olives and mozzarella cheese. Sprinkle dried oregano over the cheese,add some olive oil coated Basil leaves and lightly drizzle the top with some more olive oil.
- Bake in your 500F pre-heated oven for about 10 – 12 min or until top starts to turn golden brown. Slice and serve.
Fresh bites, cozy vibes 😎
Dig into something delicious with us by subscribing below


